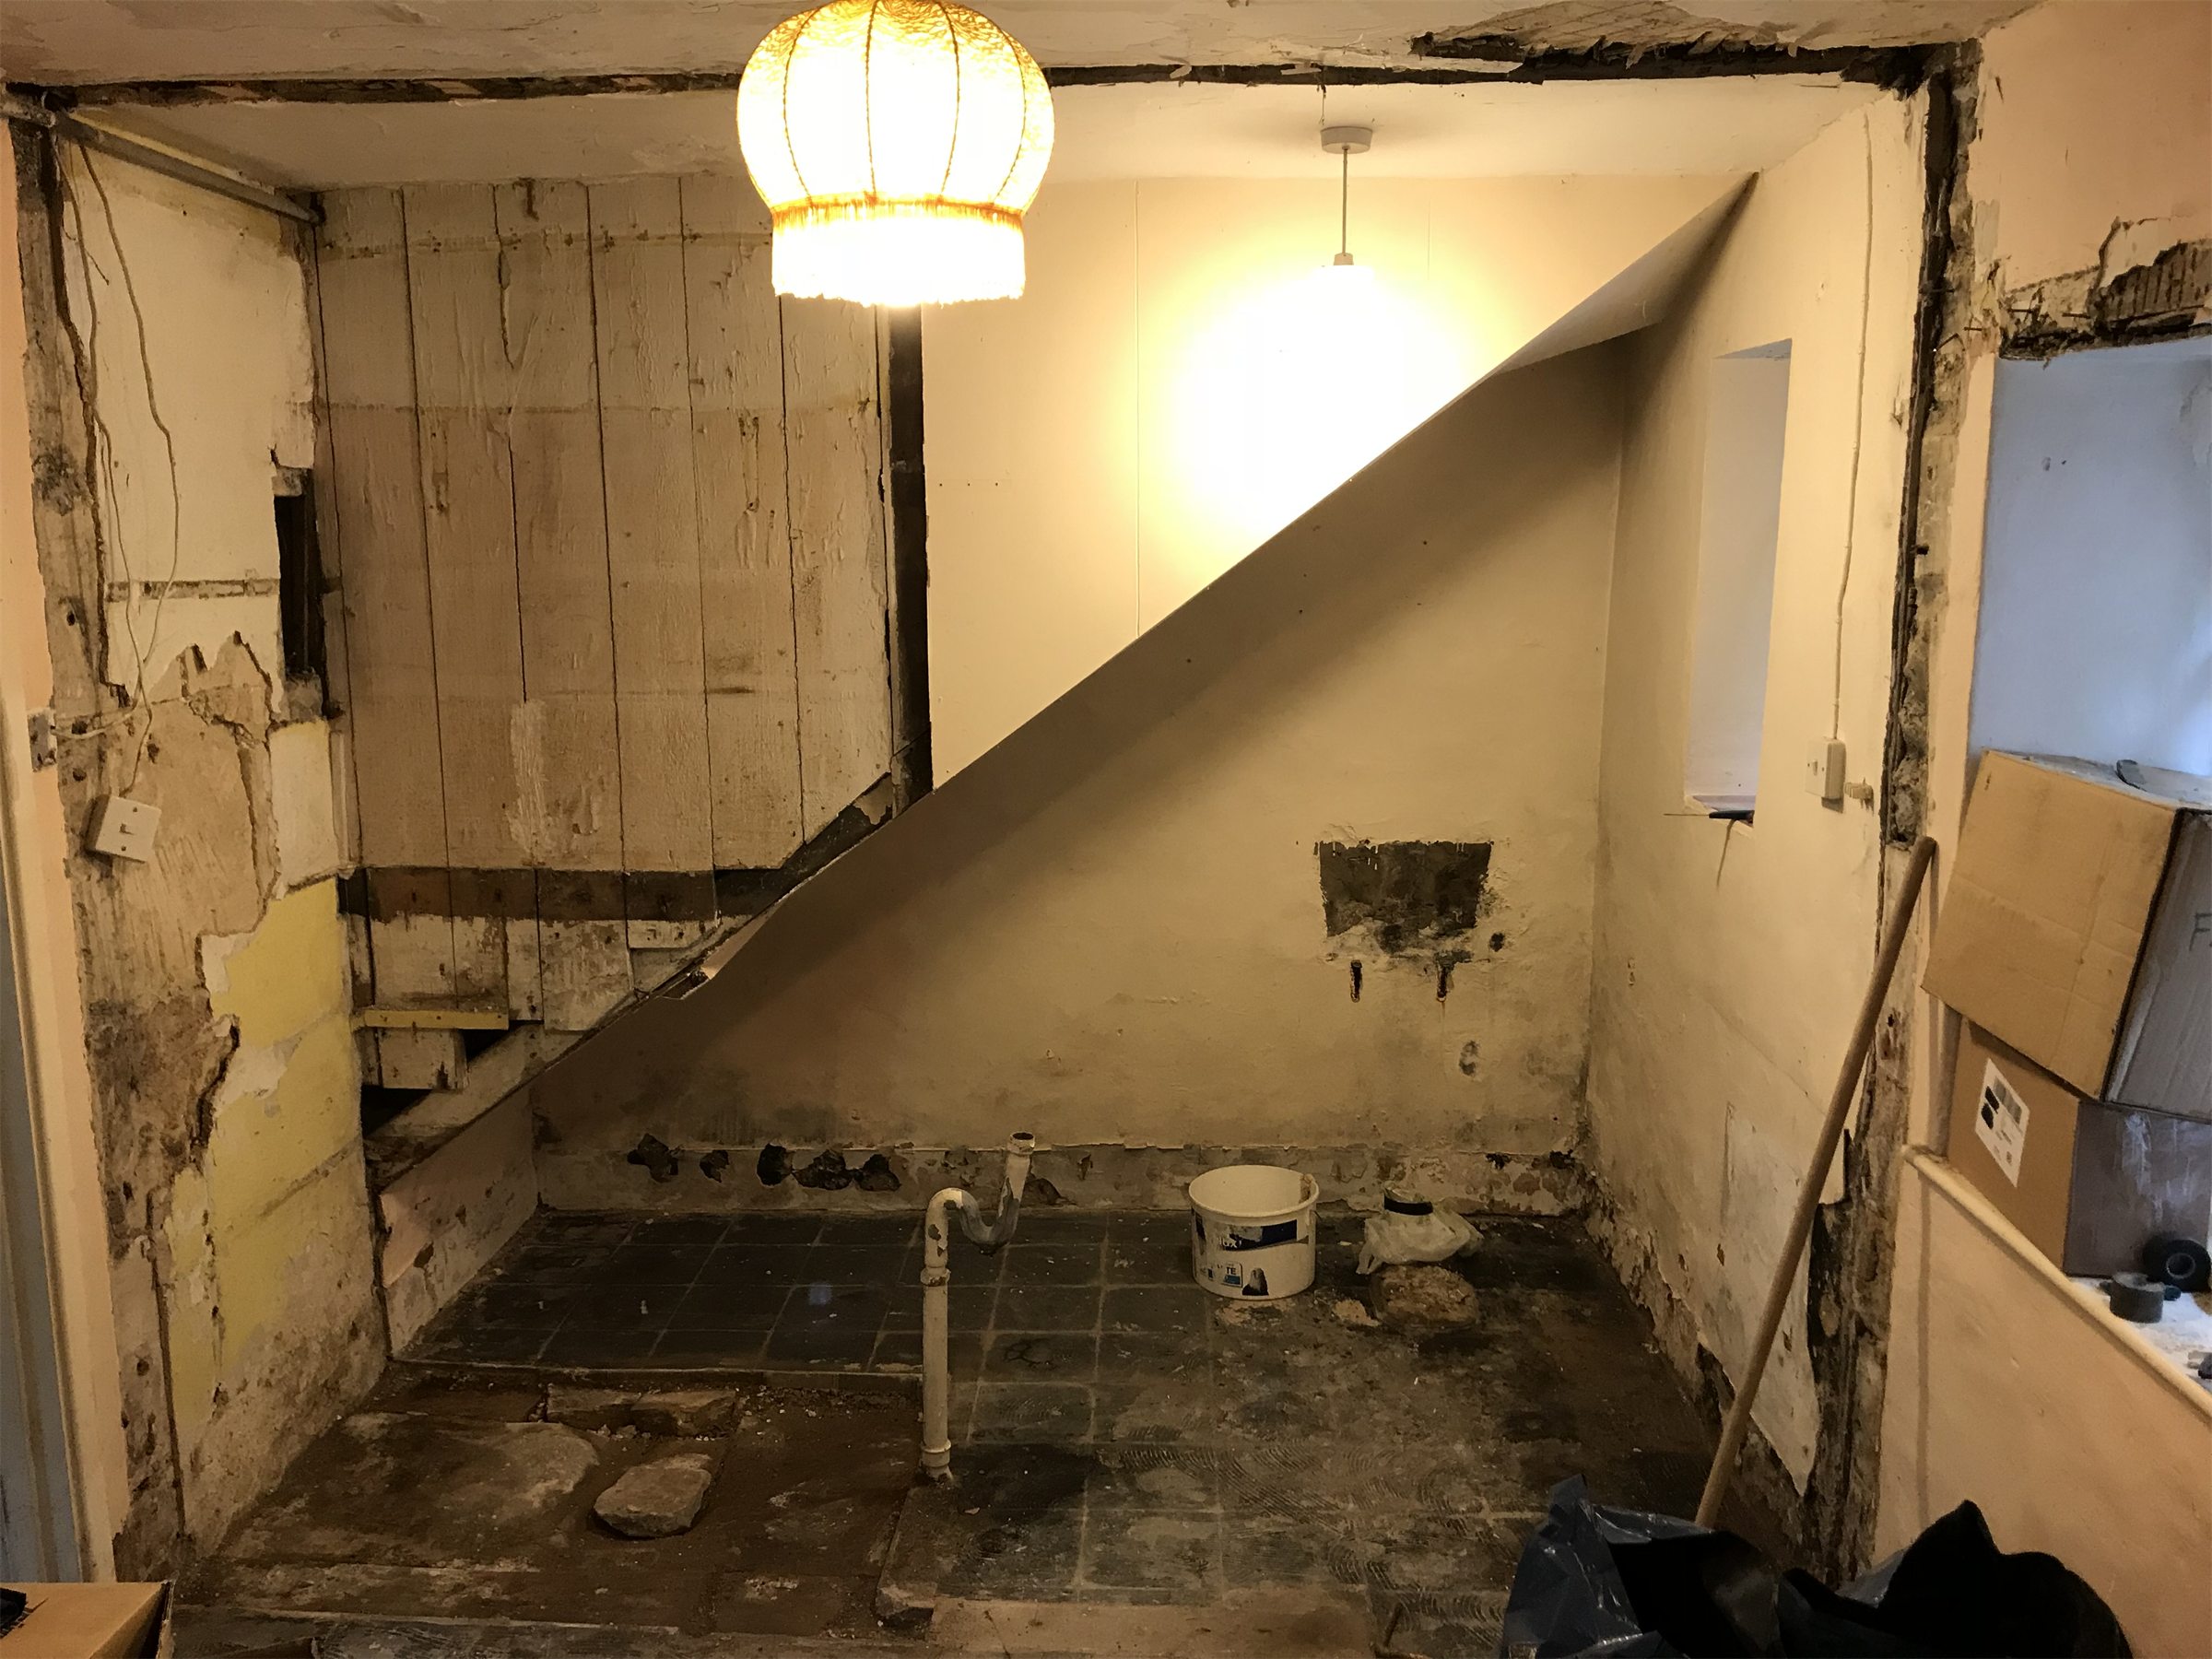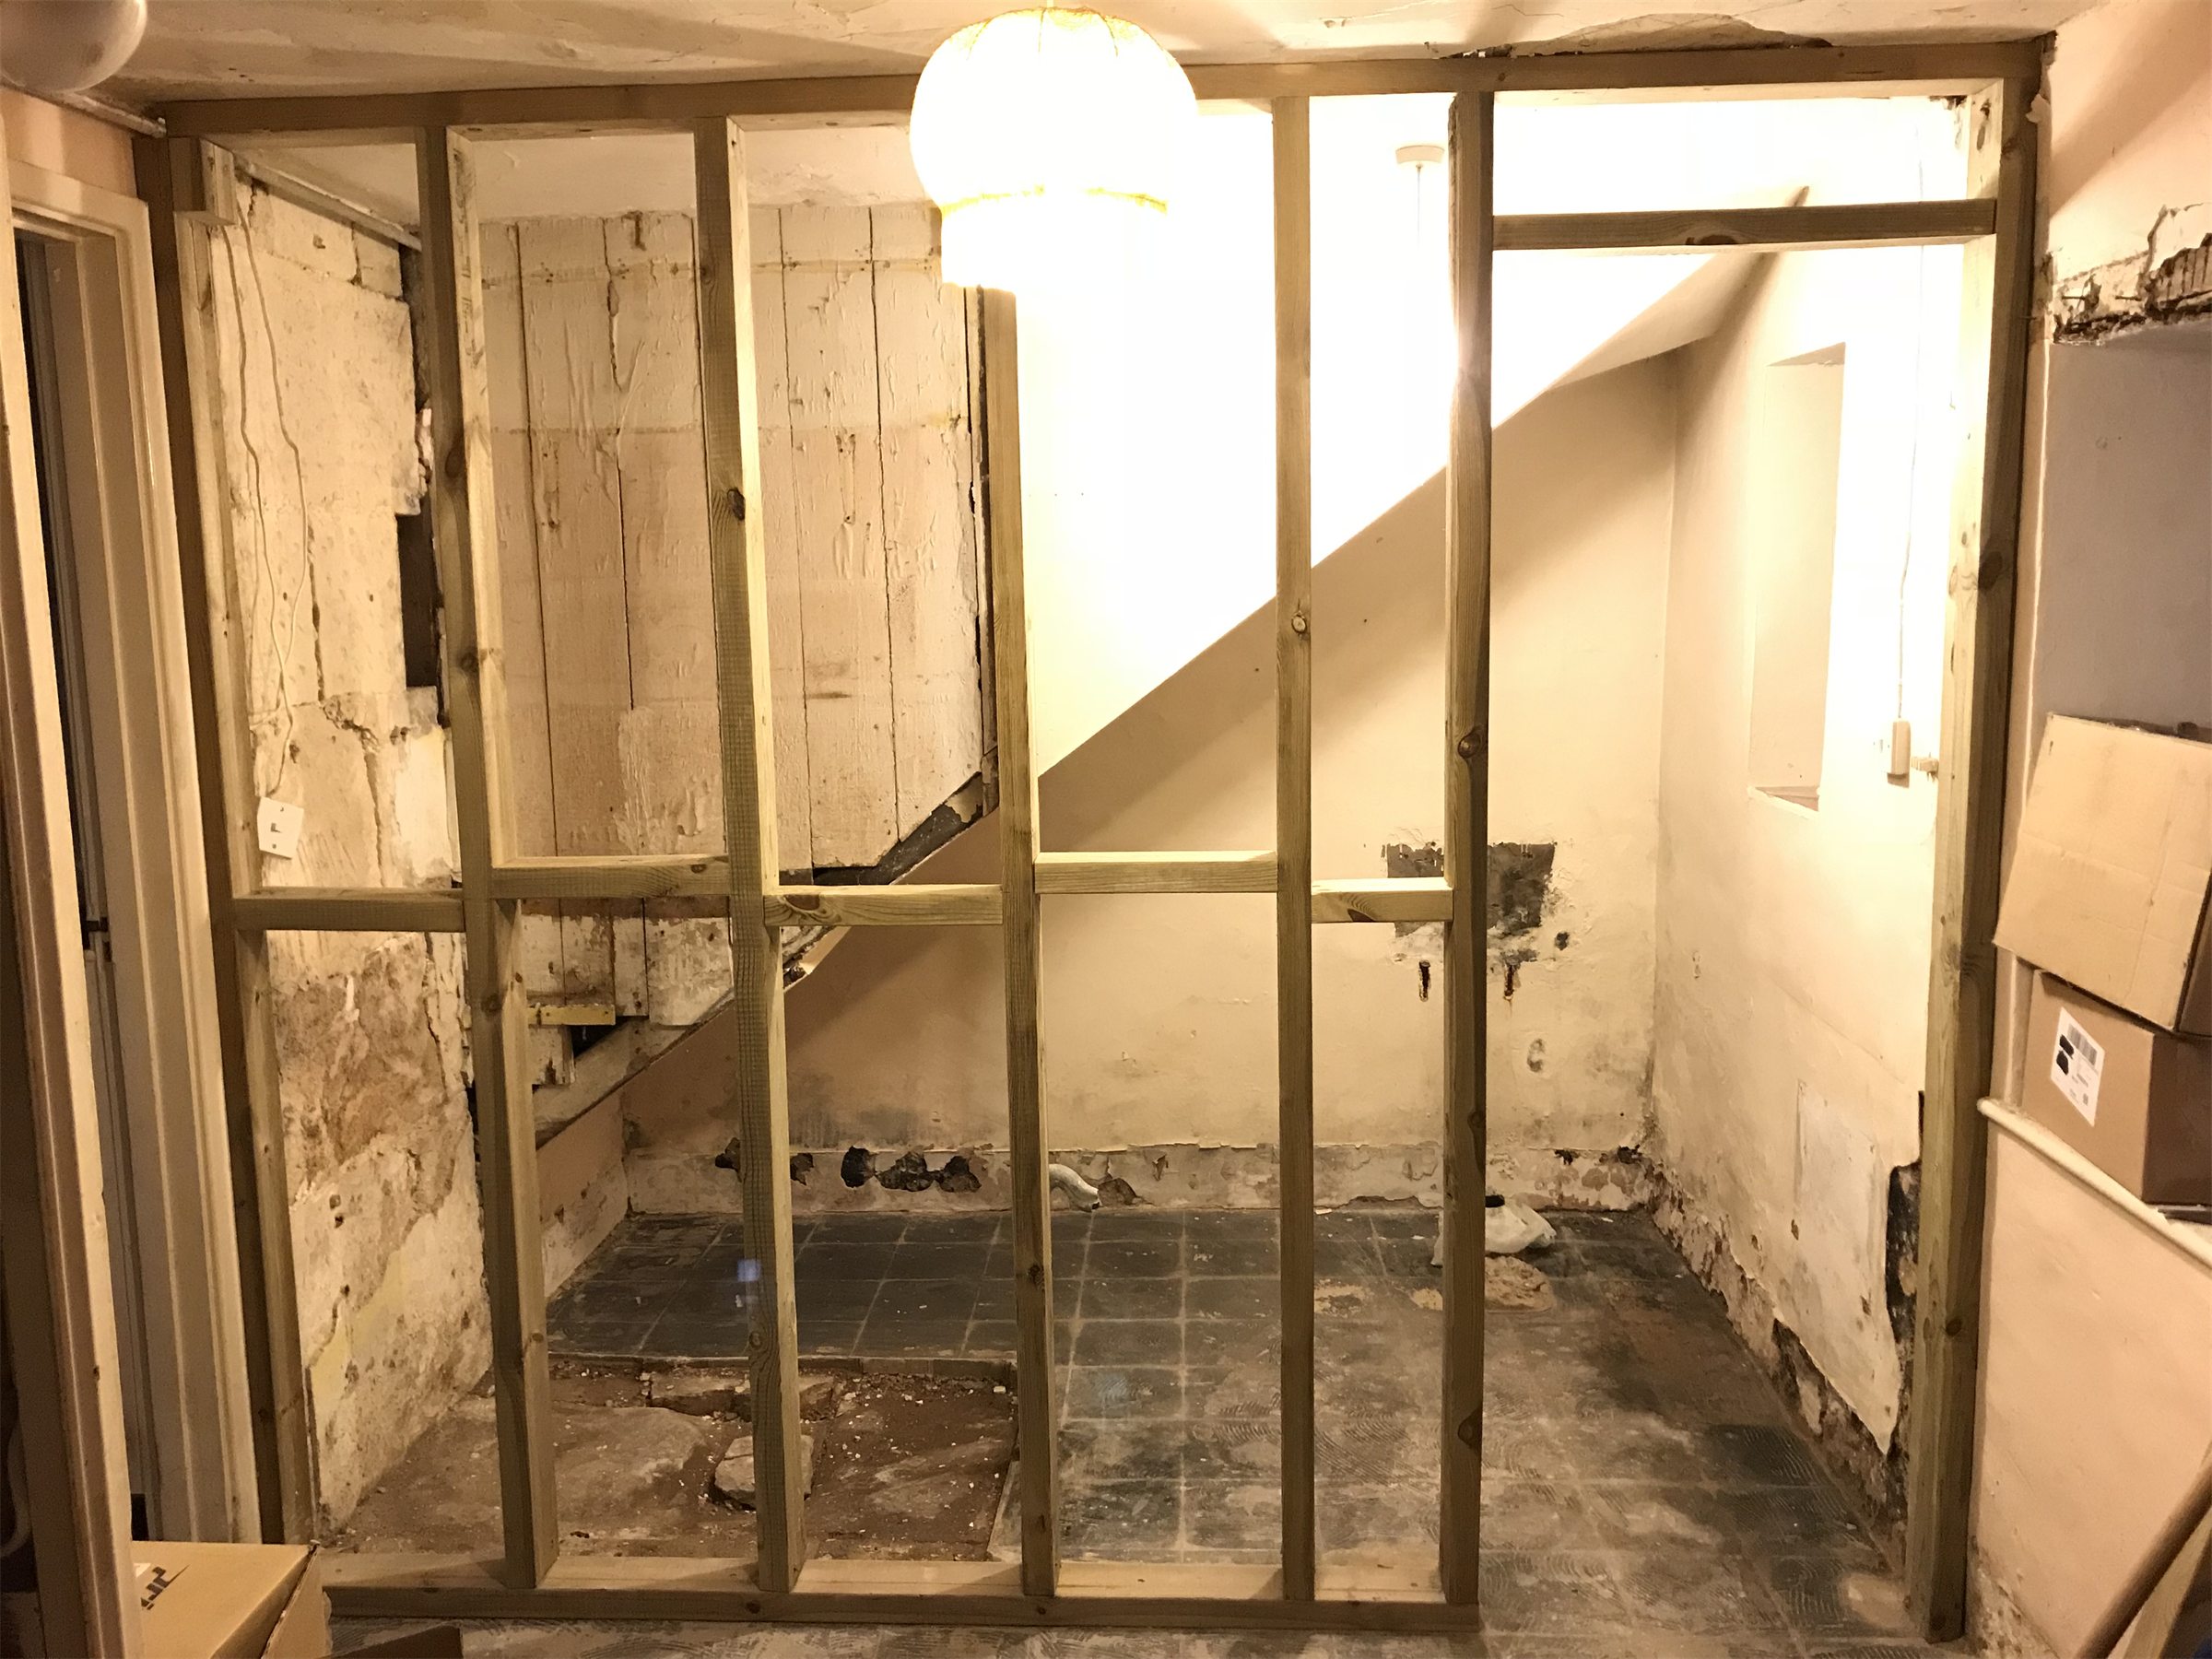
To reappropriate the end of the utility as a shower room required a light remodelling. The existing end wall was a complete hodge-podge of timbers and plasters, different thicknesses and very few straight edges. Not ideal for fitting a shower in, much less tiling to. What's more, the wall curved in a little towards the Glory Hole, narrowing the possible usable space inside the future shower. The answer was to make a nice shiny new wall with straight sides which in turn would maximise space.
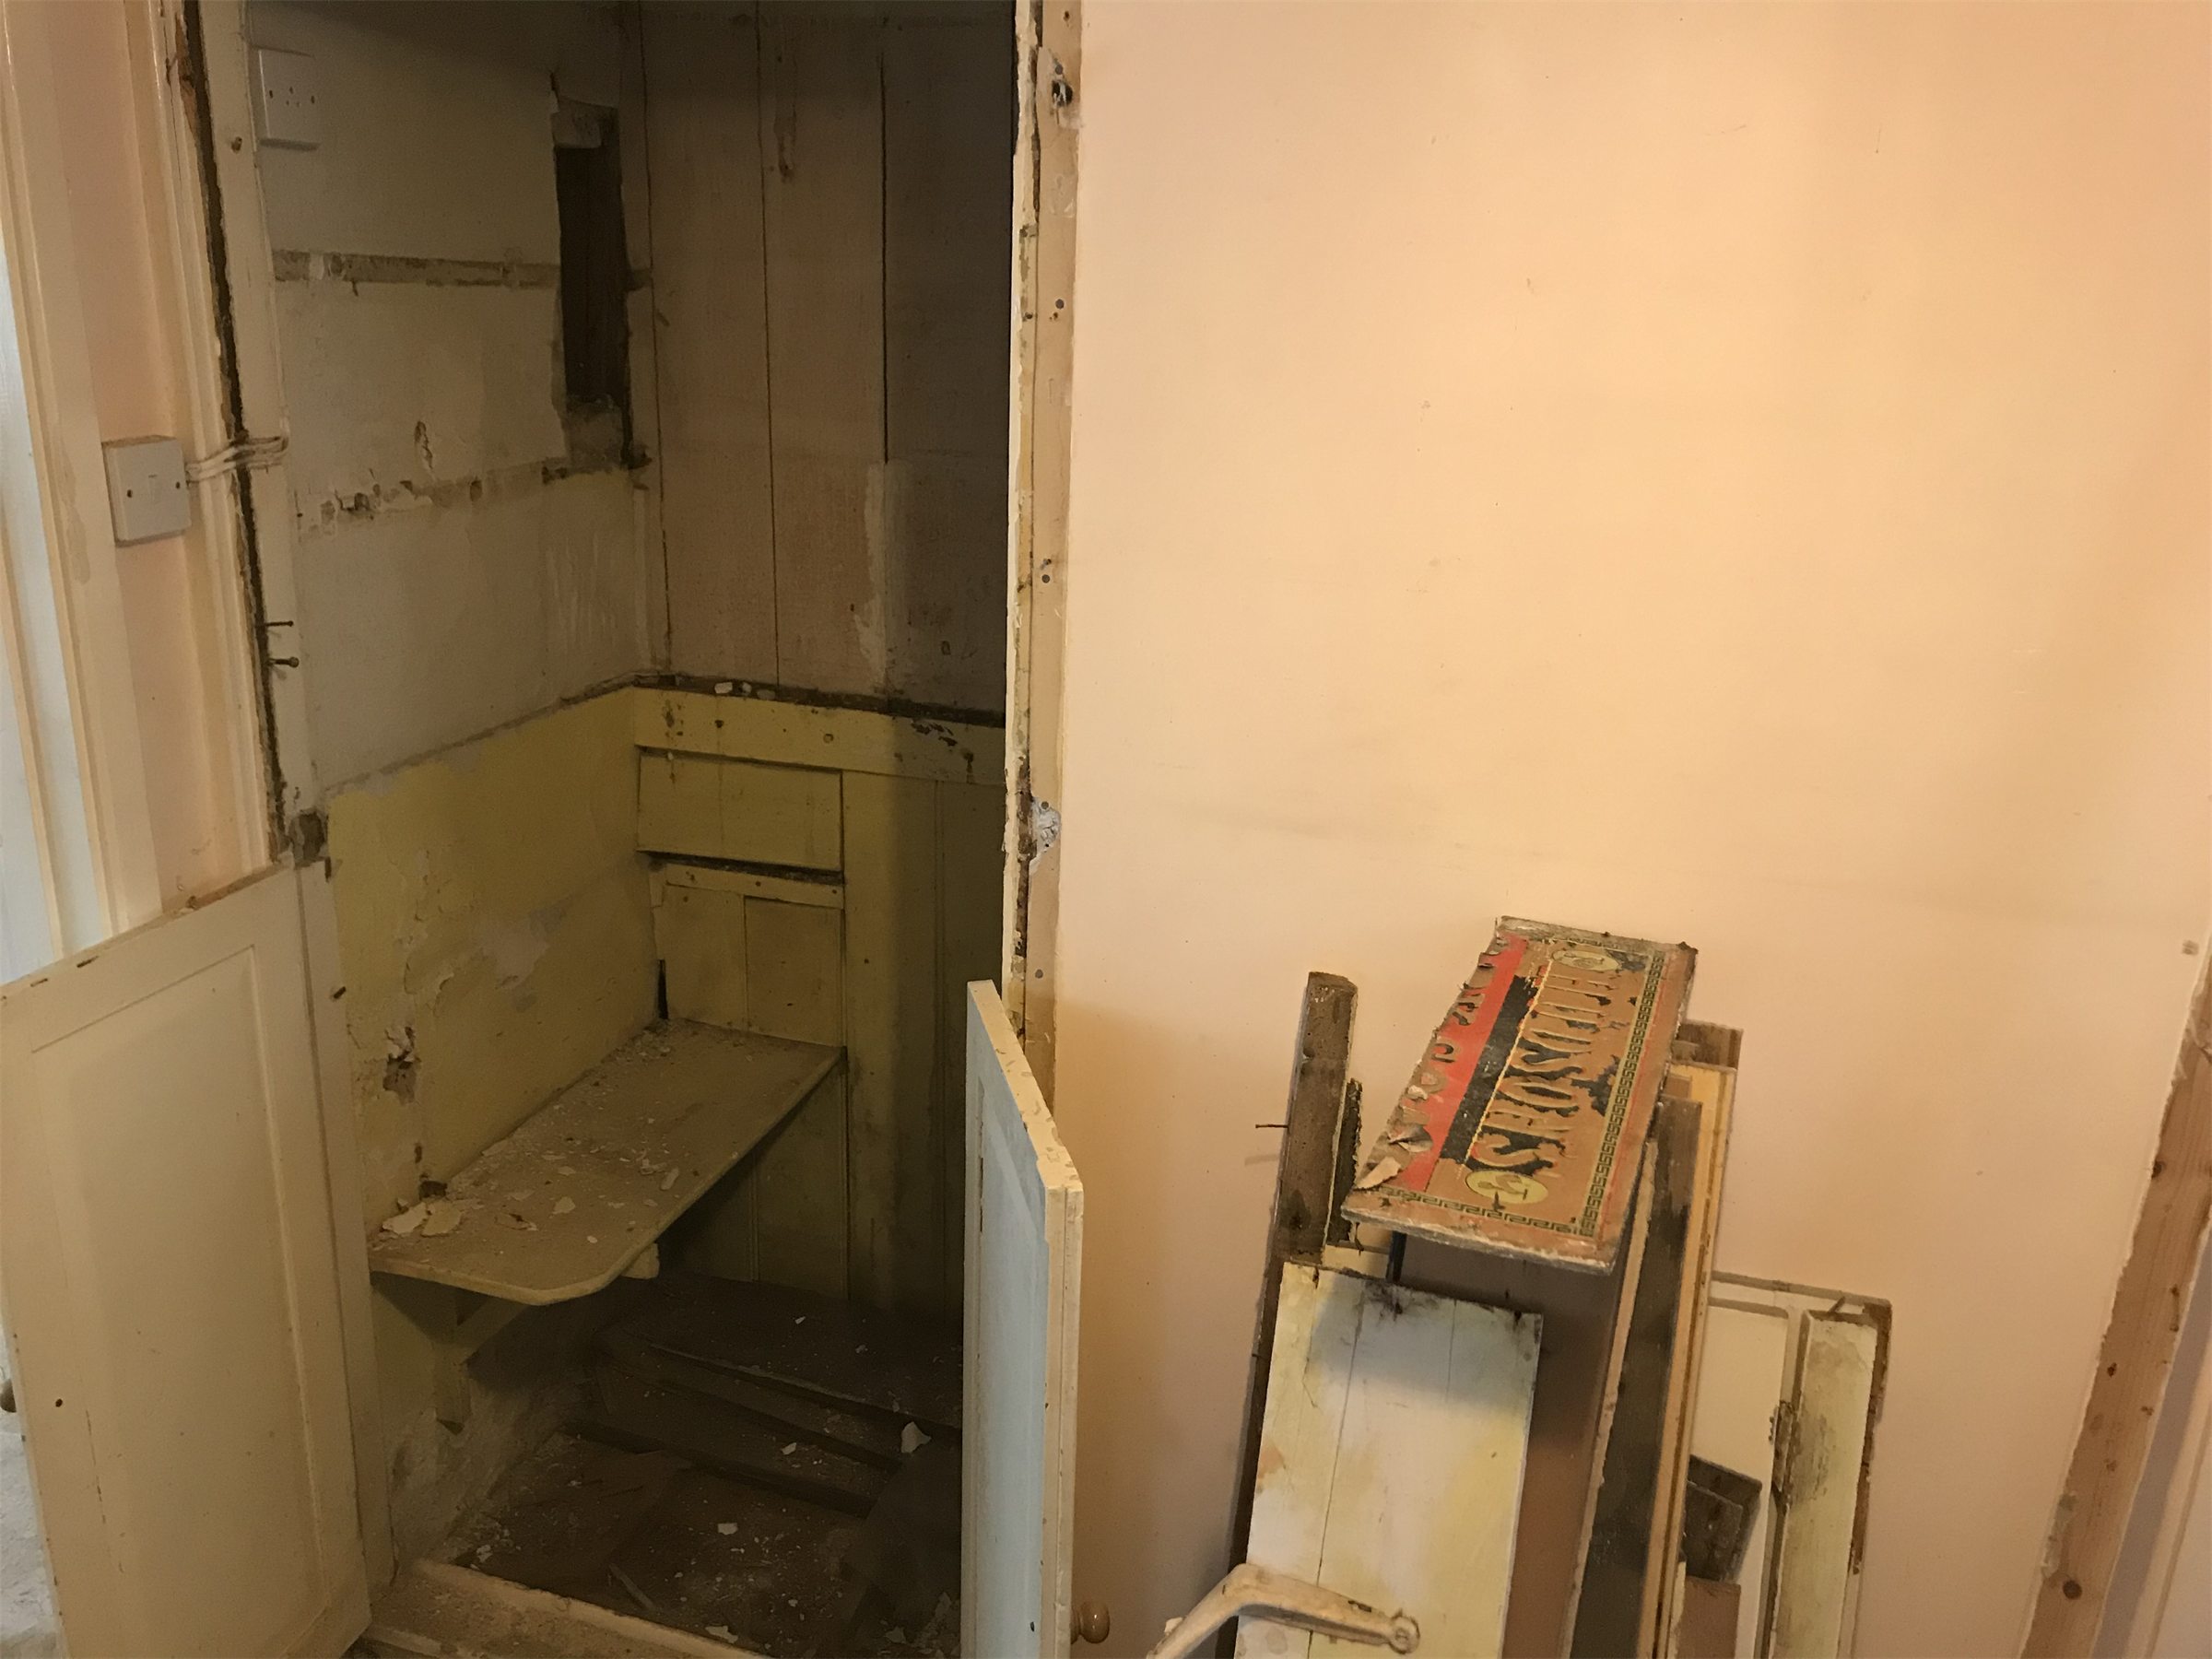
Wrecking the old wall started at the Glory Hole. We still don't know why it was called this, it's just what was written on the light switch for the cupboard. Off came the doors, out came the shelves. Then it was just a case of crowbar and hammer work, prying and pulling, bashing and hooking. The plaster all got bagged up as it gets recycled; it releases toxins into the environment if mixed with degradable materials. The wood went in the skip as with so much else.
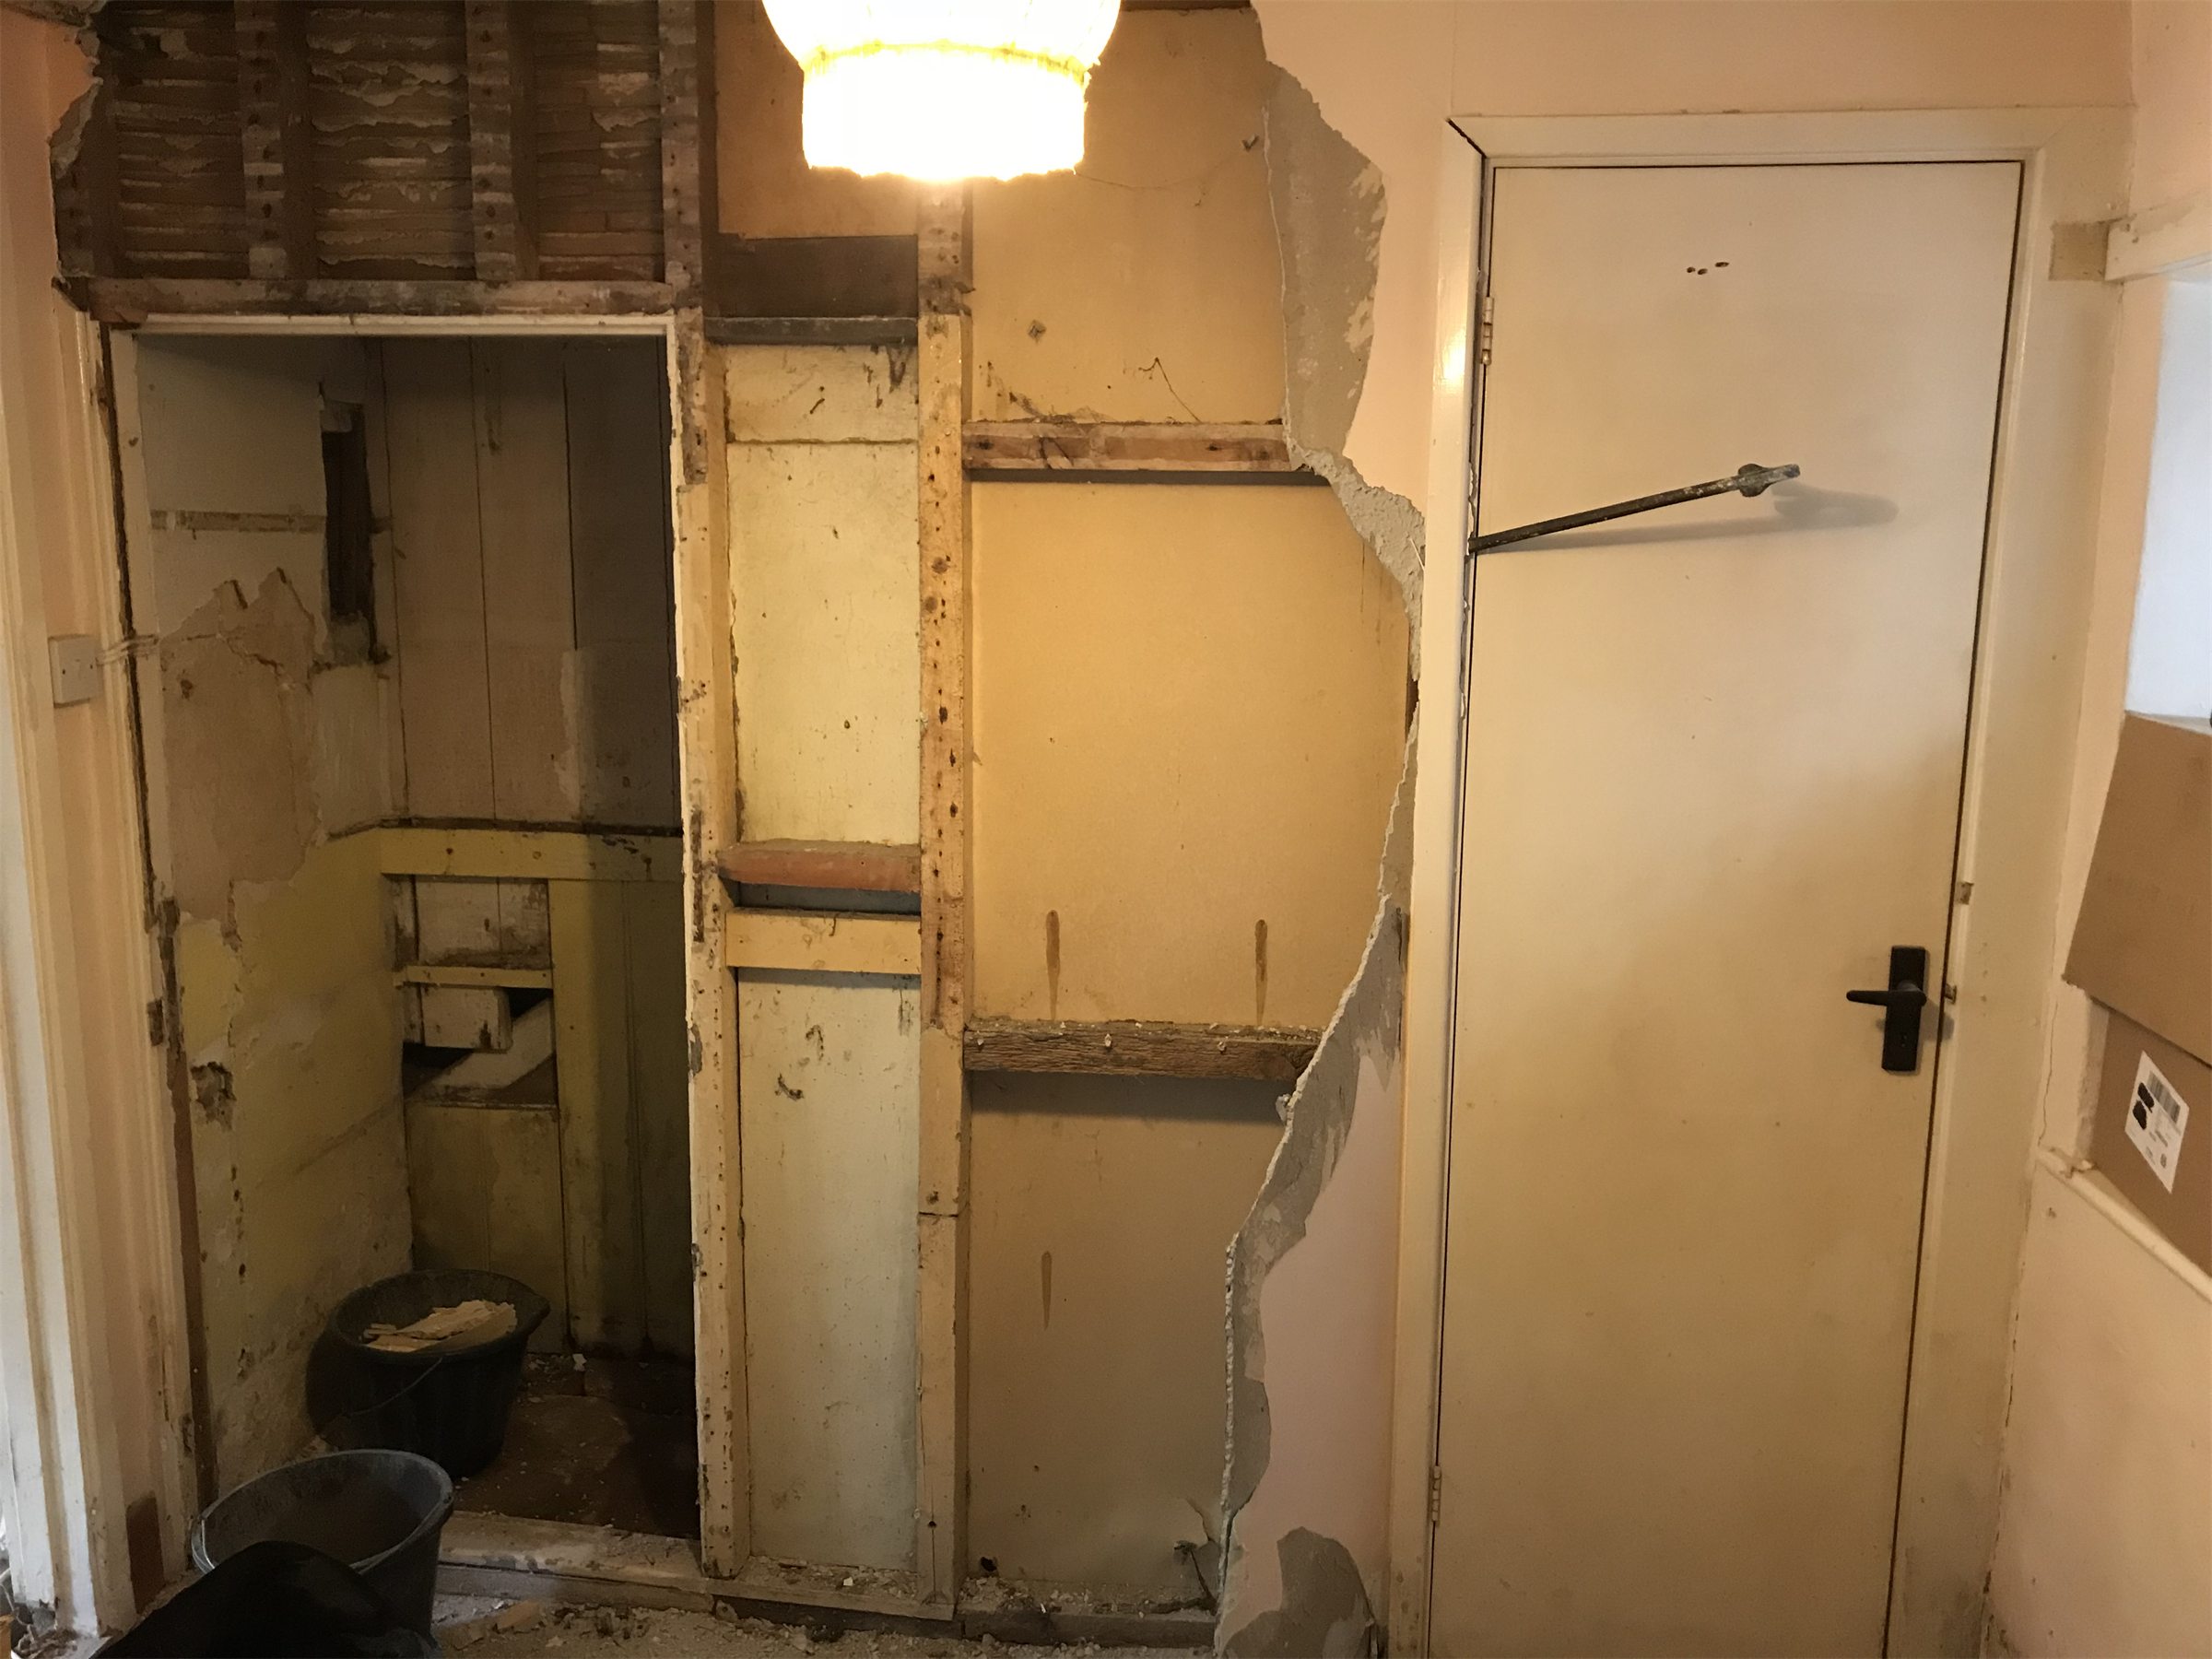
The remaining sink and radiator also copped it, as did their associated pipework. This unfortunately had to be attacked from the floor above with more freeze cans. The pipes in the room just came out of the plaster ceiling so the floor boards at the top of the stairs had to be popped up for access. With the water feeds capped off the copper could be sectioned and pulled through. The sink came off the thin plasterboard without much fight and the radiator was already pretty much dry from all the other having been removed.
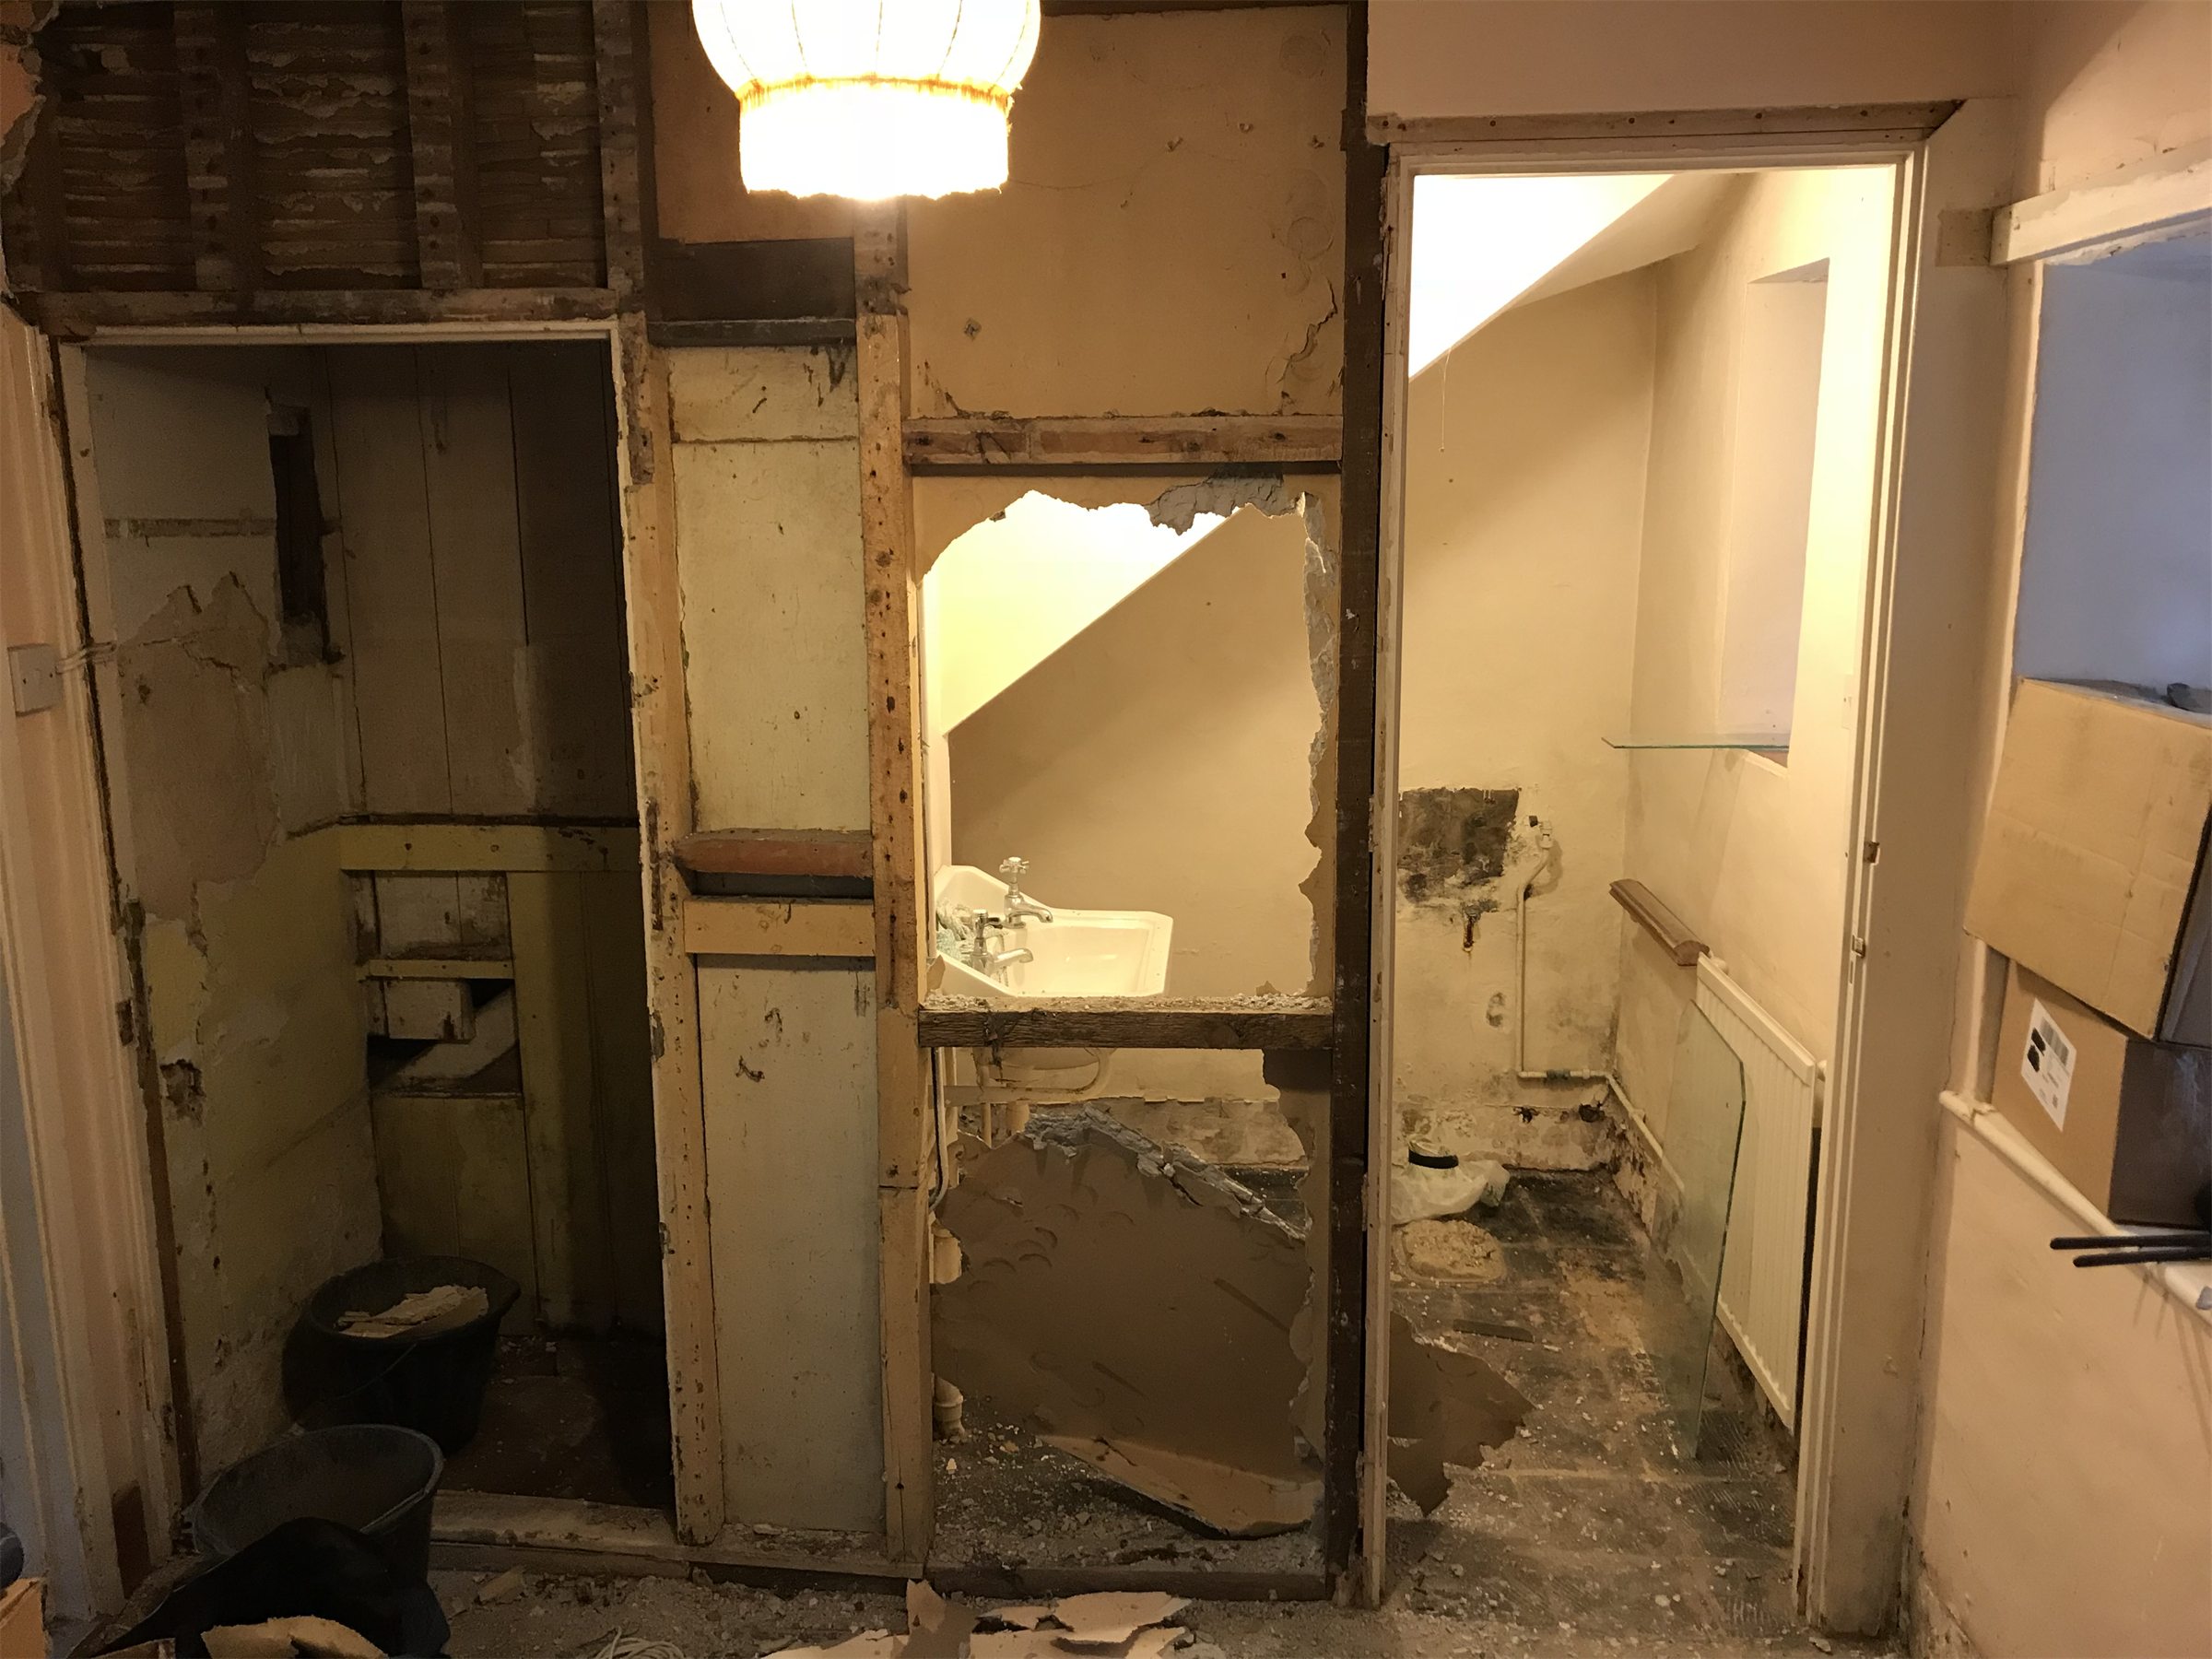
Bit by dusty plastery bit it all succumbed, then it was time to get the new one in. There are many ways of erecting a stud wall, often starting with the top cross piece and plumb-lining the bottom one in place before adding the uprights. However, with a lathe and plaster ceiling there isn't anything terribly secure to attach a top piece to. Instead, this wall started life at the bottom and grew up.
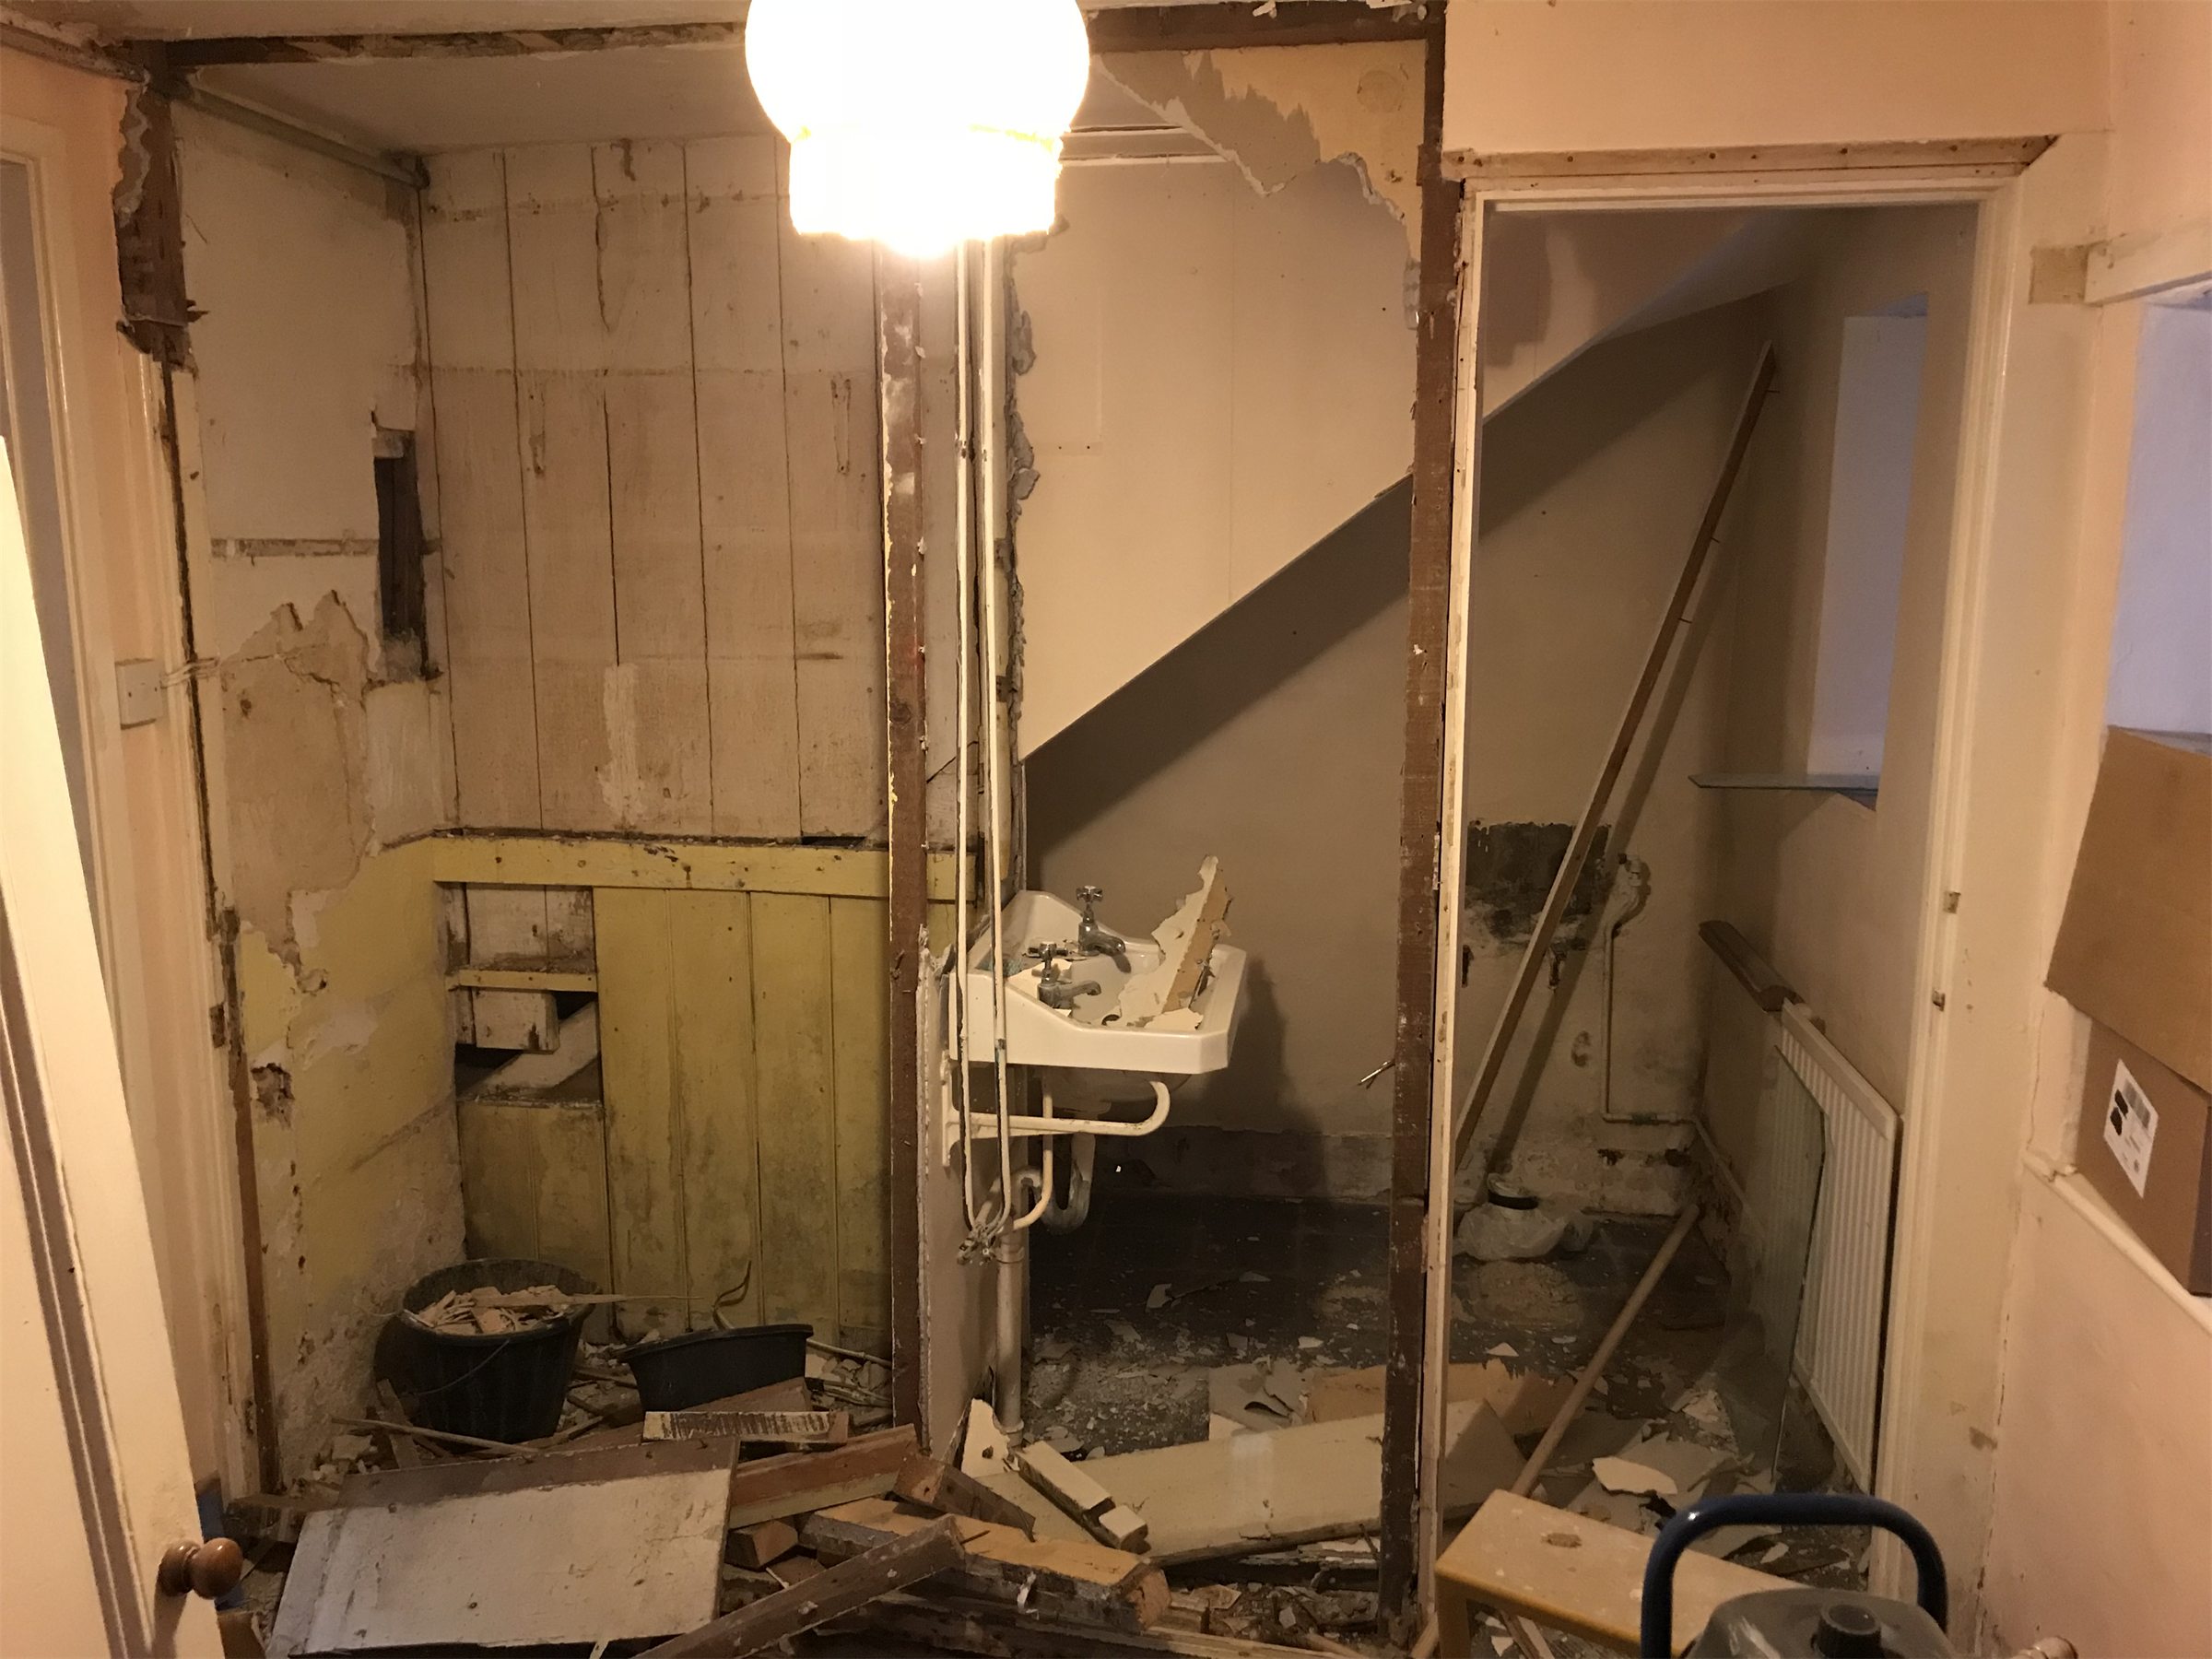
The base got drilled with pilot holes, these got carried through into the floor screed and the lot got wrall plugged in place. Next the wall pieces got the same treatment, making sure they were vertical. These though were cut short to allow the top piece to sit above with a very tight fit to the ceiling, resting on their ends. Finally, the uprights at 400 centres were added and noggins to finish it off. Obviously there's a doorway too. It all went up pretty sharpish in an hour or two.