
Alongside all of the rest of it, the shower’s been ticking over in the background. Bits of pipe added. Plasterboard stuck on. Holes cut out. Radiators bought. Cisterns ordered. LED light strips sourced. Like a gathering storm it’s all been coming together. Hopefully, just like the storm, lots of water will arrive from overhead at some point too. Preferably warm water. Without further ado, here it is.
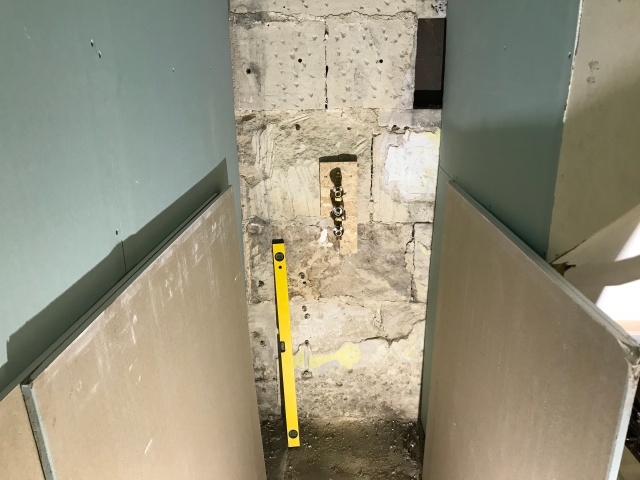
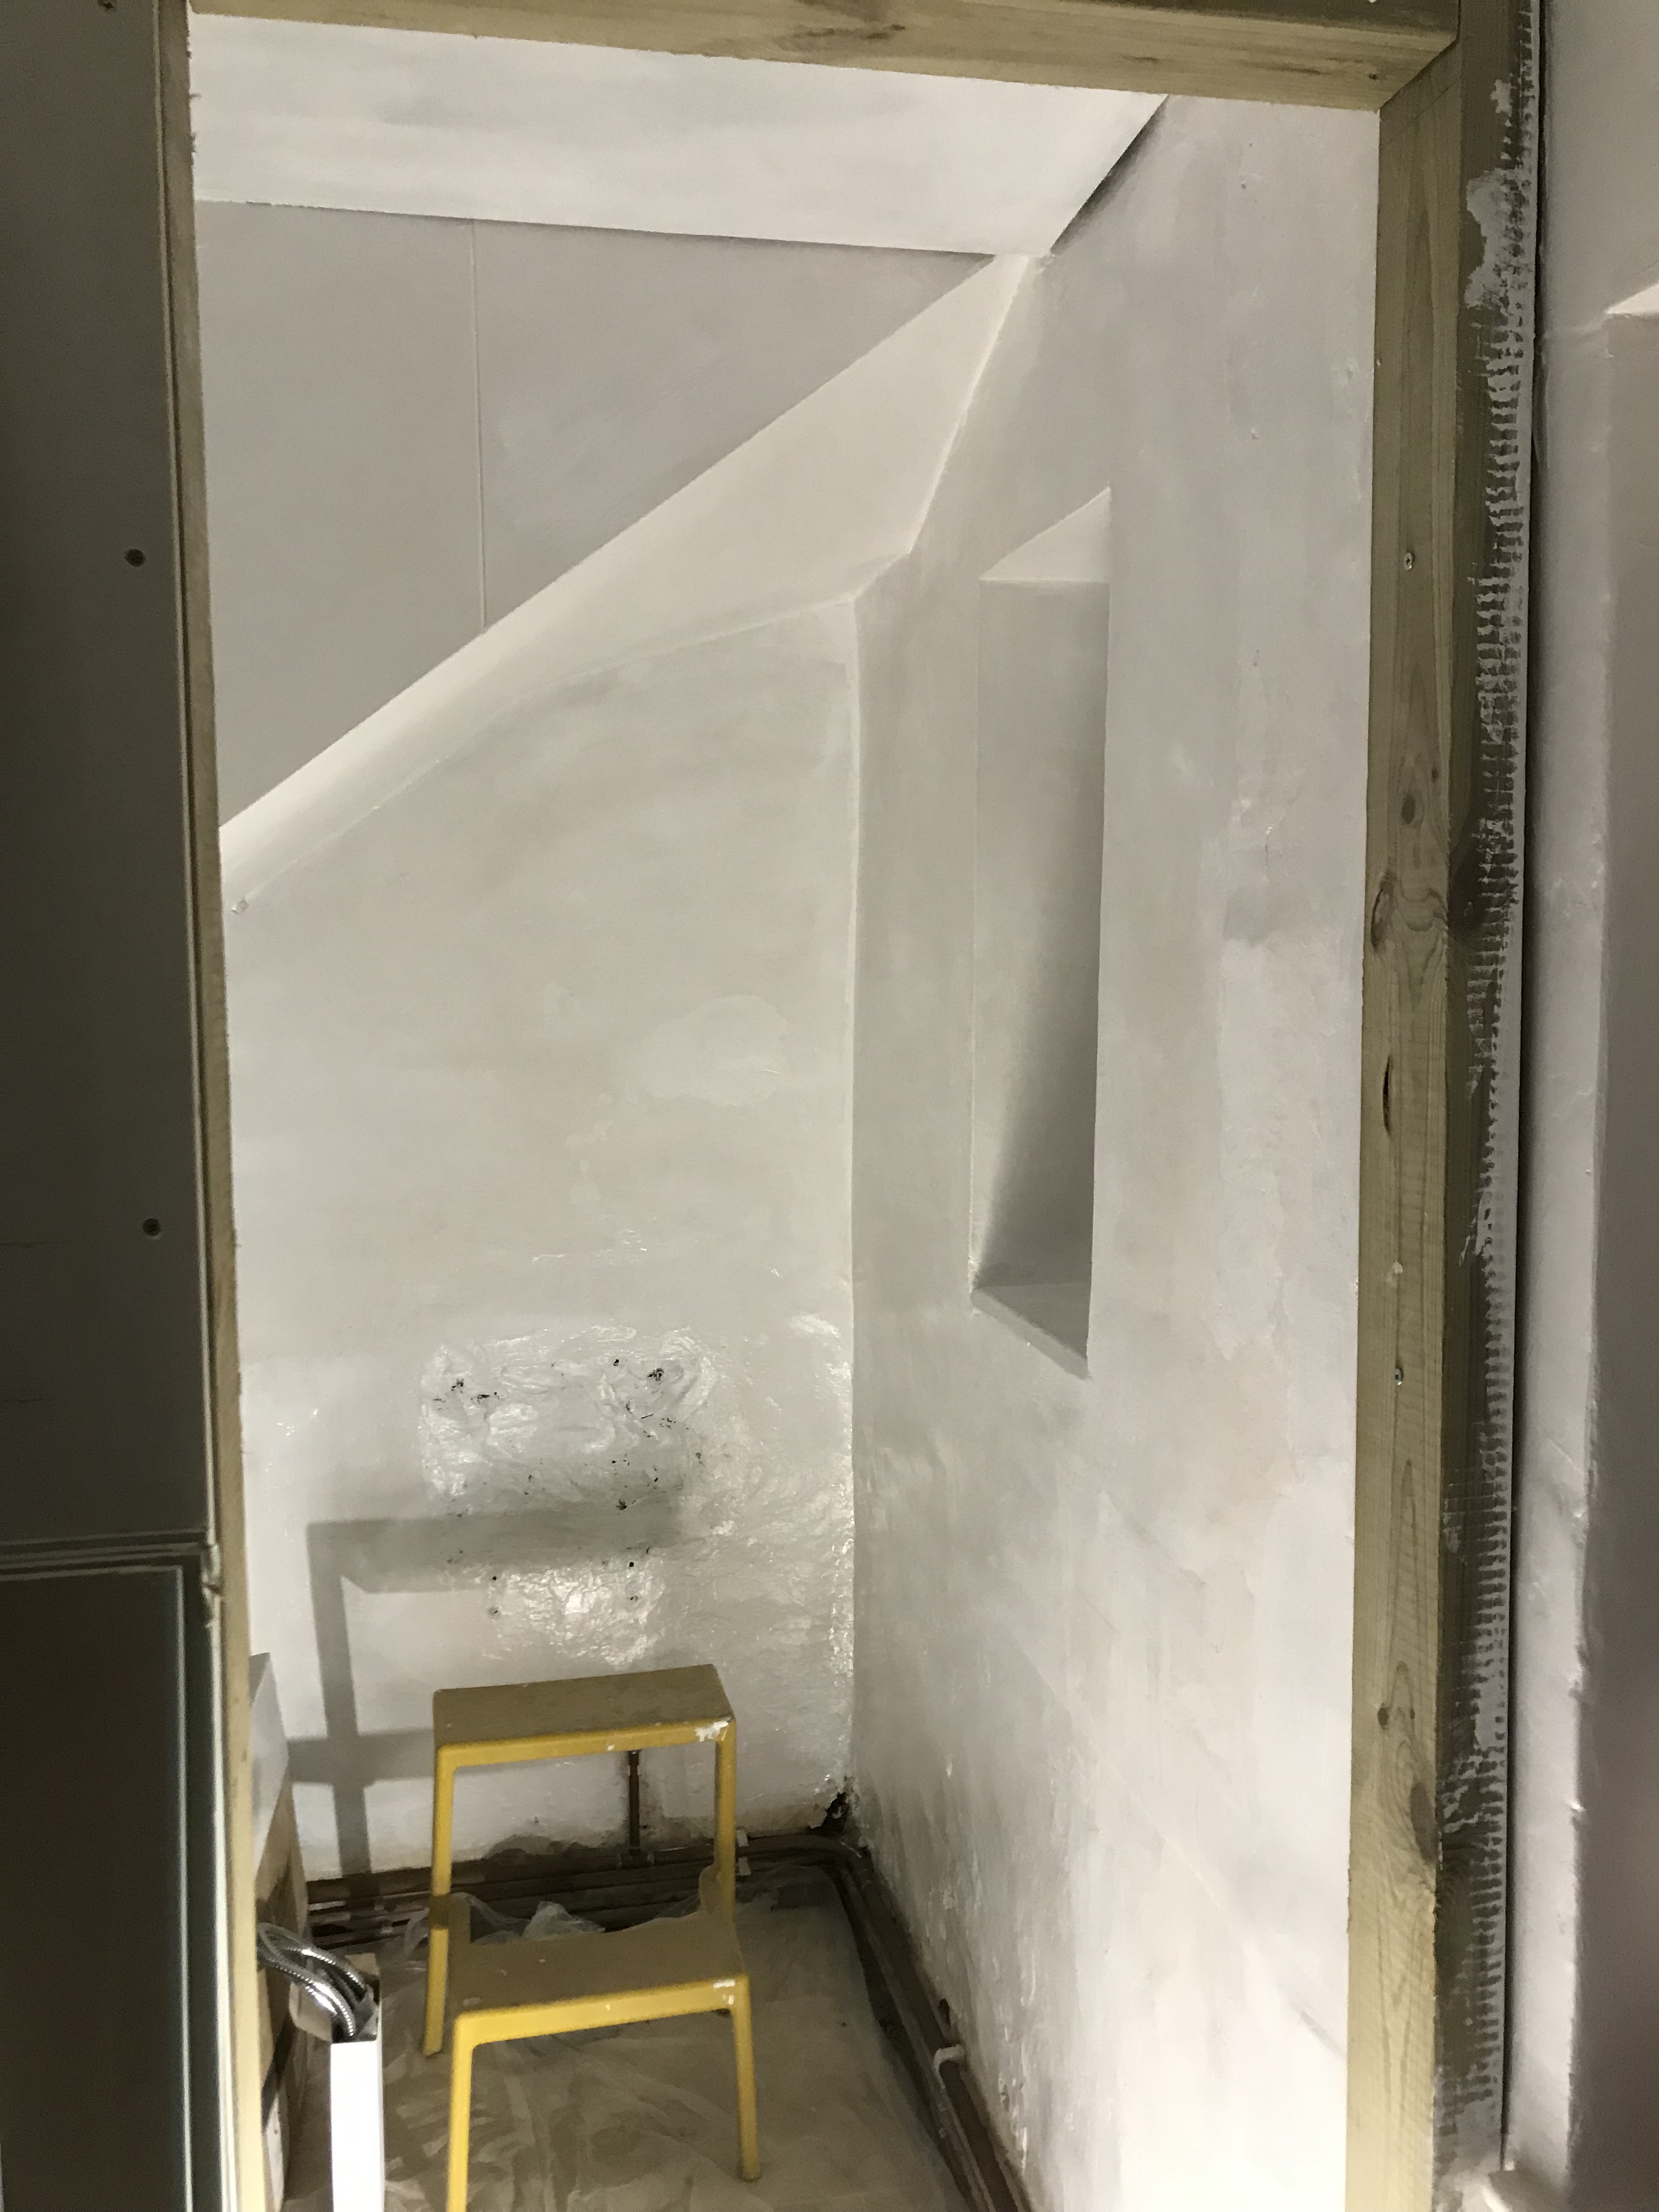
It starts with making a flat surface.
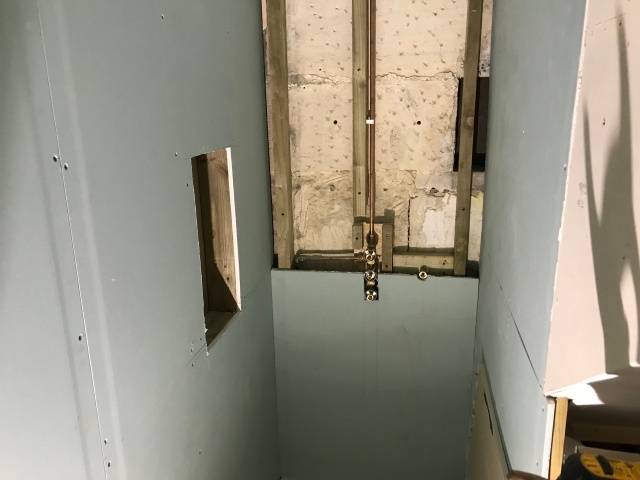
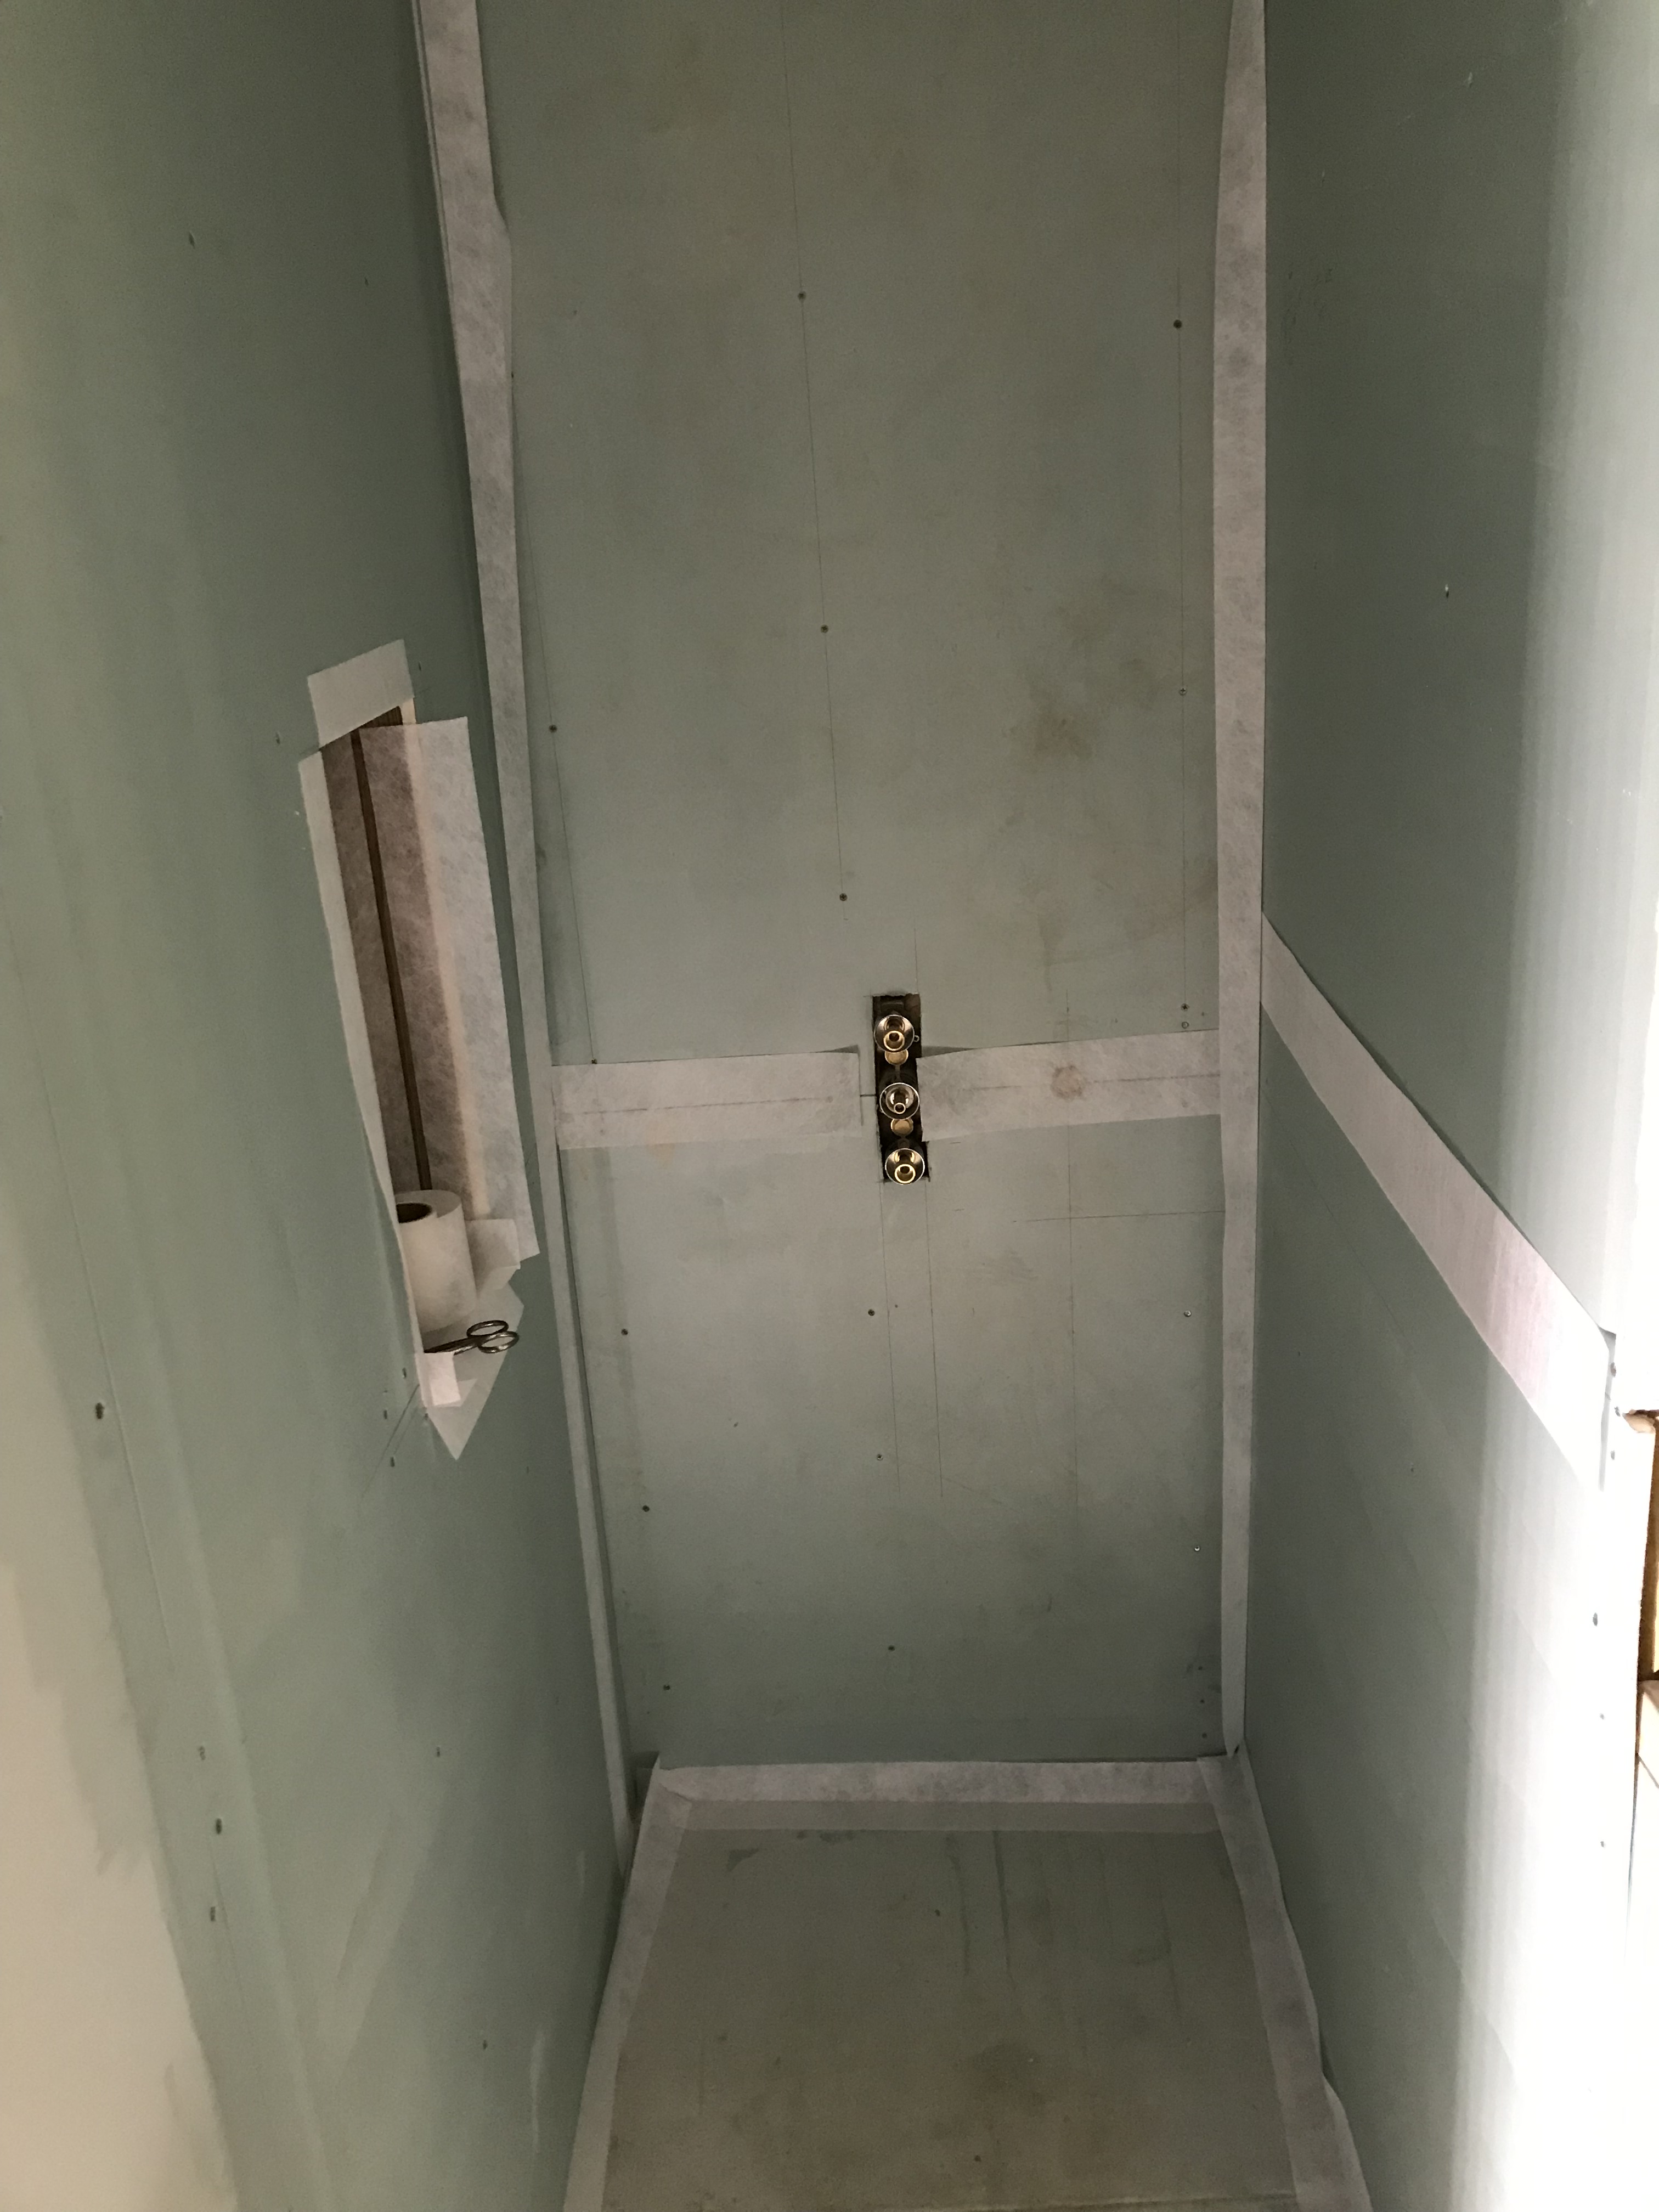
Then a mixer valve.
And some water feeds.
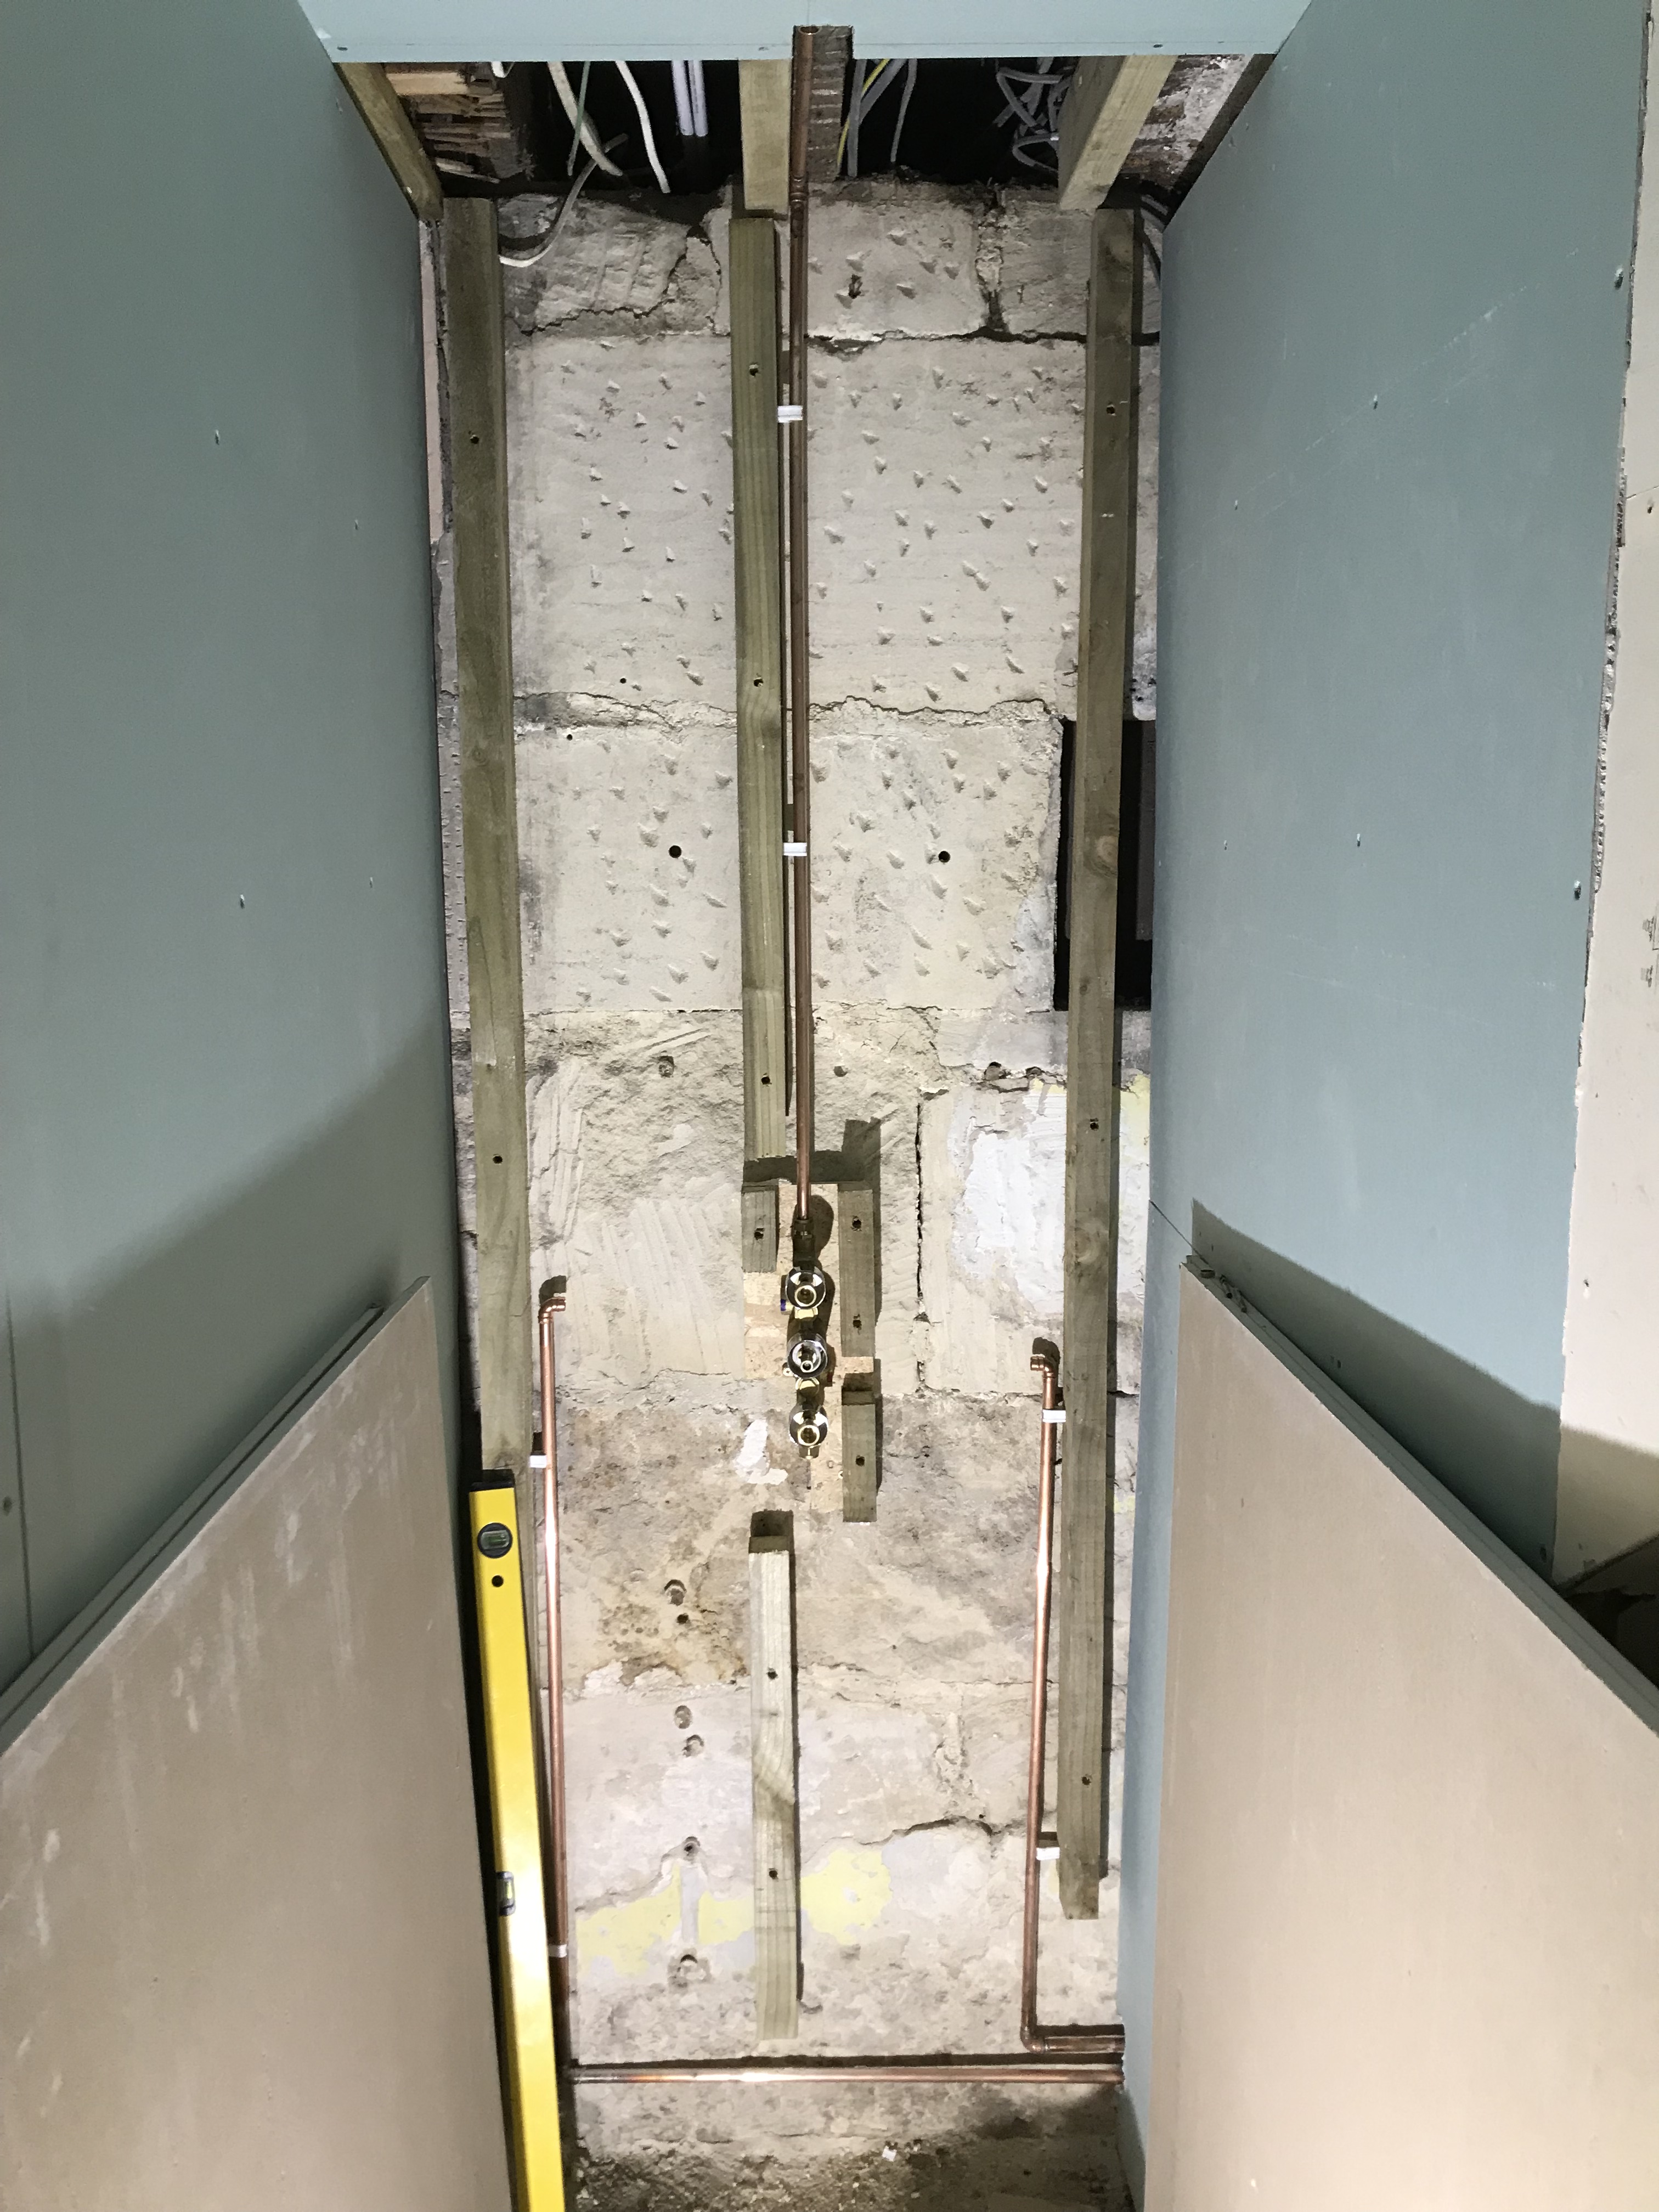
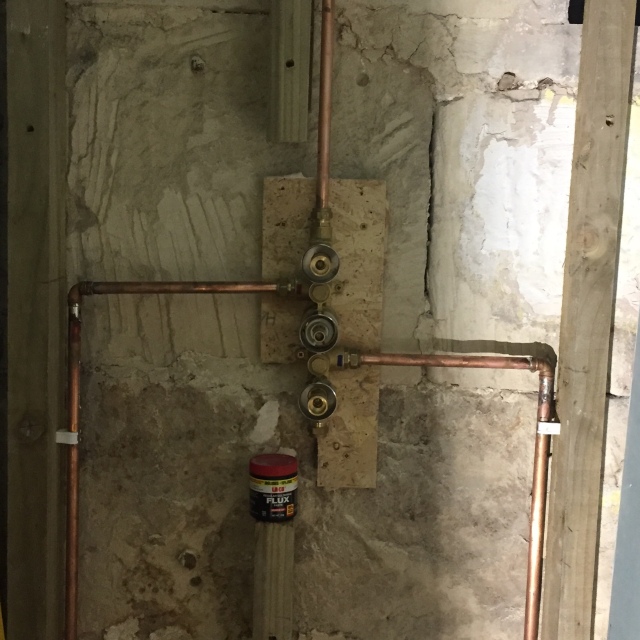
Hooking them up…
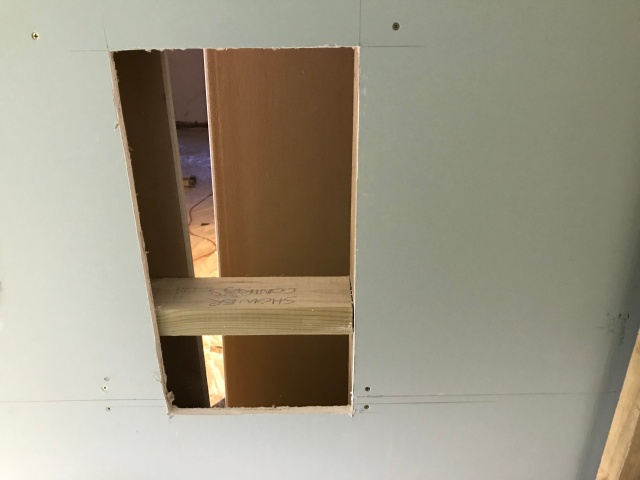
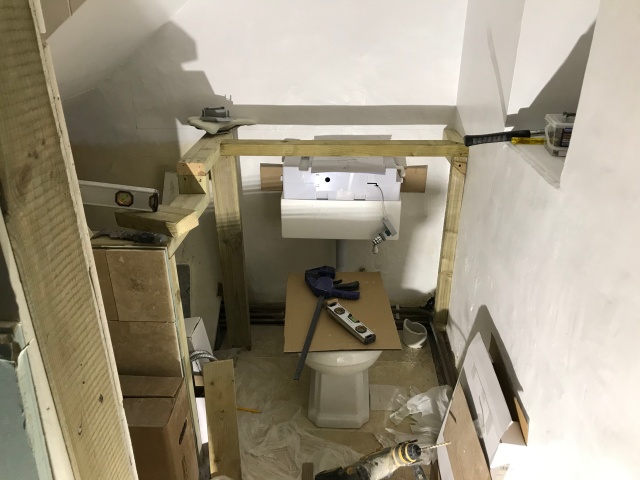
Adding some luxuries. The noggin had to move.
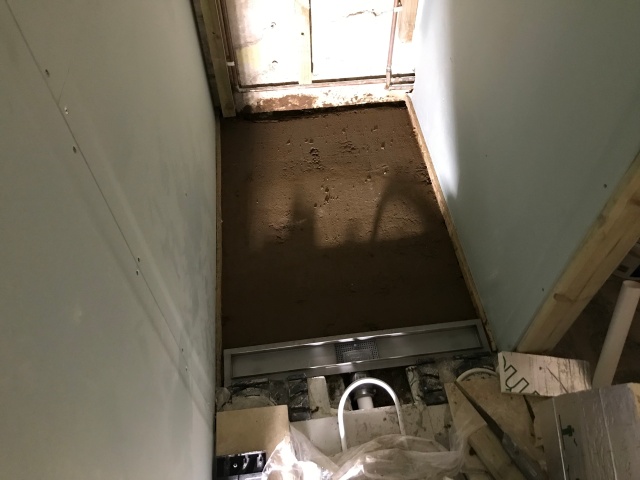
How to make a slightly sloped surface. Angled side batten and tamping down a screed mix.
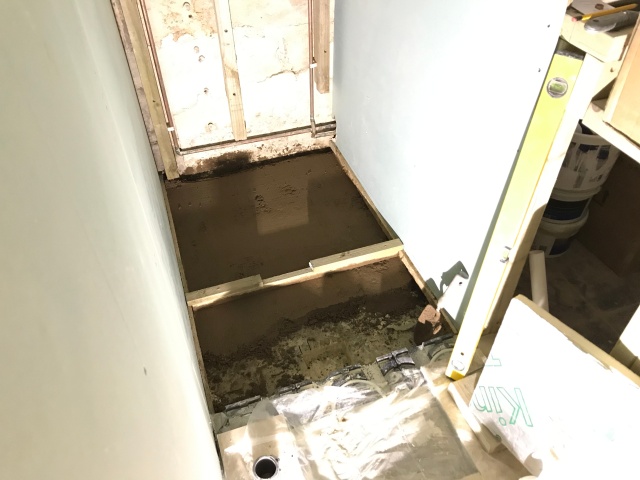
Fitting the drain.
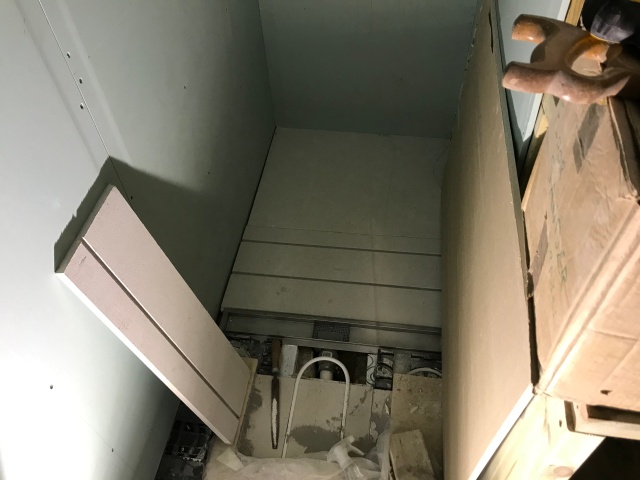
Battens and board. Careful to get measurements right for tiling thickness!
A little insulation then concrete board for tiling.
Scrim tape on the corners and joins before tanking.
First coat of tanking paint.
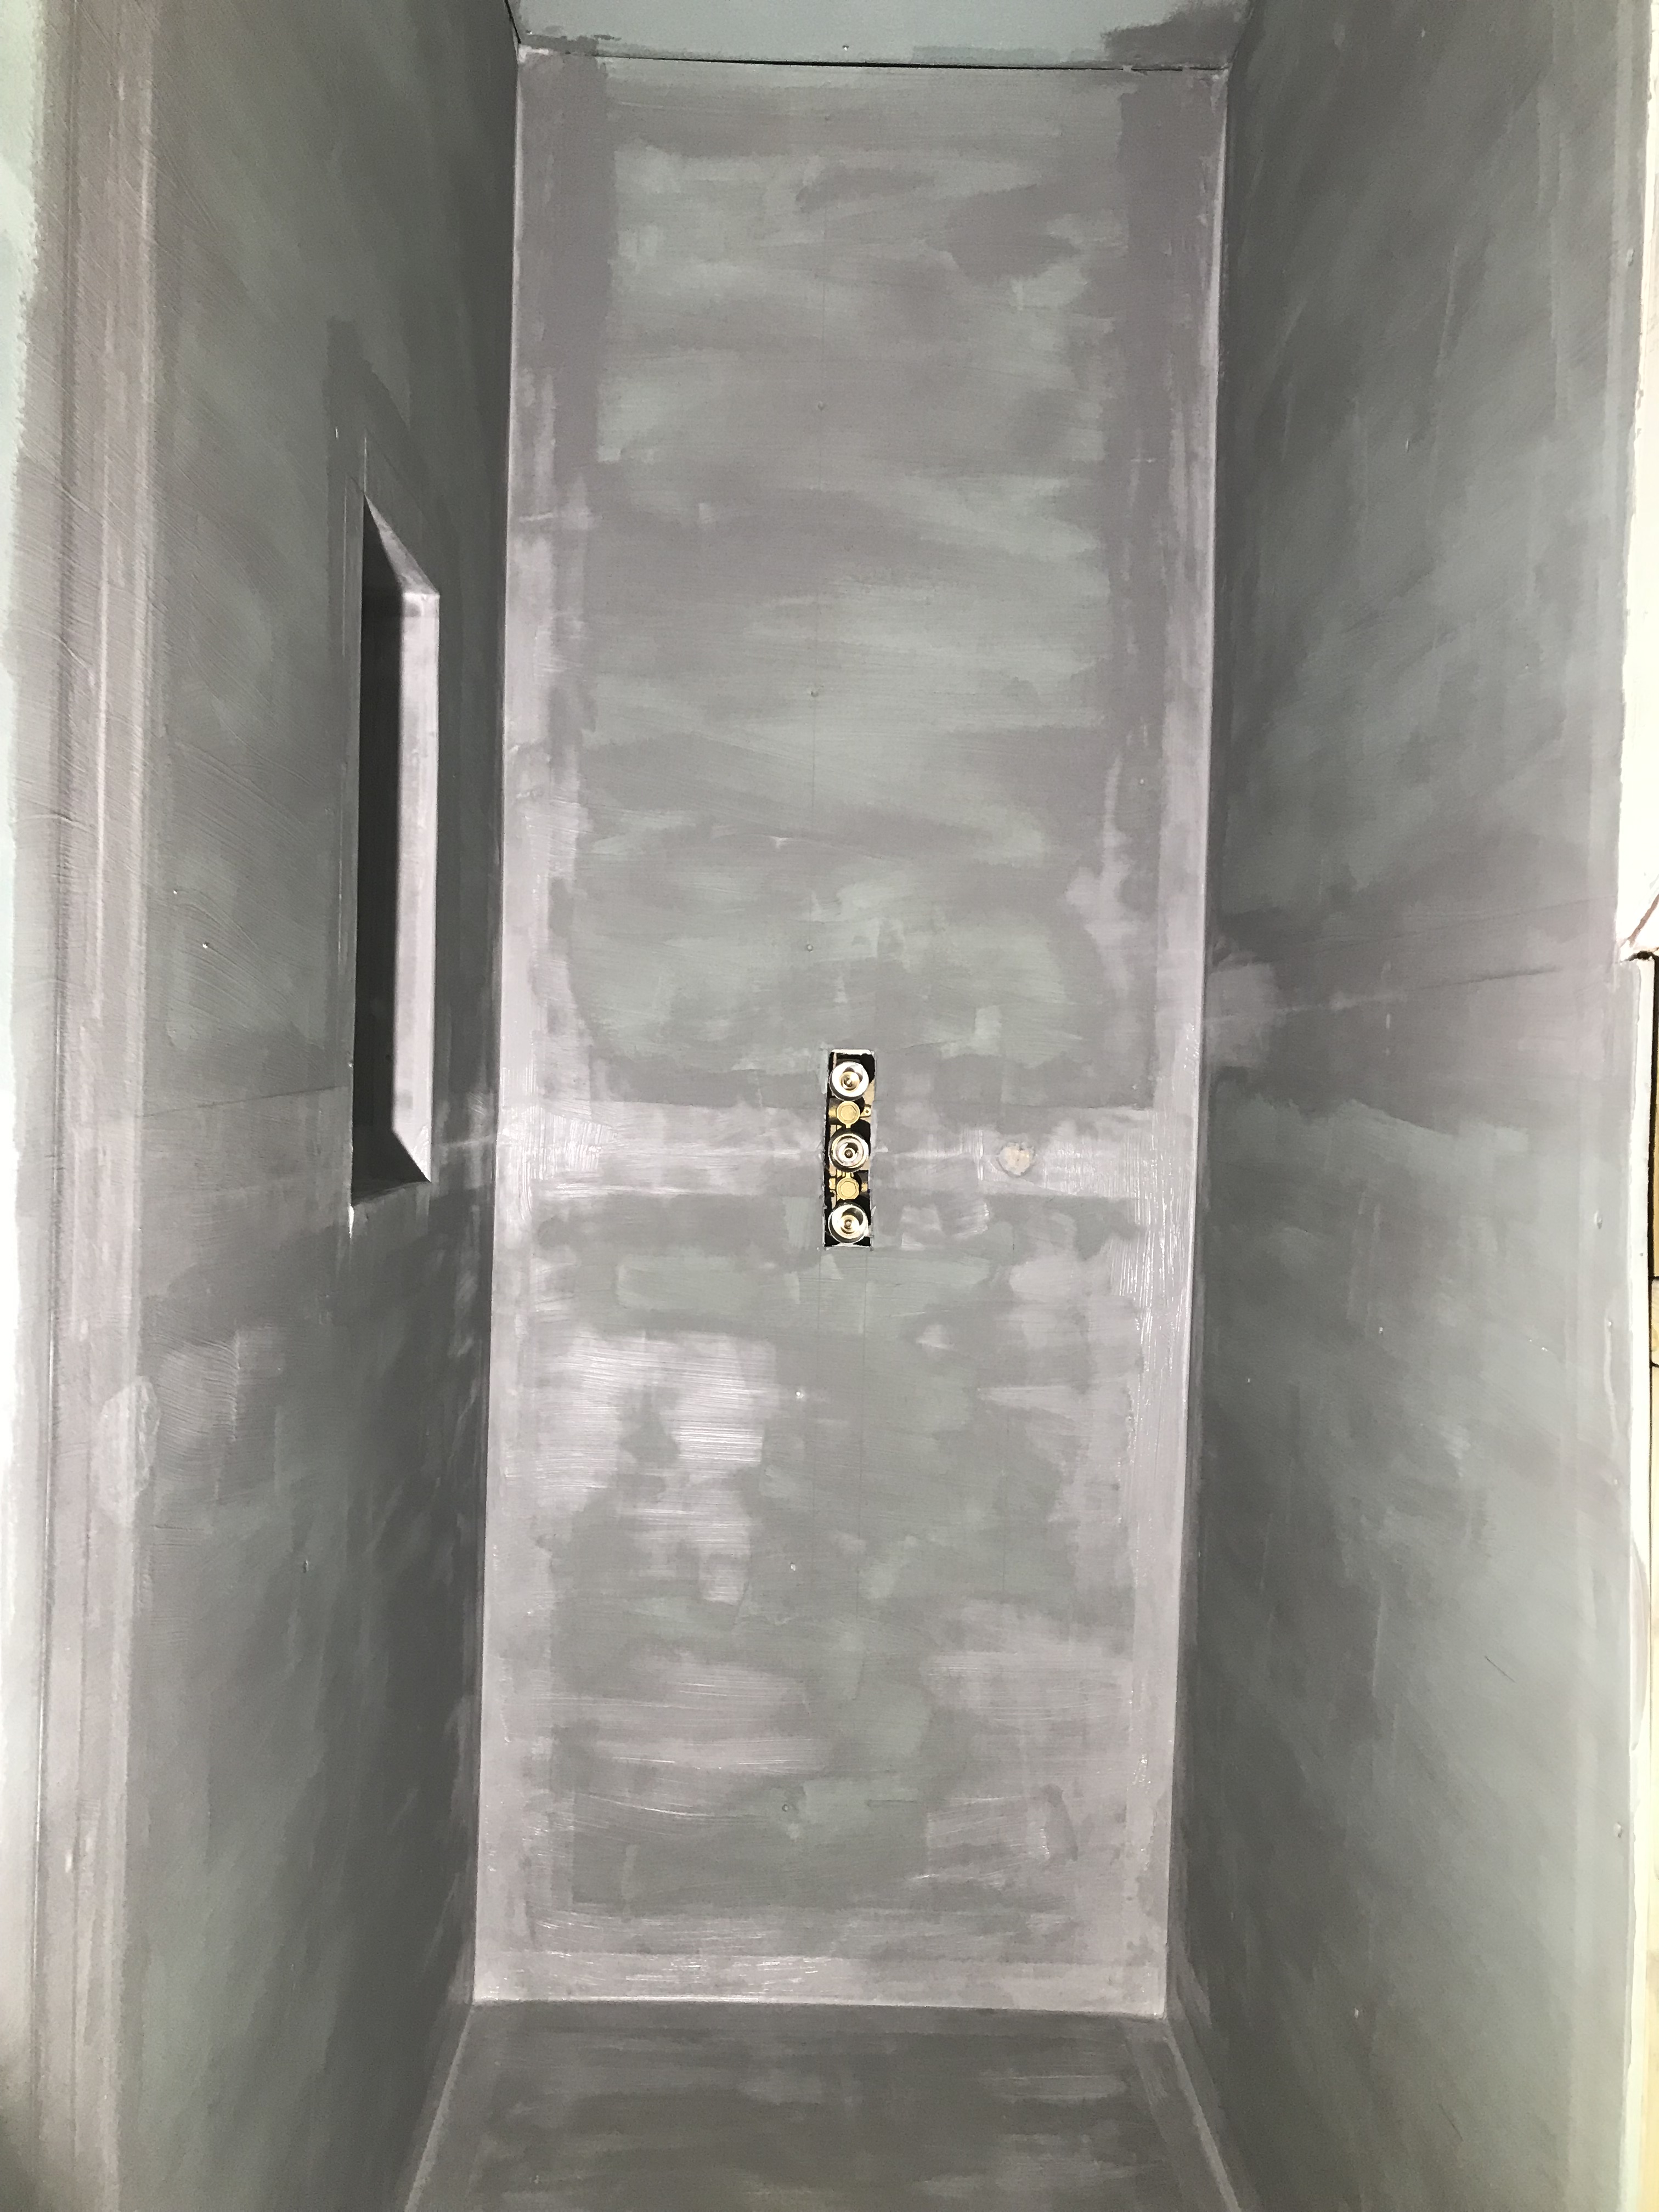
And a second to seal it all up.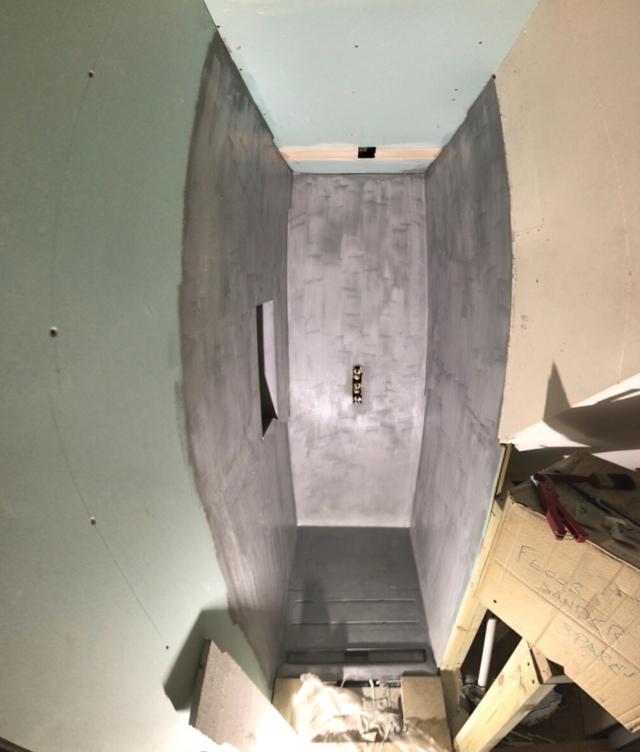
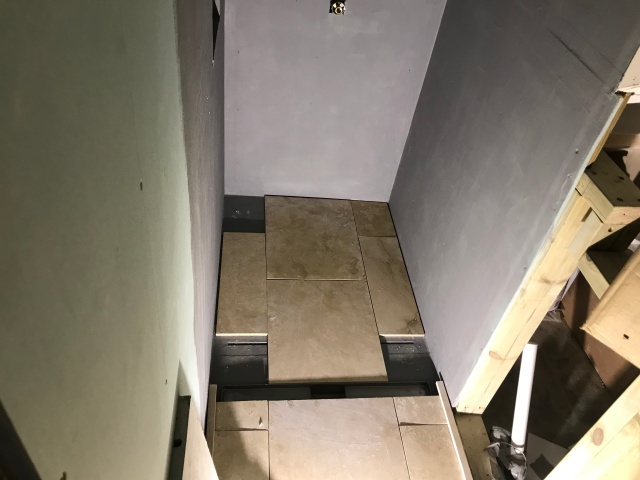
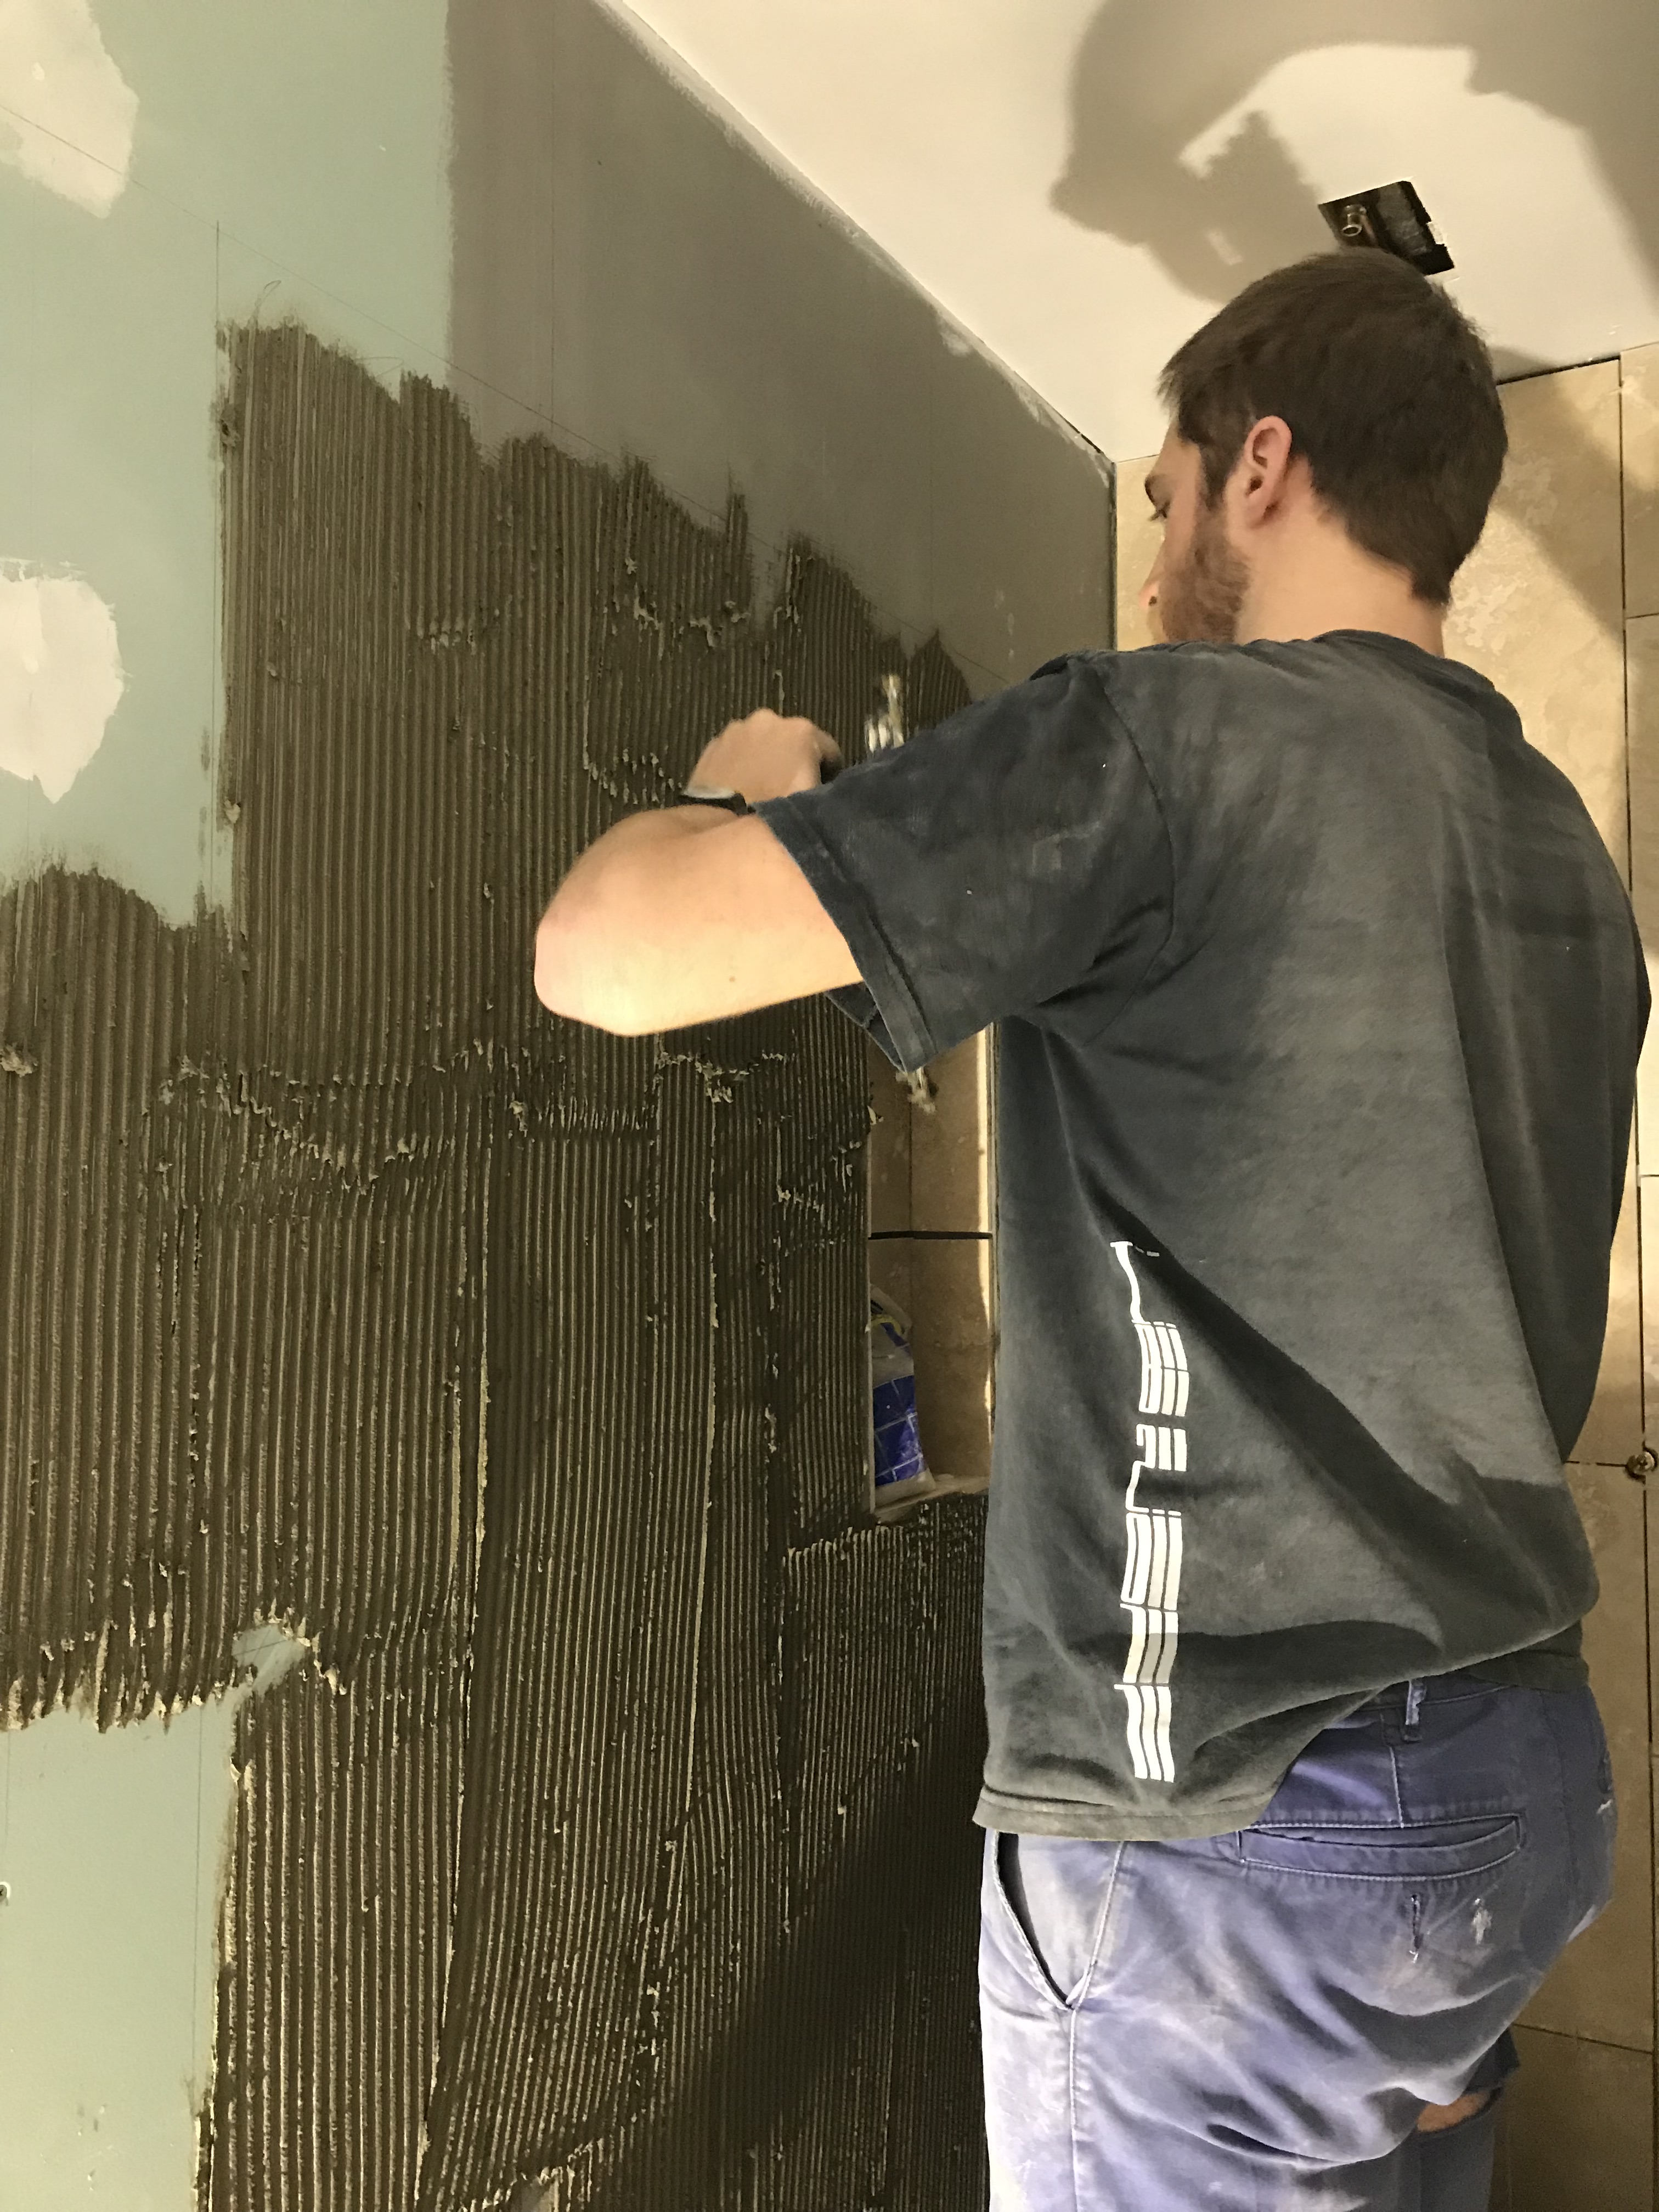
Once it’s dry, the tiling begins.
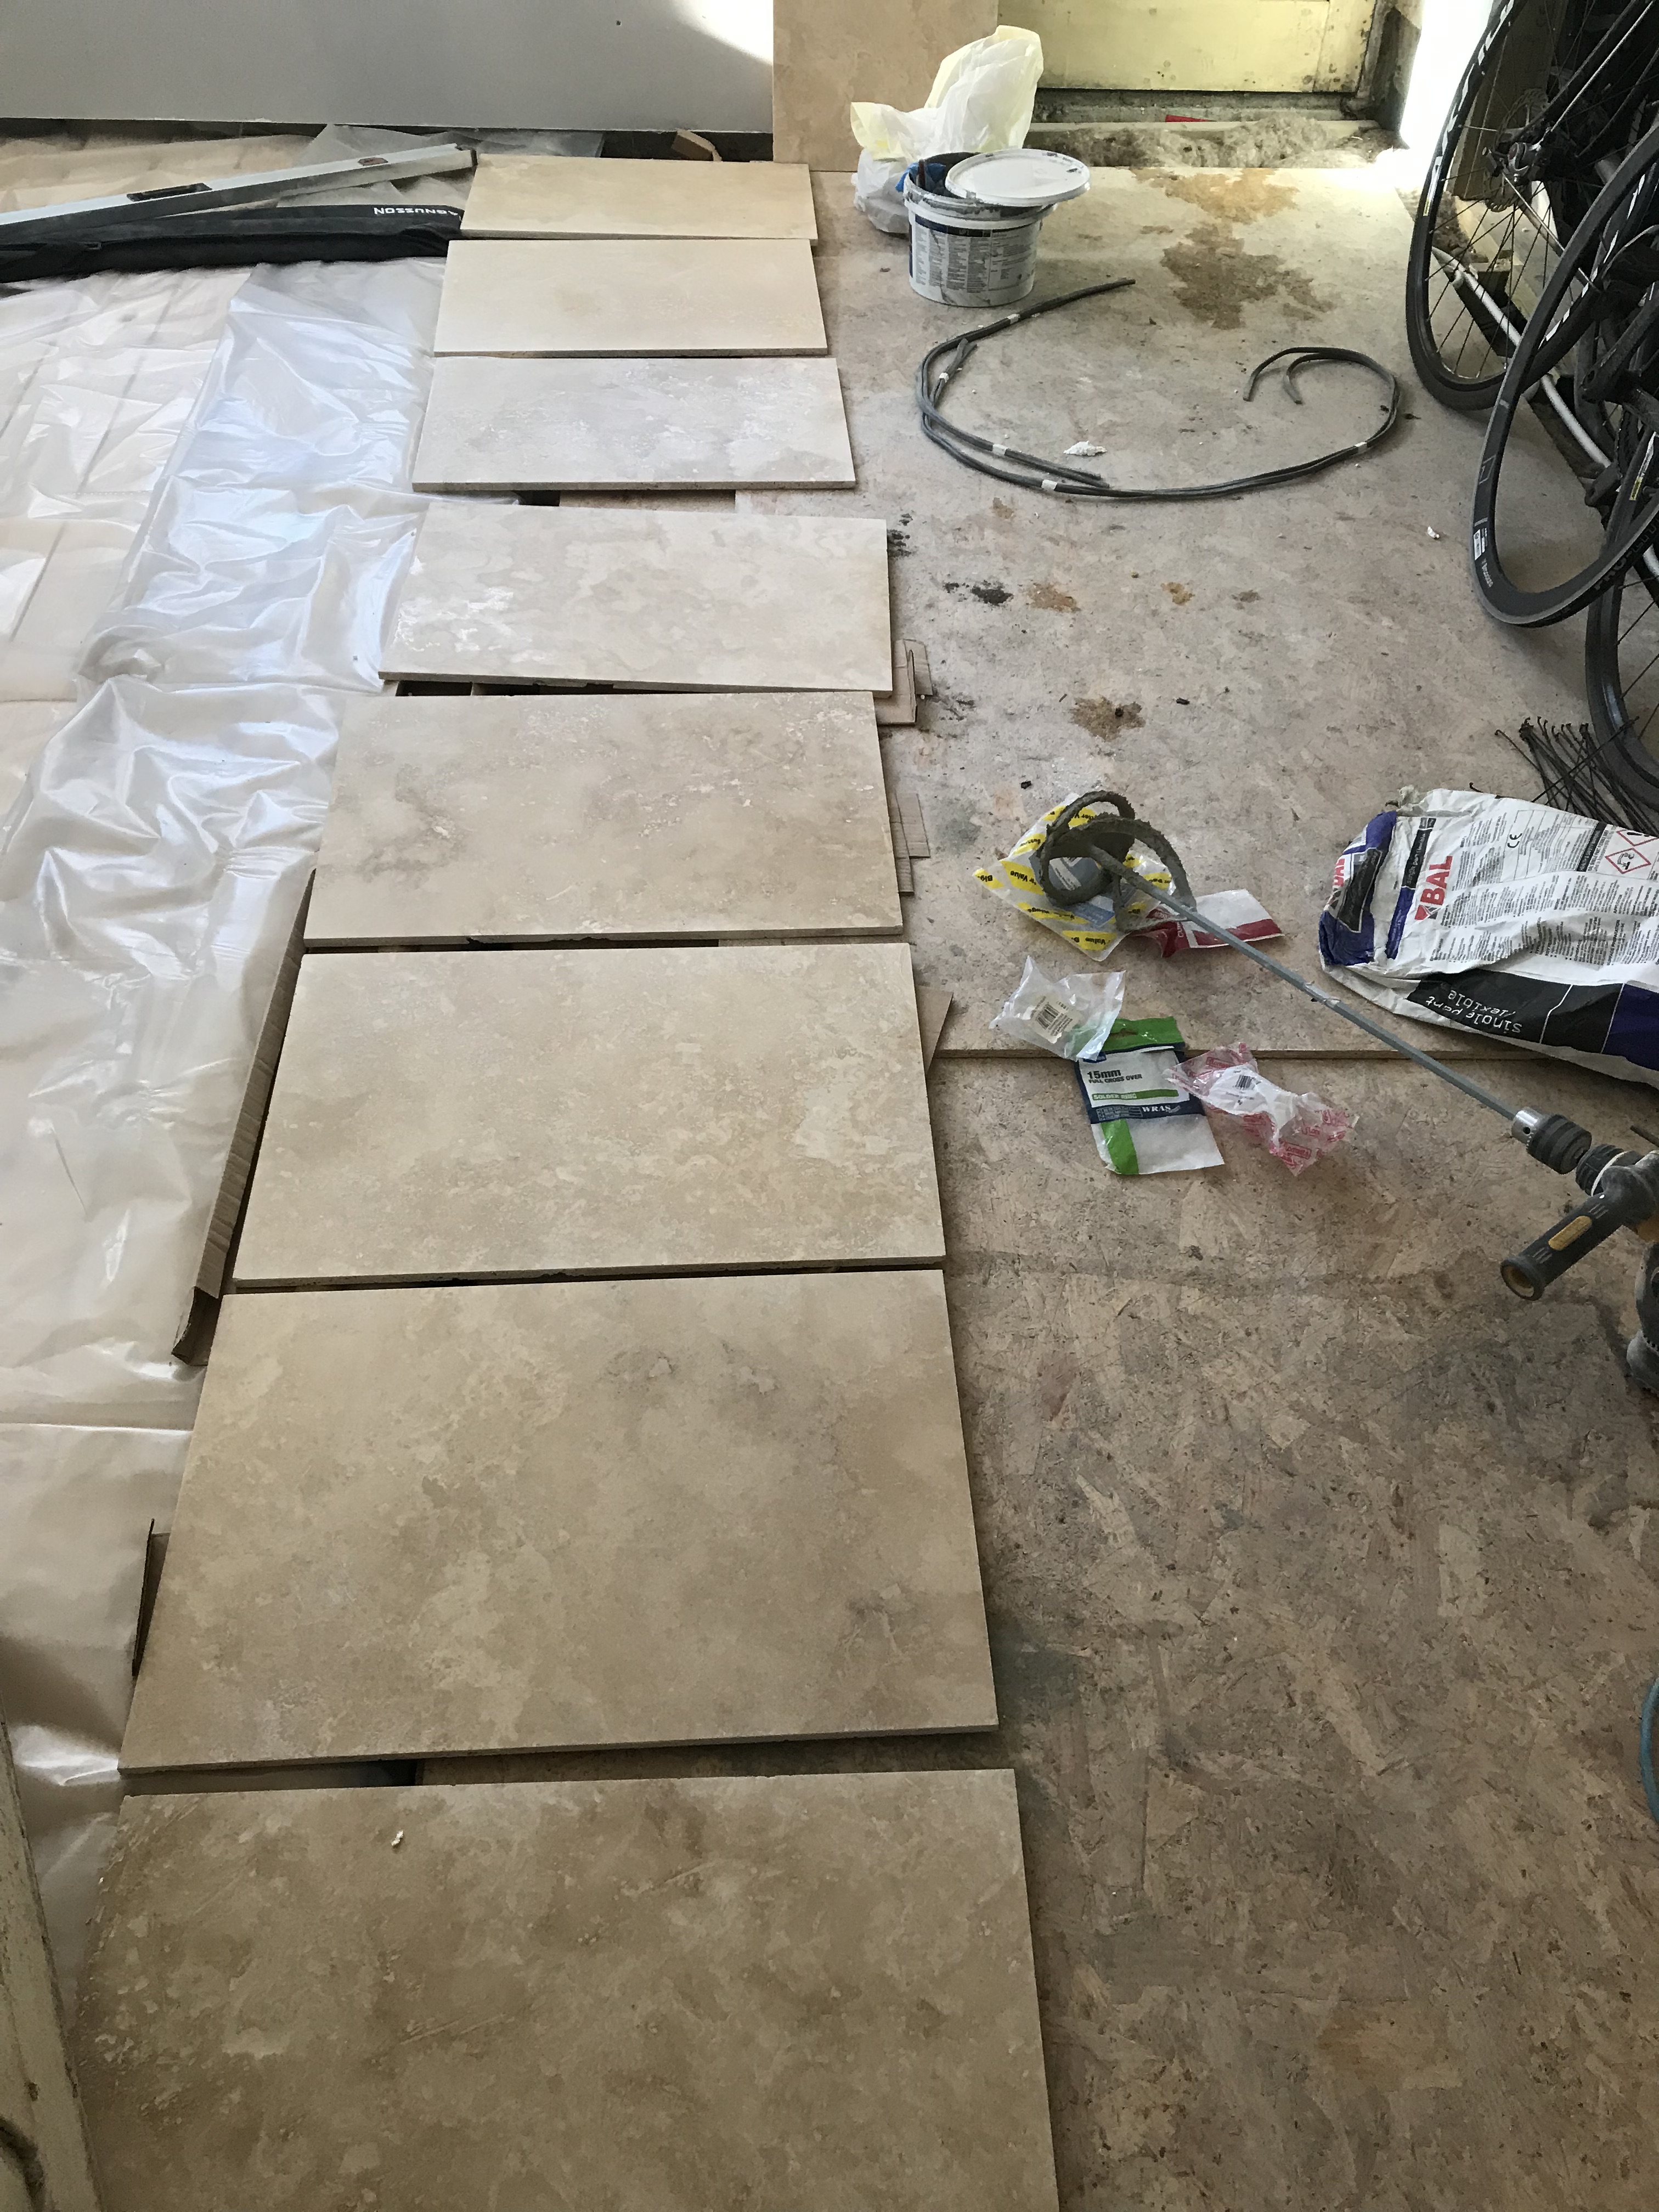
Choosing tiles. You want the nice ones at eye level don’t you.
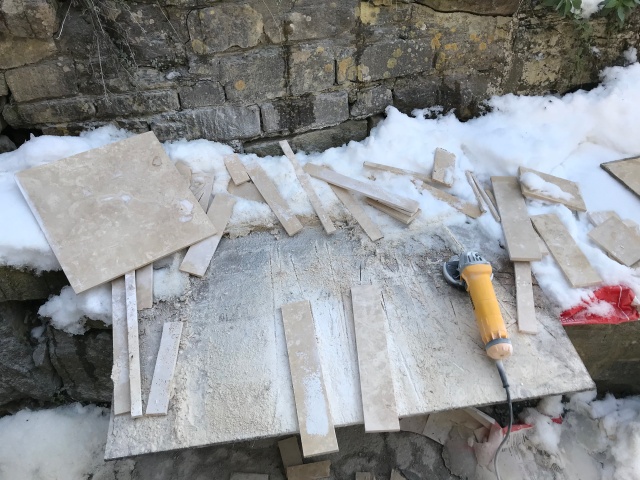
Measuring and cutting down the ‘quarry’.
In goes the end wall.
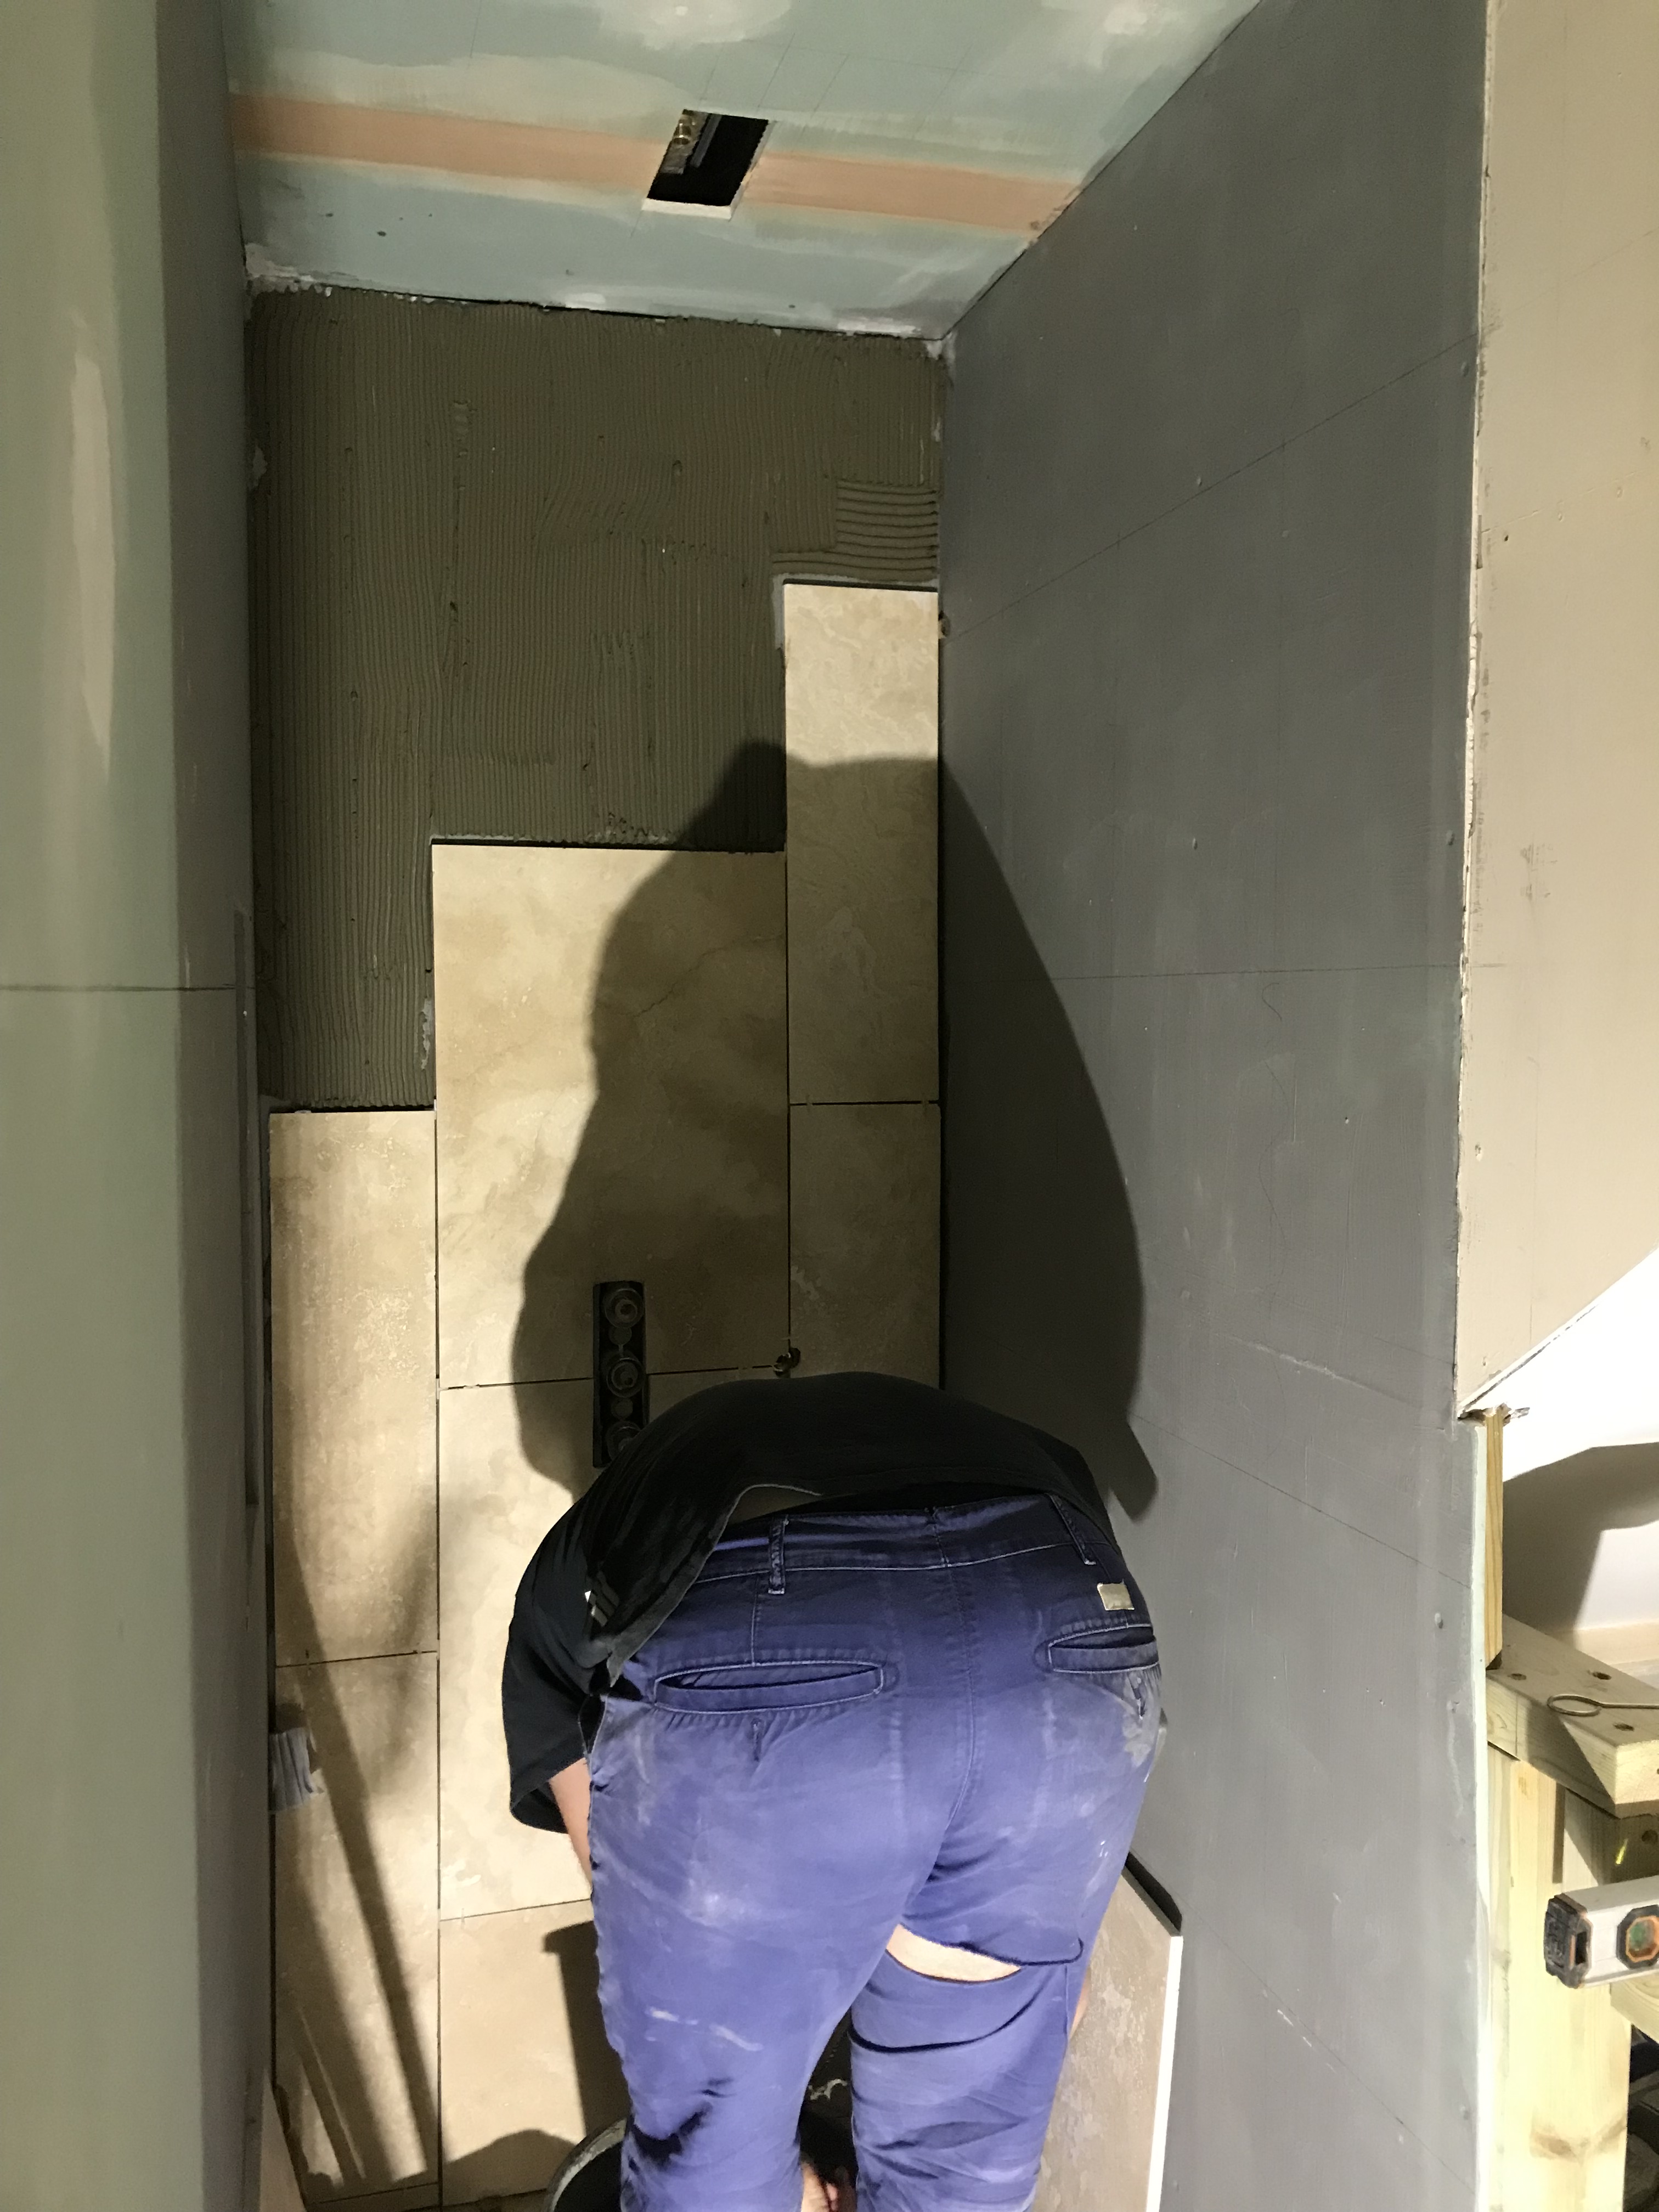
Queuing up the side walls.
Pasting up the wall. Much easier and more consistent to do a large surface in one go.
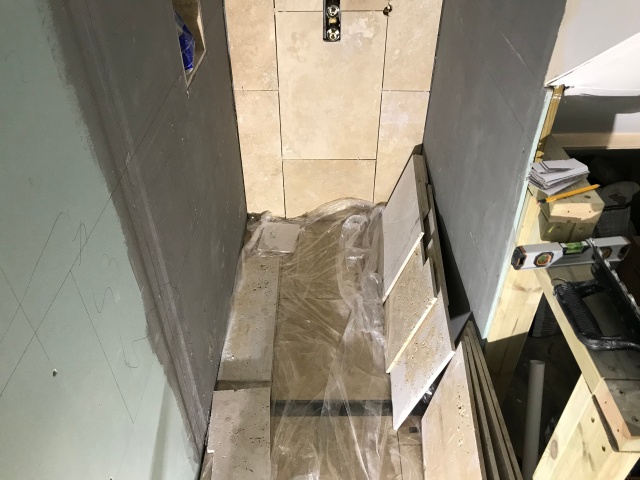
Some temporary support to hold the whole tiles. Trying to mitigate against compound errors coming up to the door frame.
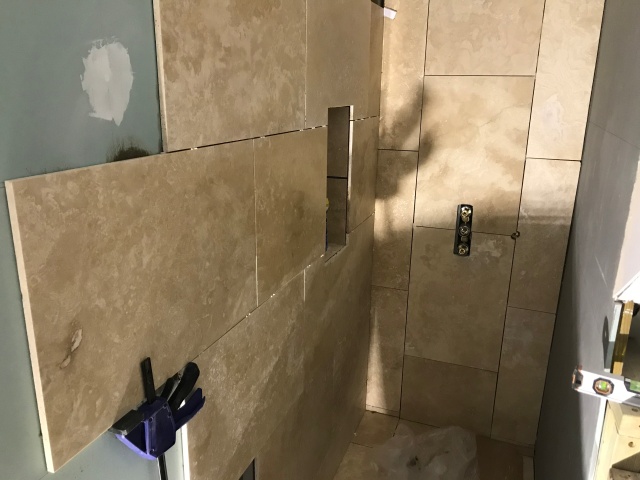
All the whole tiles in.
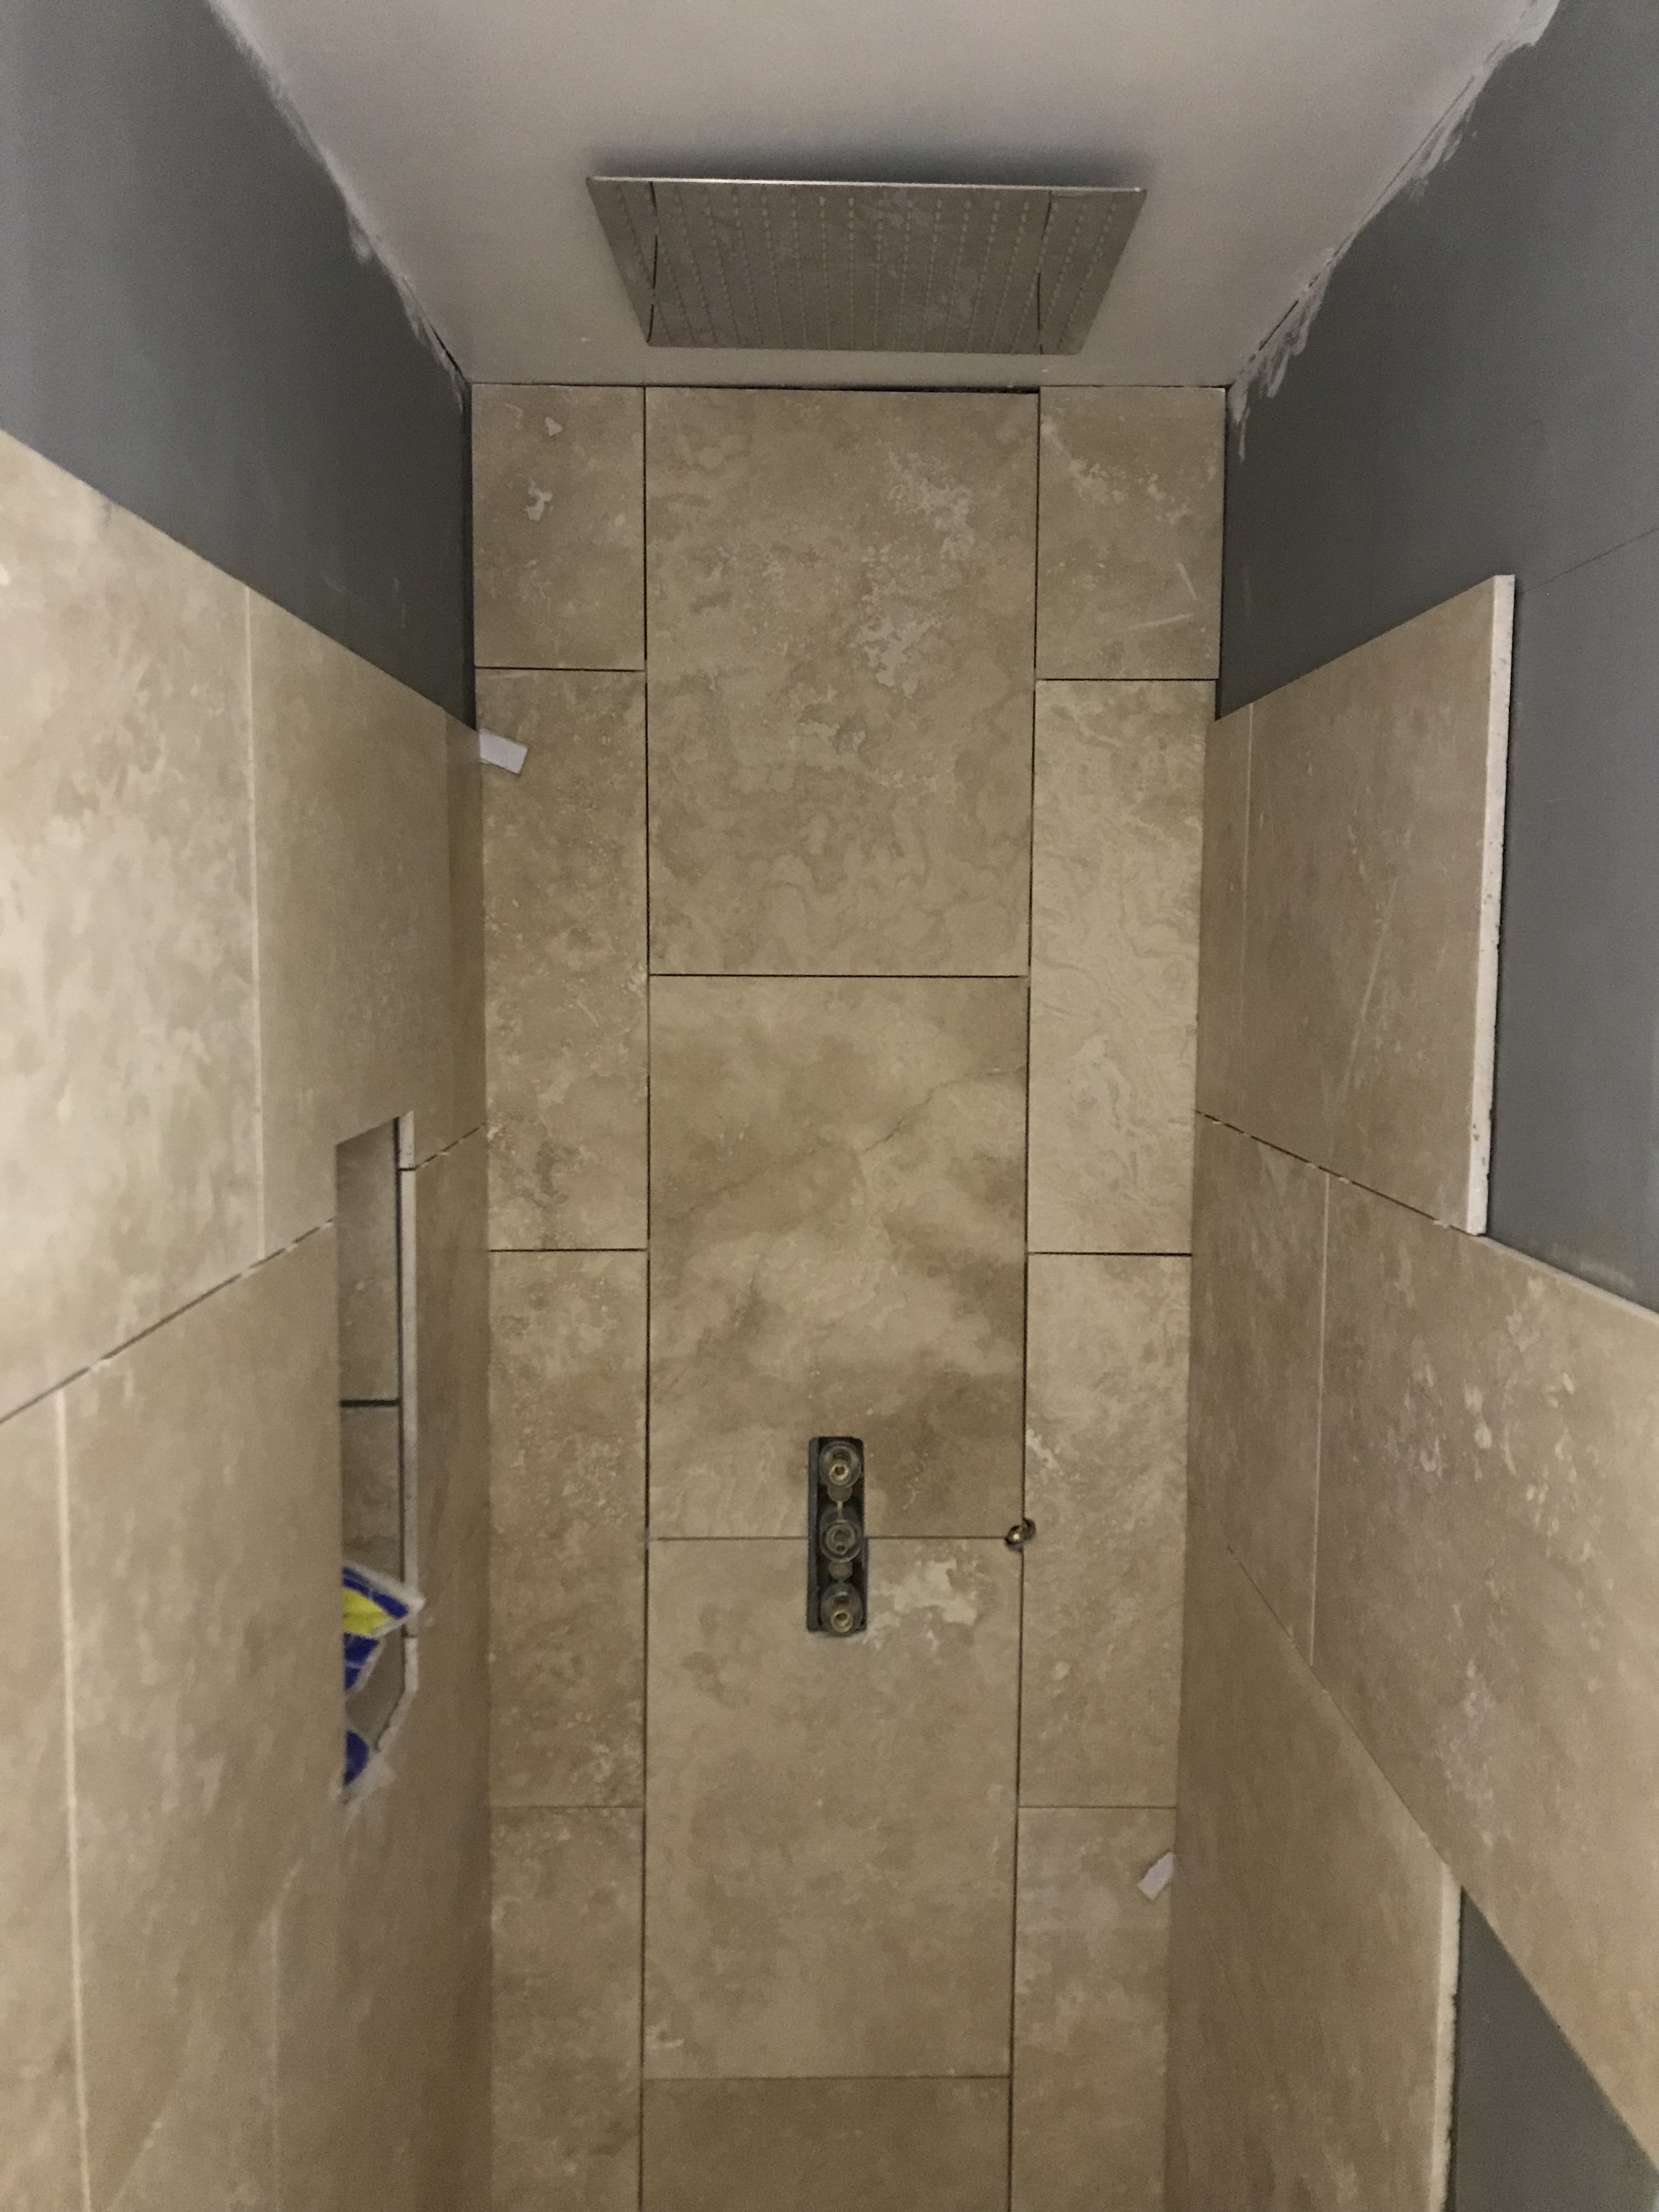
Cheeky trial of the shower head.
First coat of painting from Beth.
Welcome delivery.
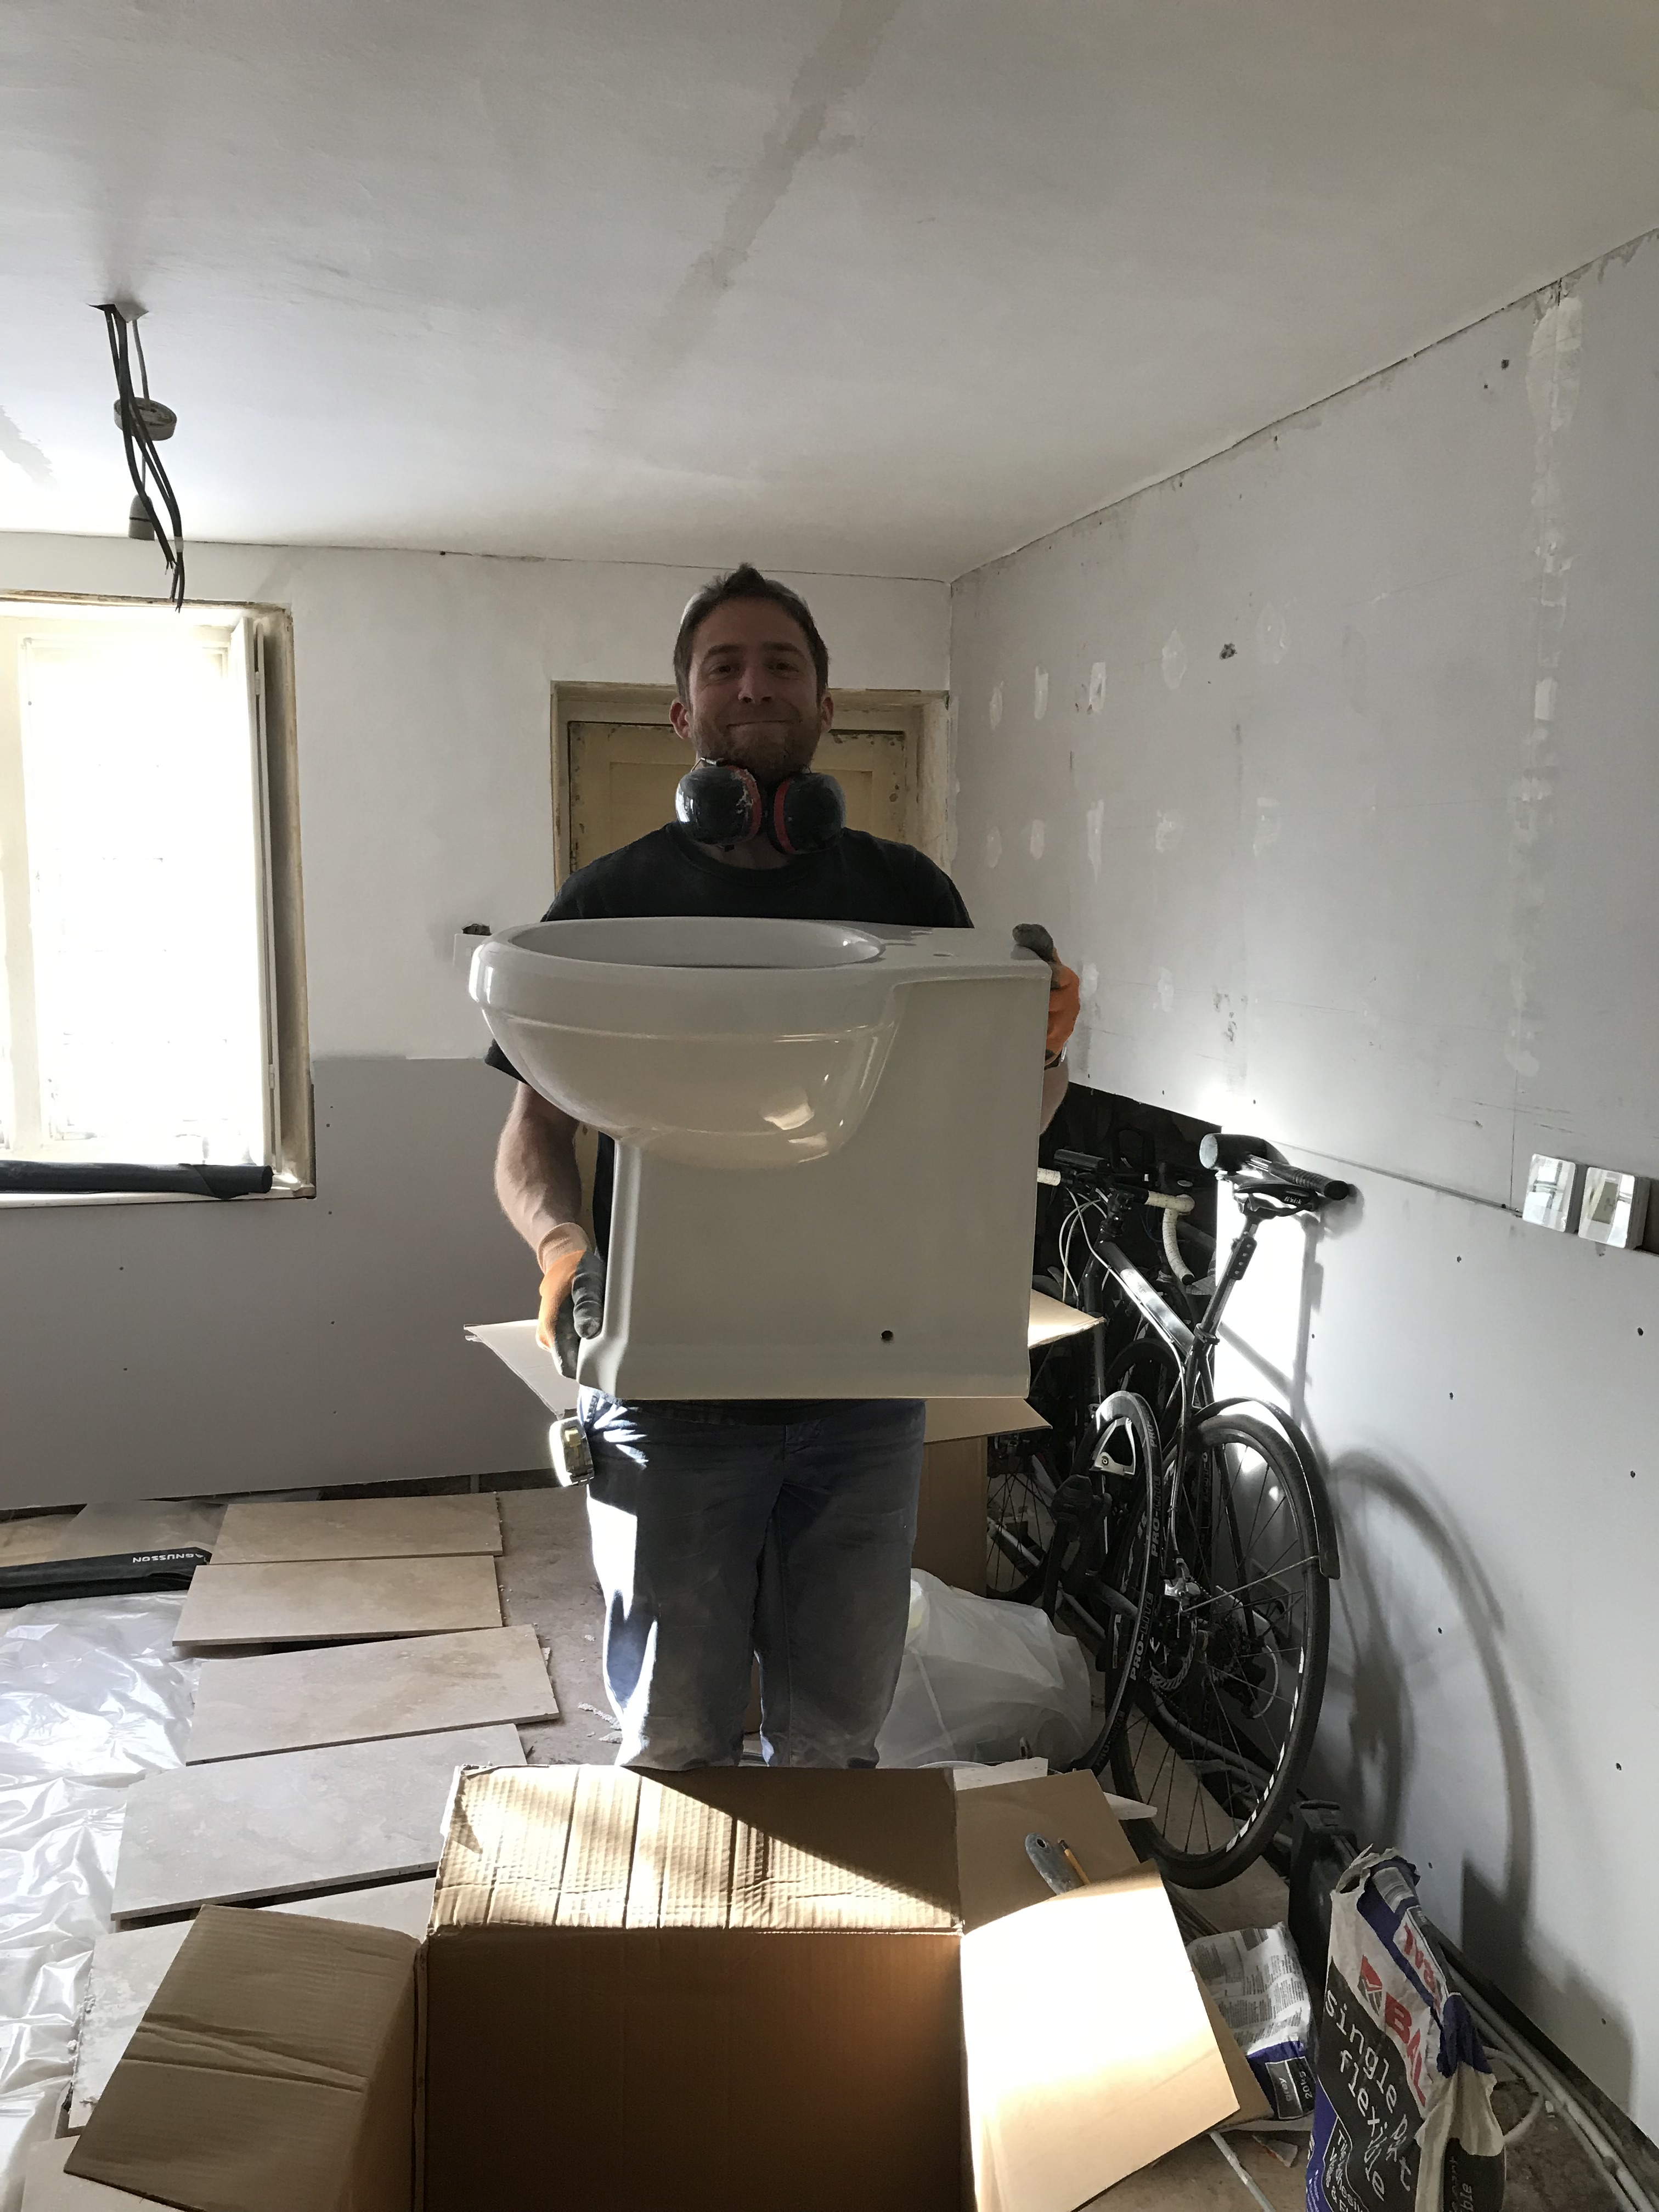
A good fit.
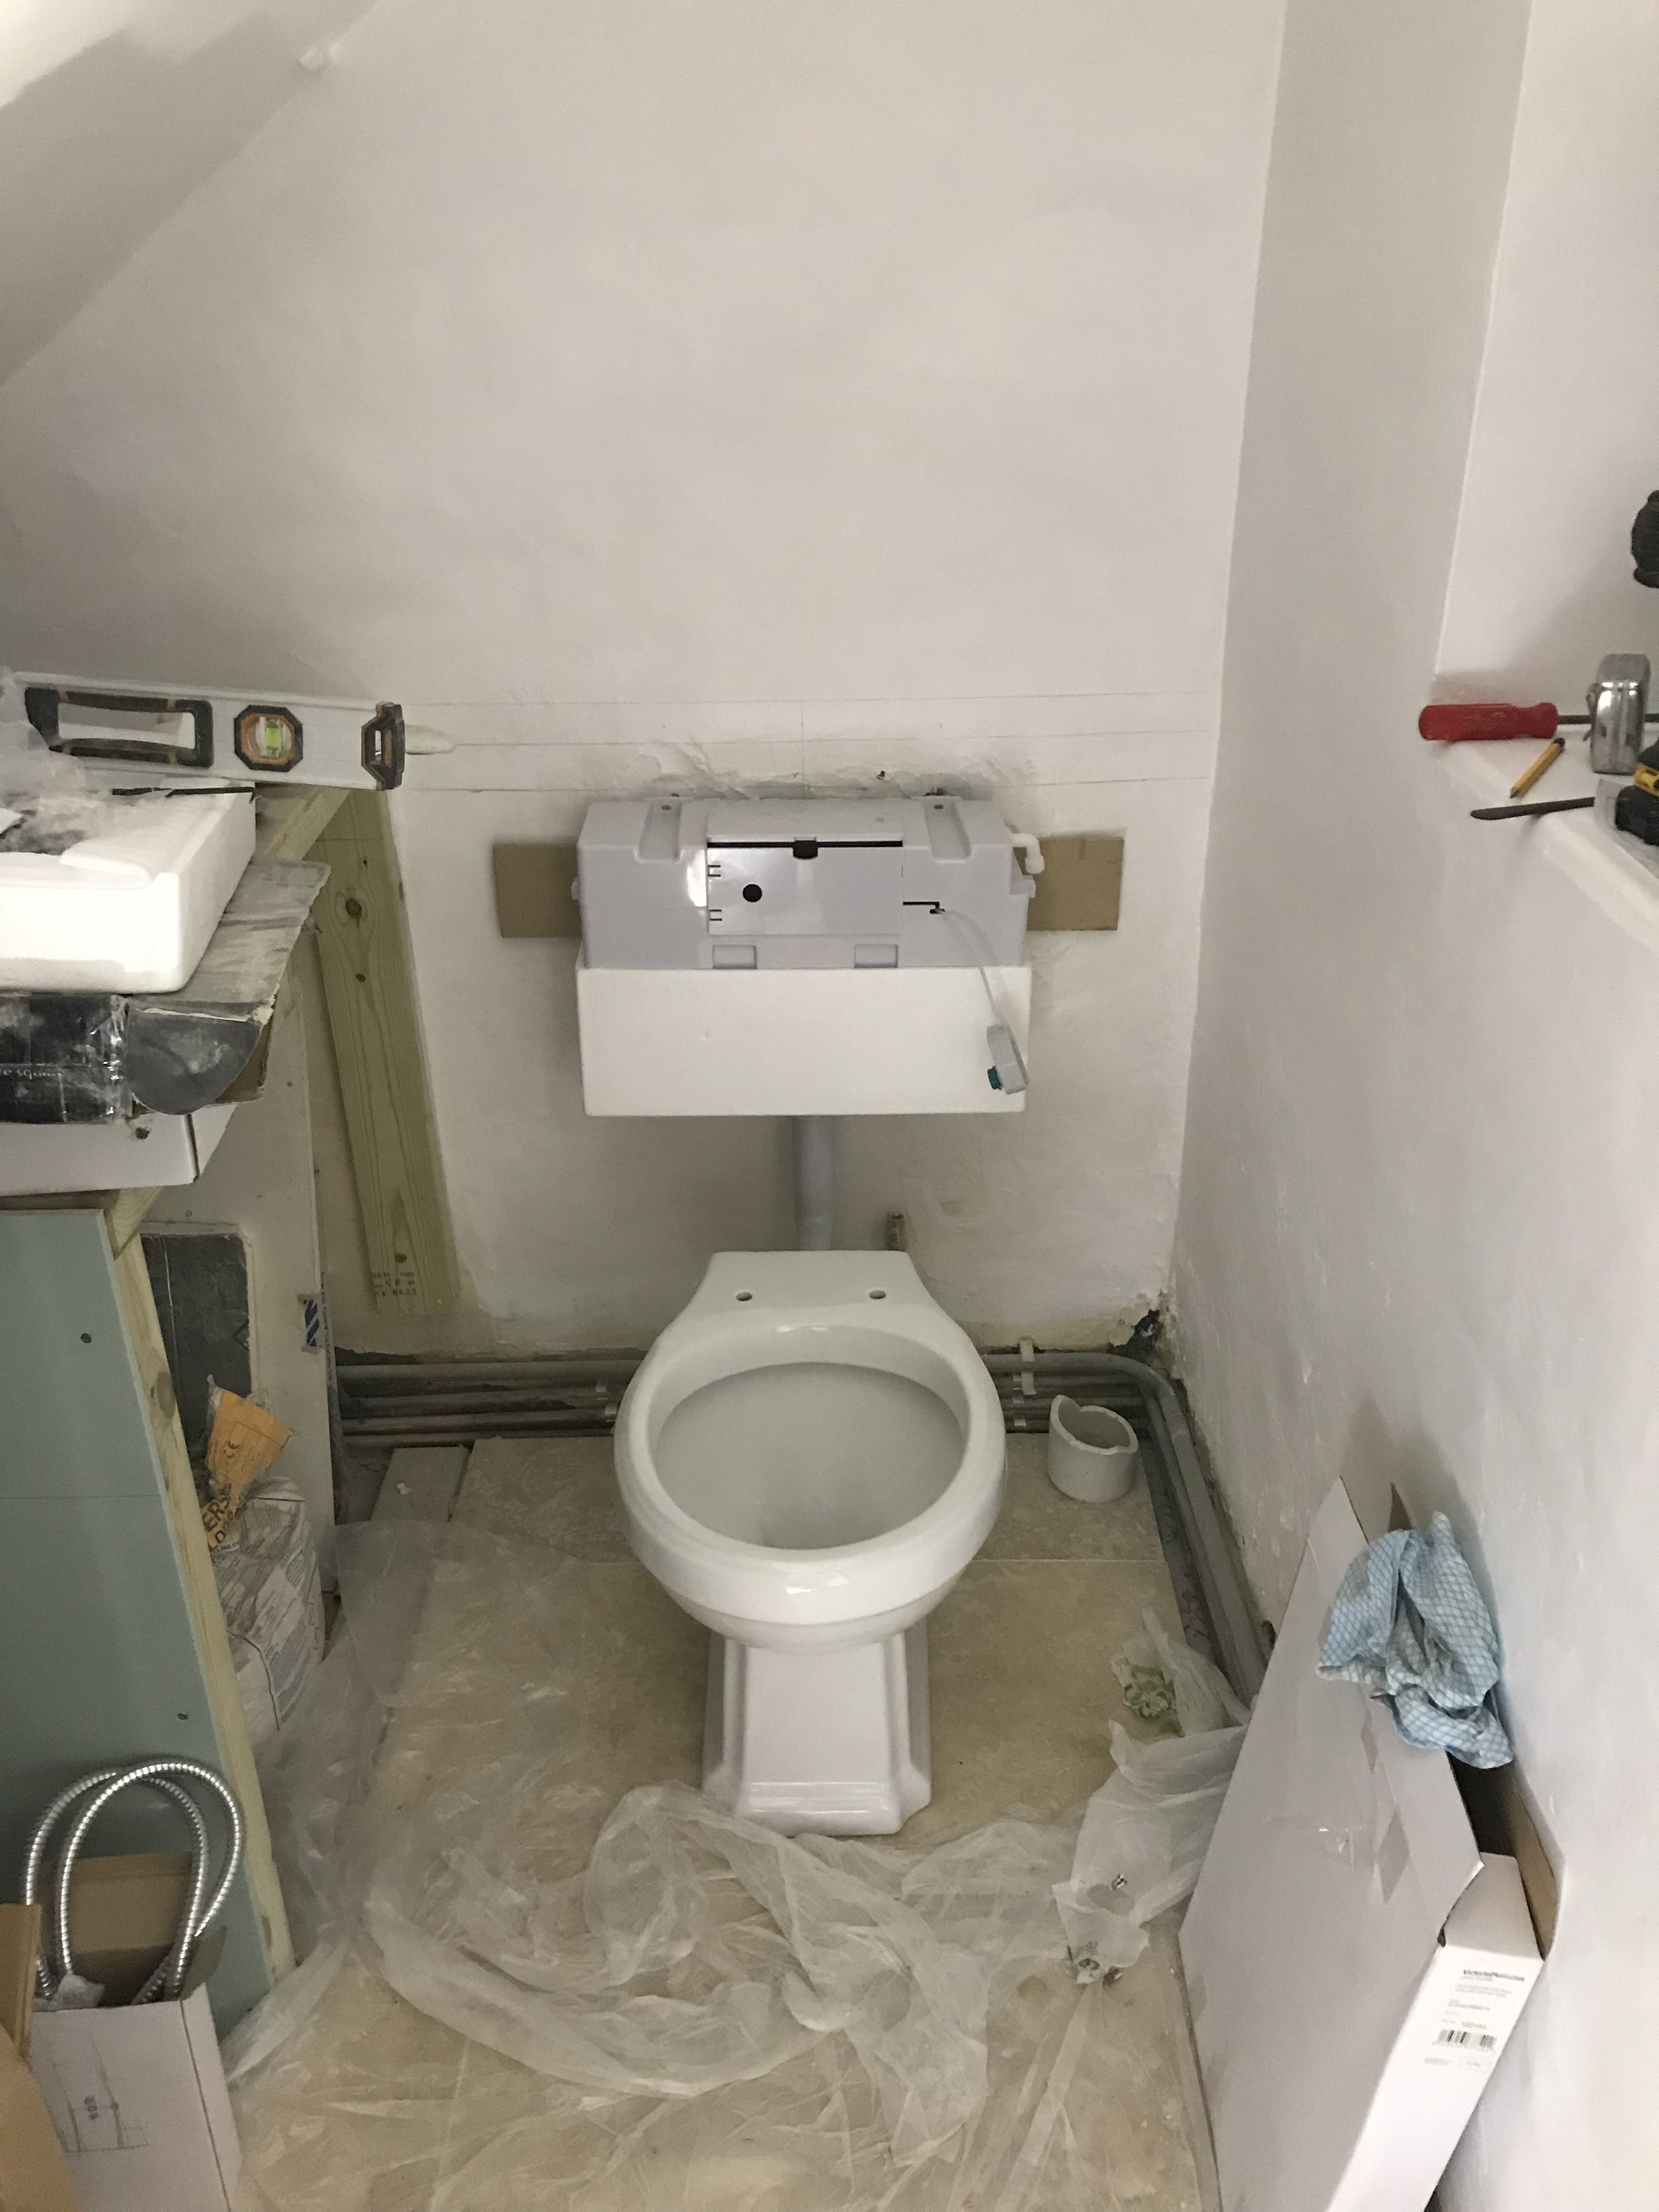
Cistern setup.
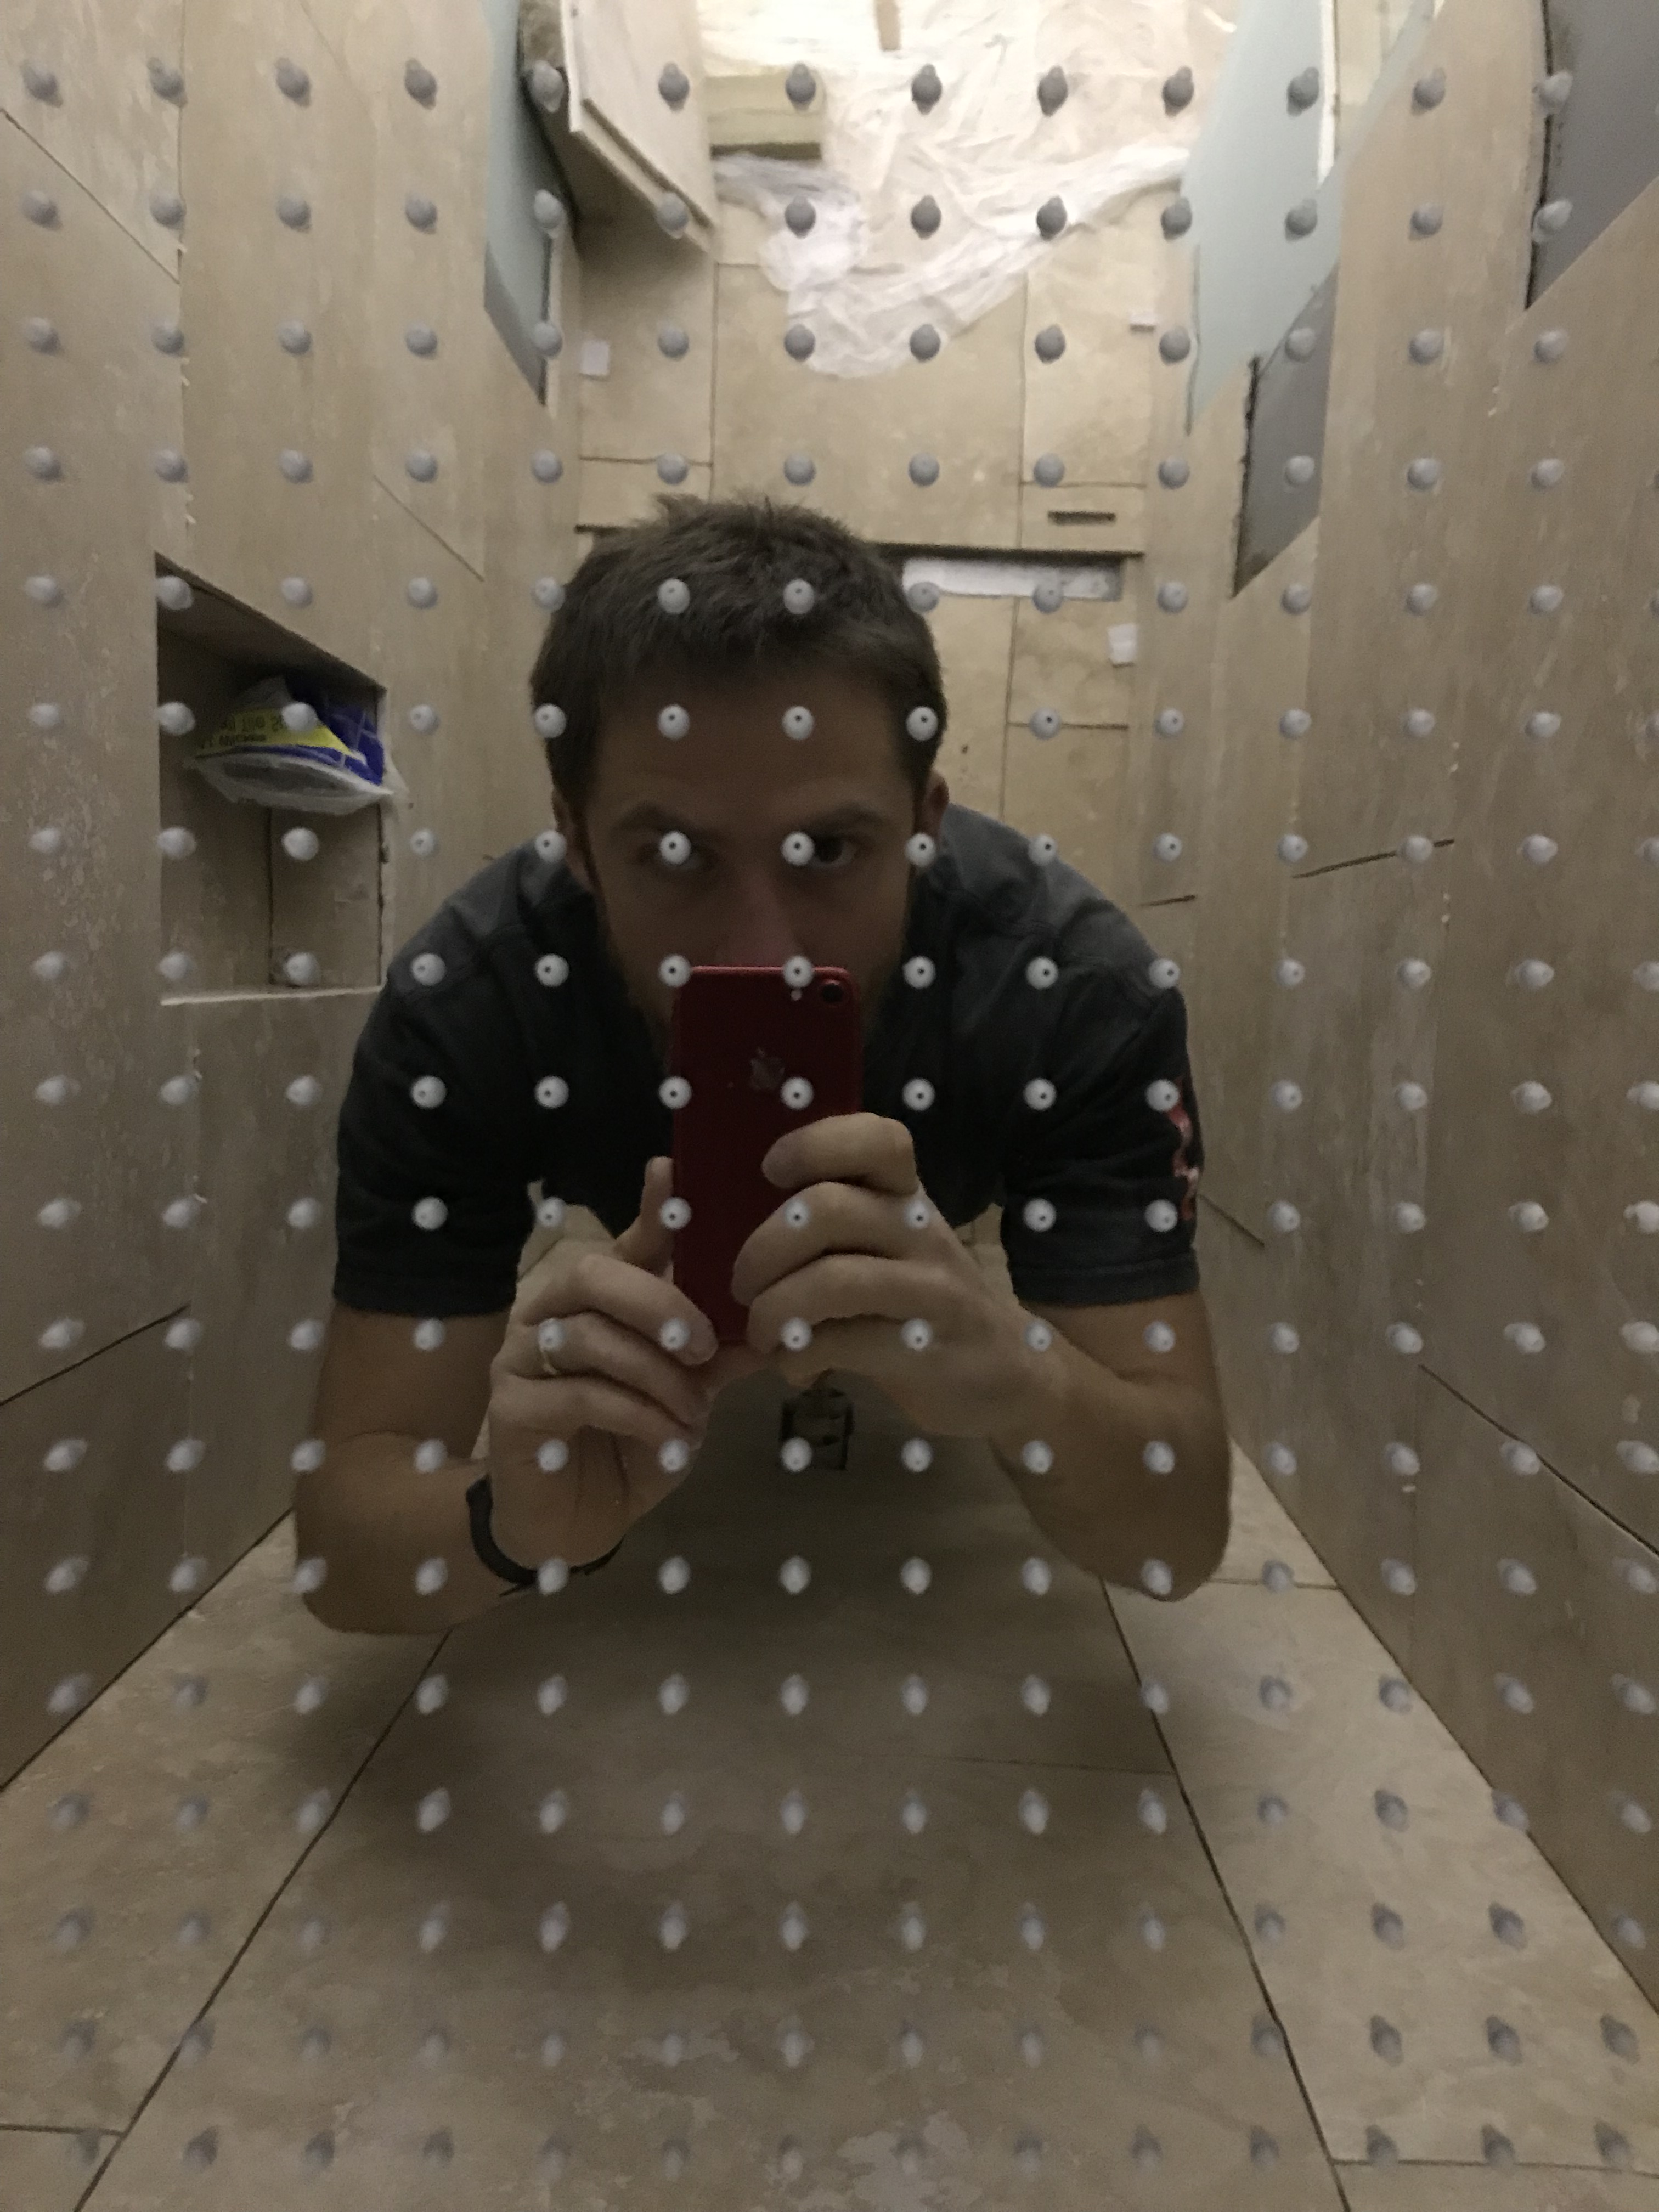
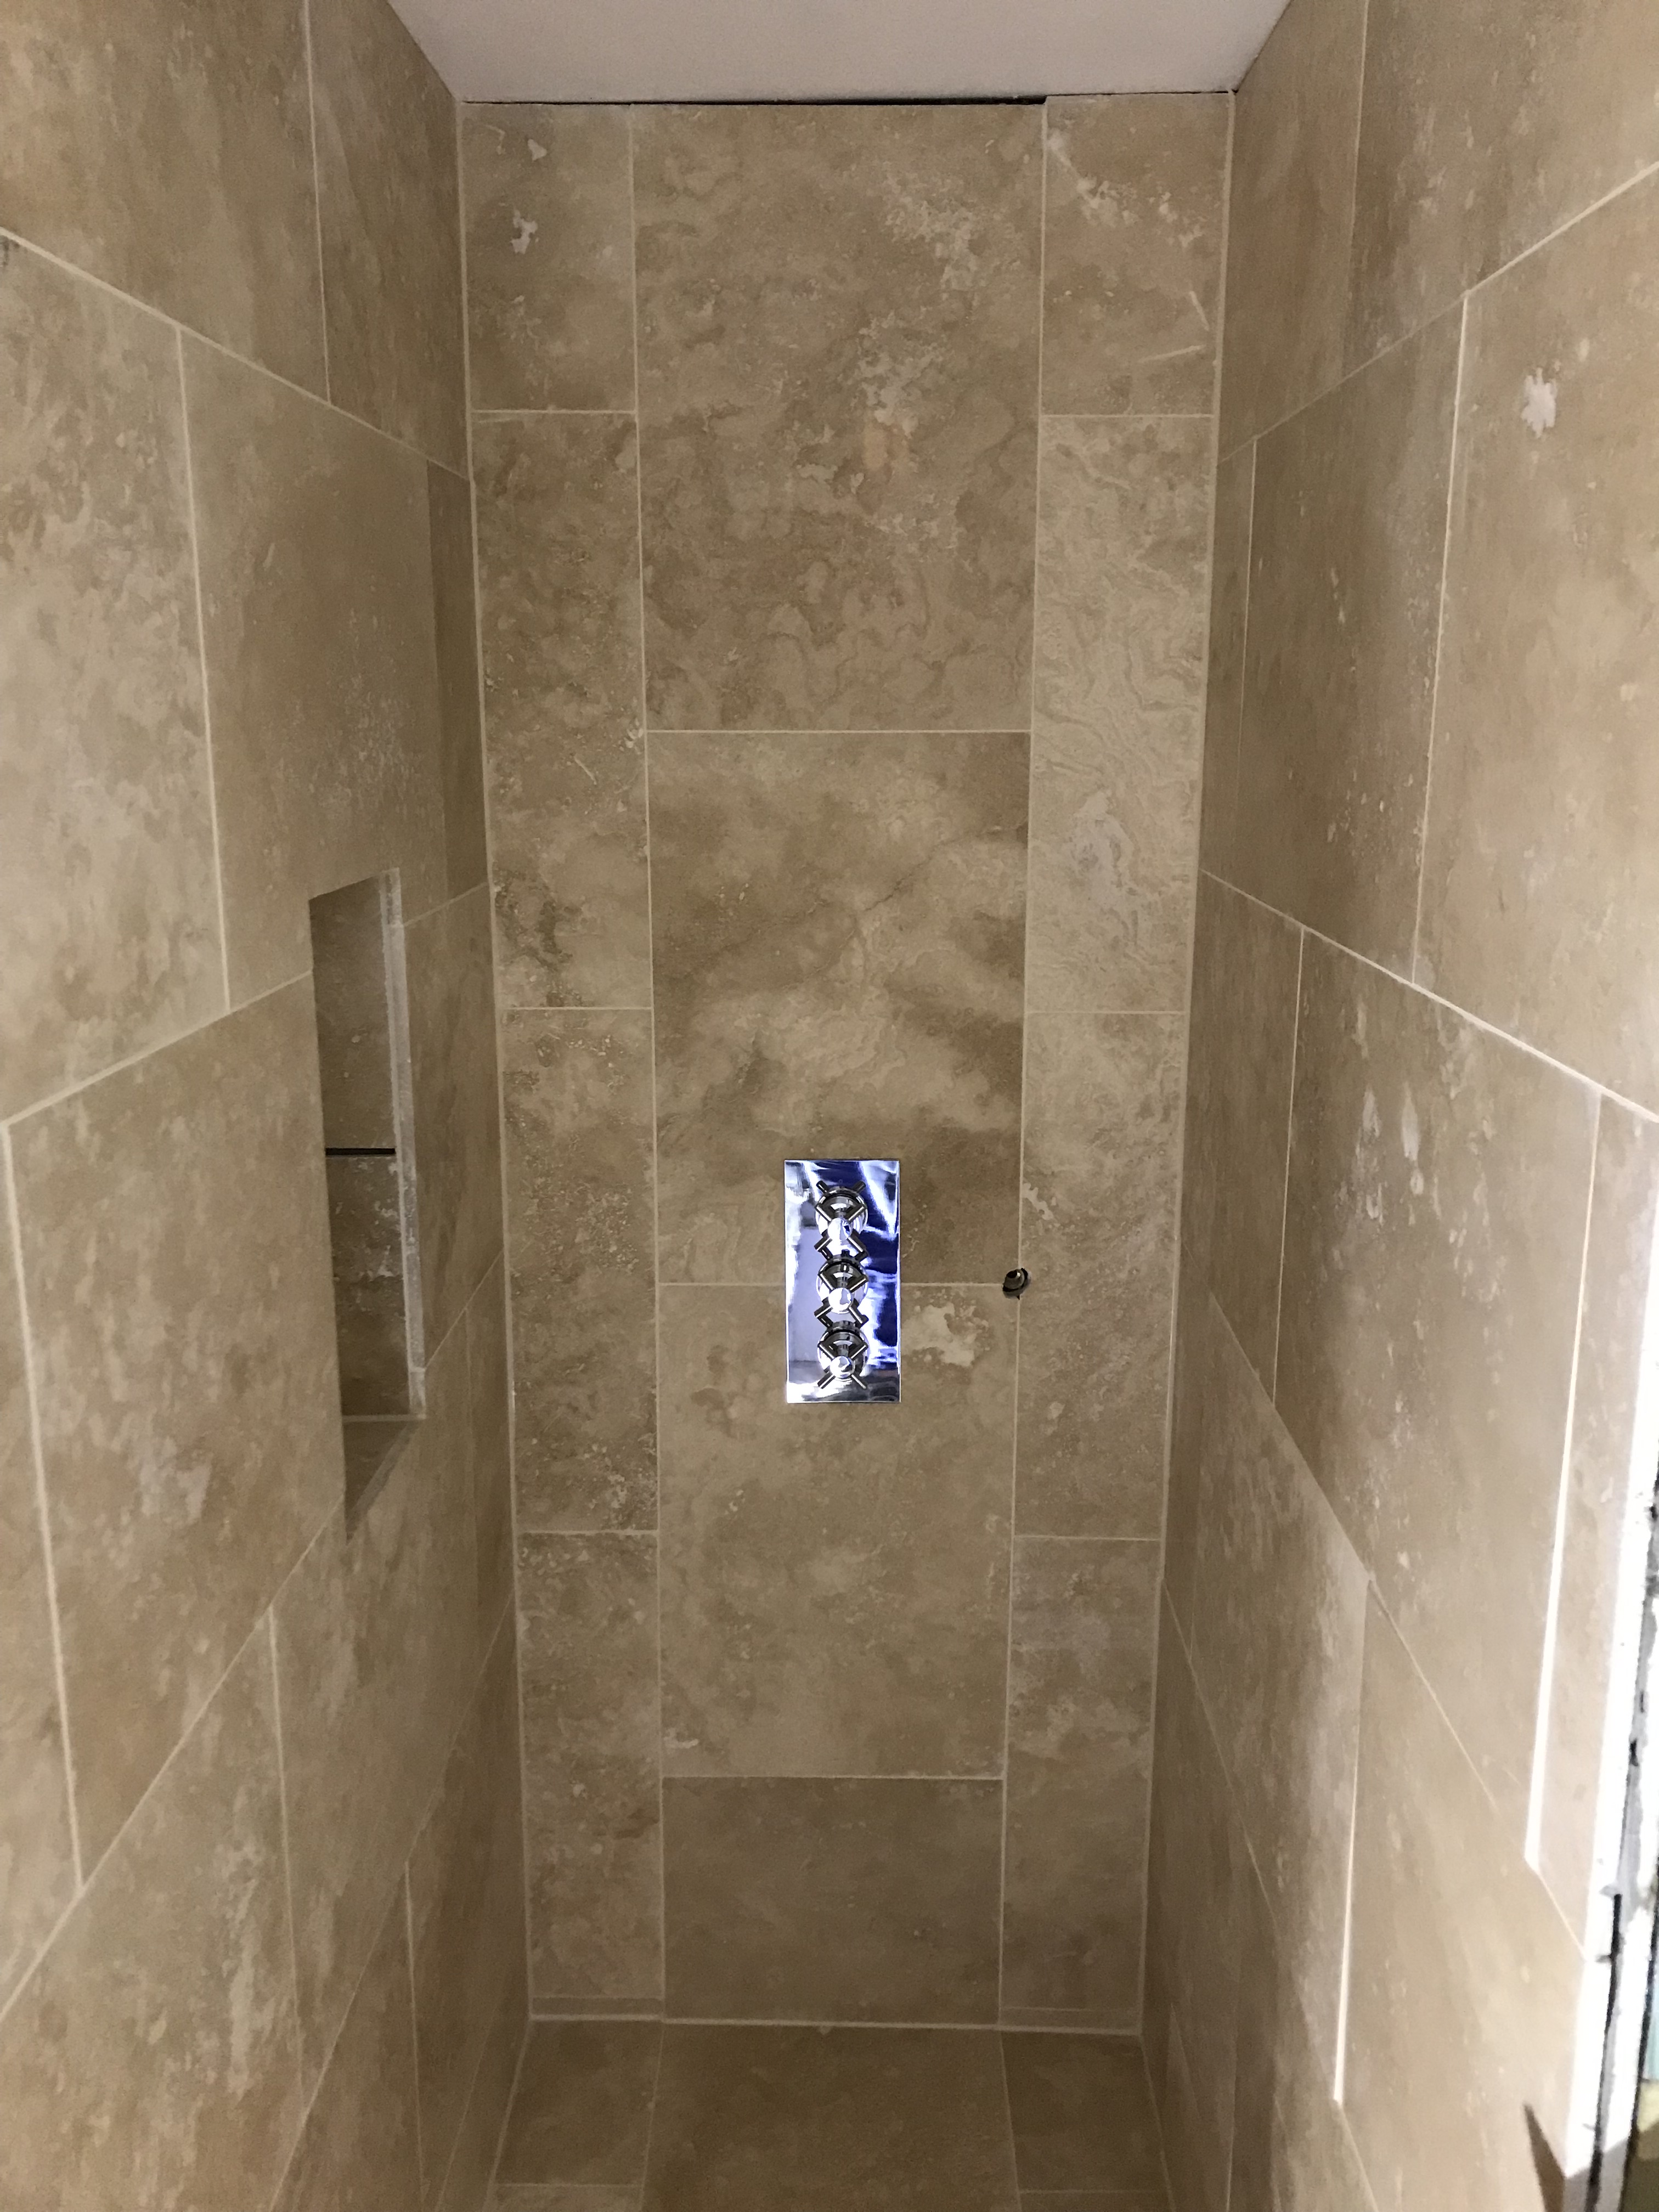
Finished tiling. Mid grouting.

Framing it up.
Fitting the control fascia. Nearly there, just some finishing silicone.
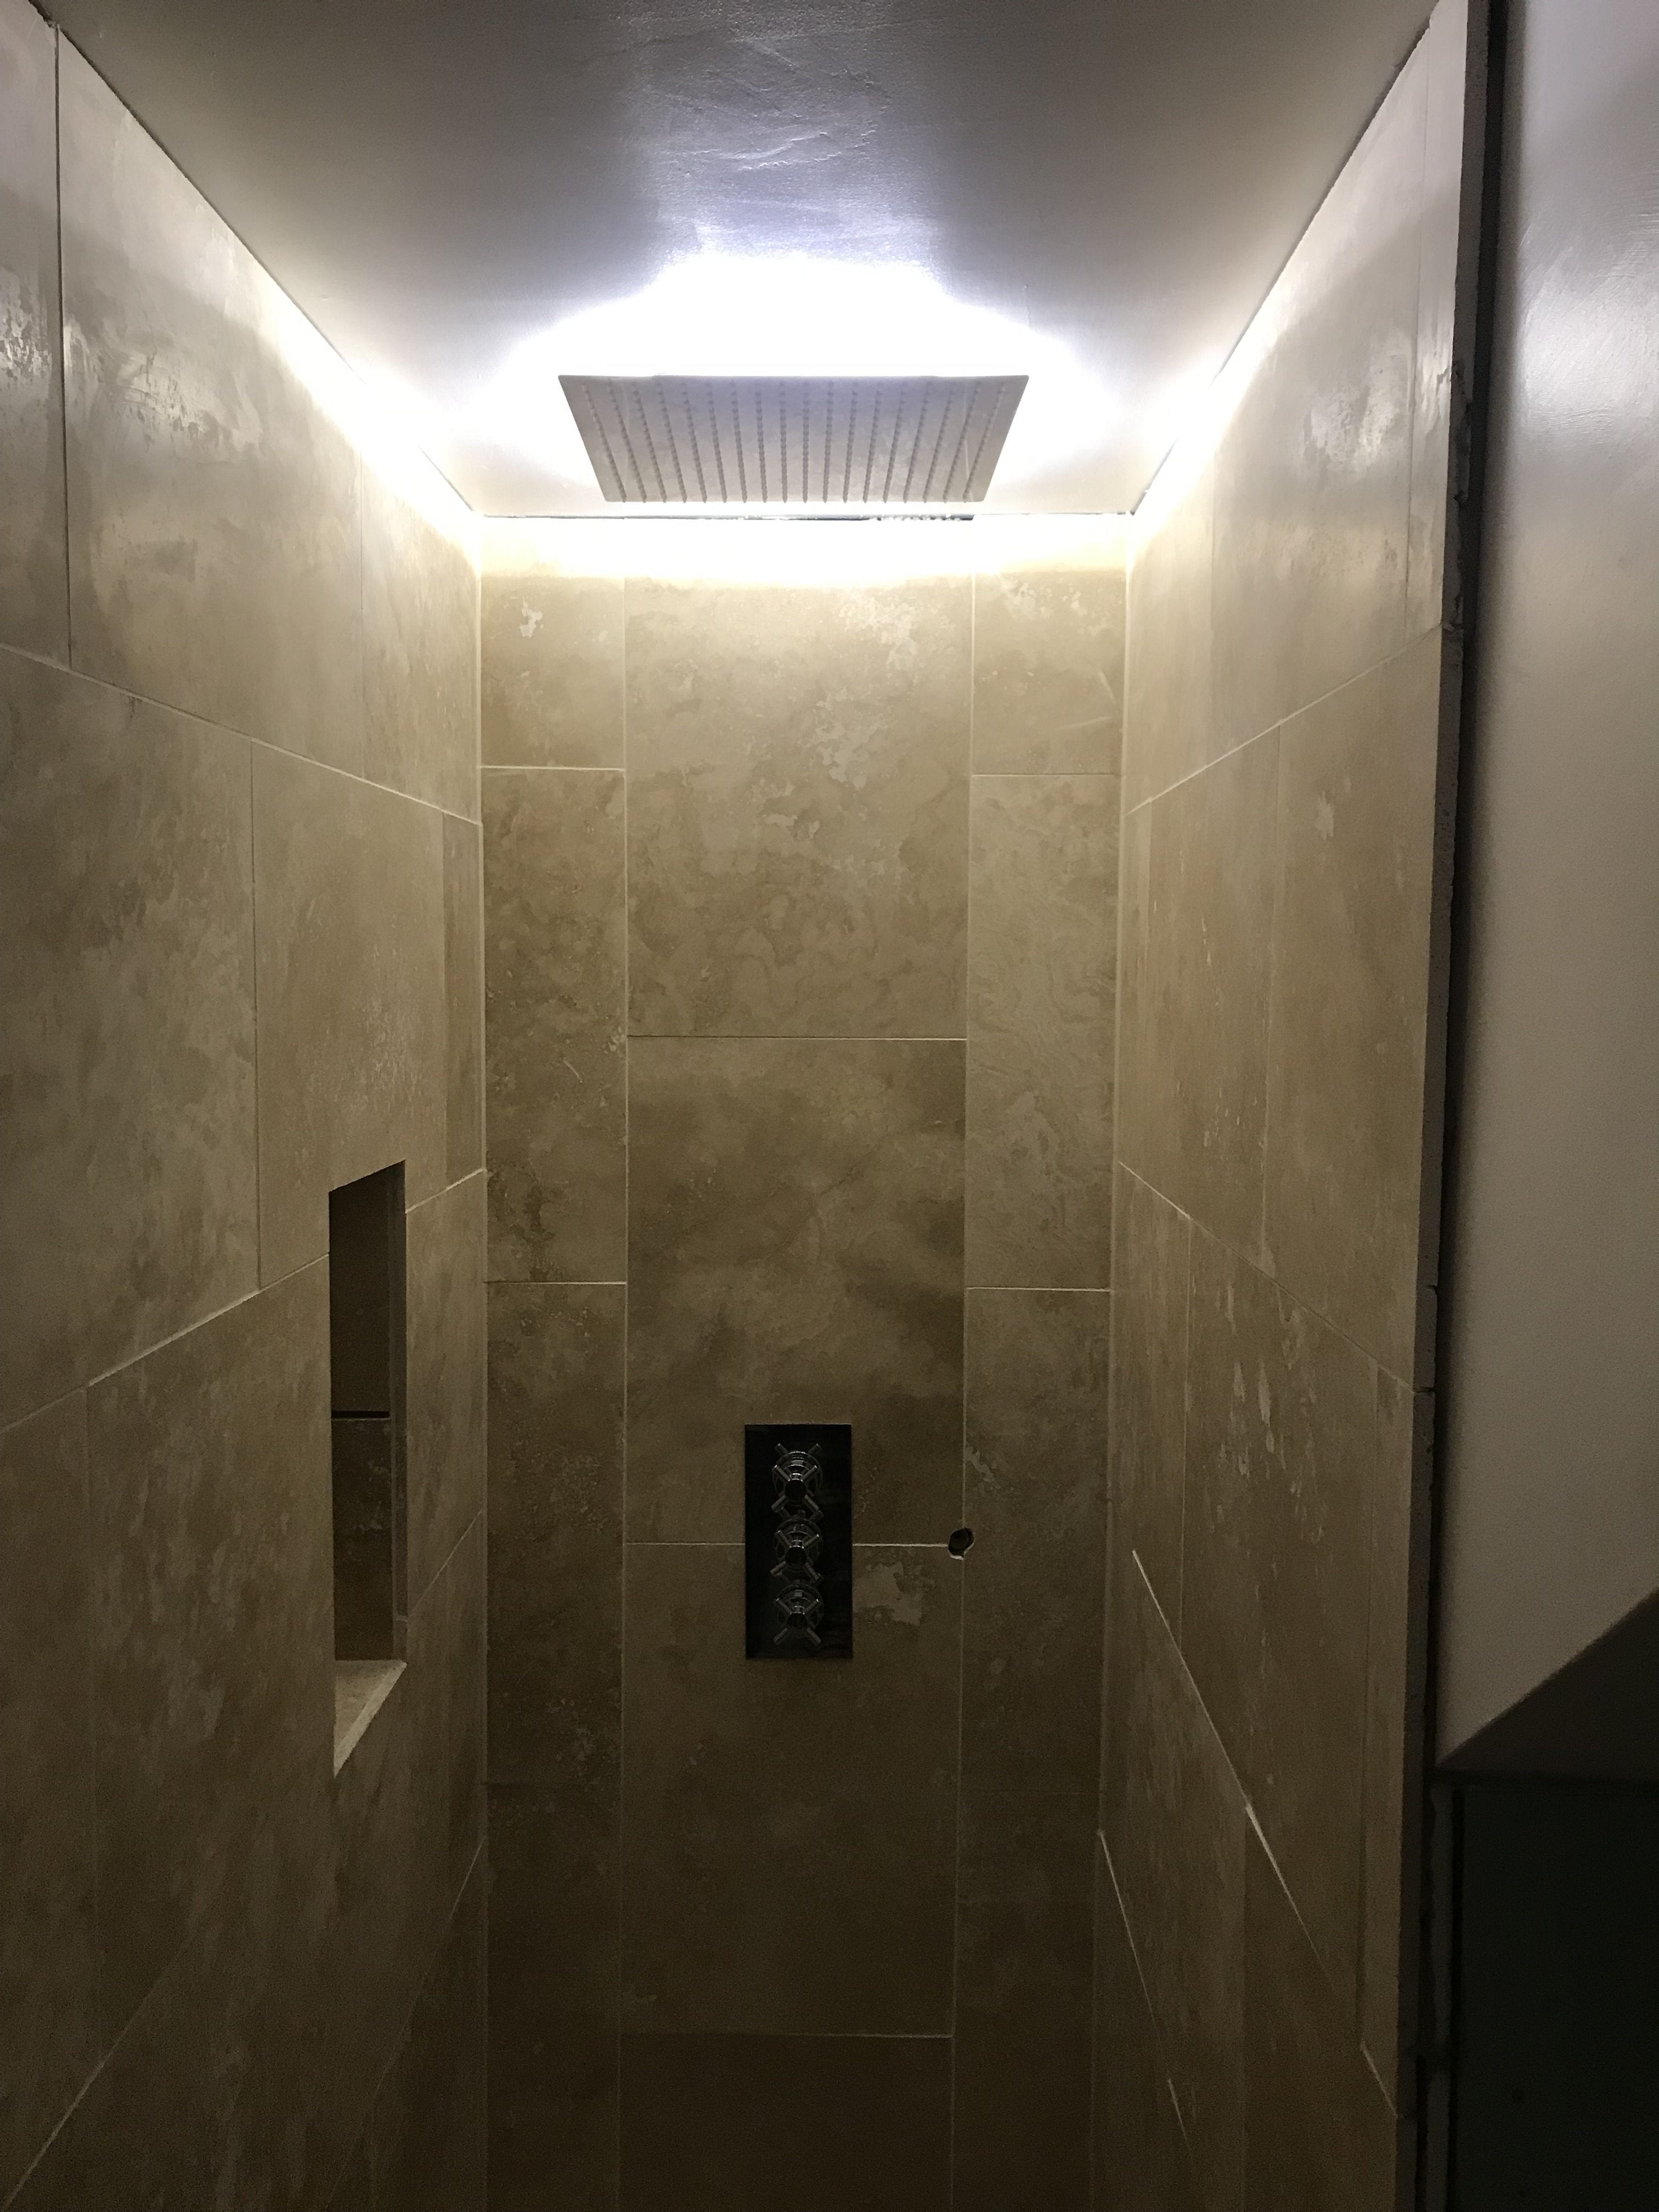
Cheeky light test.
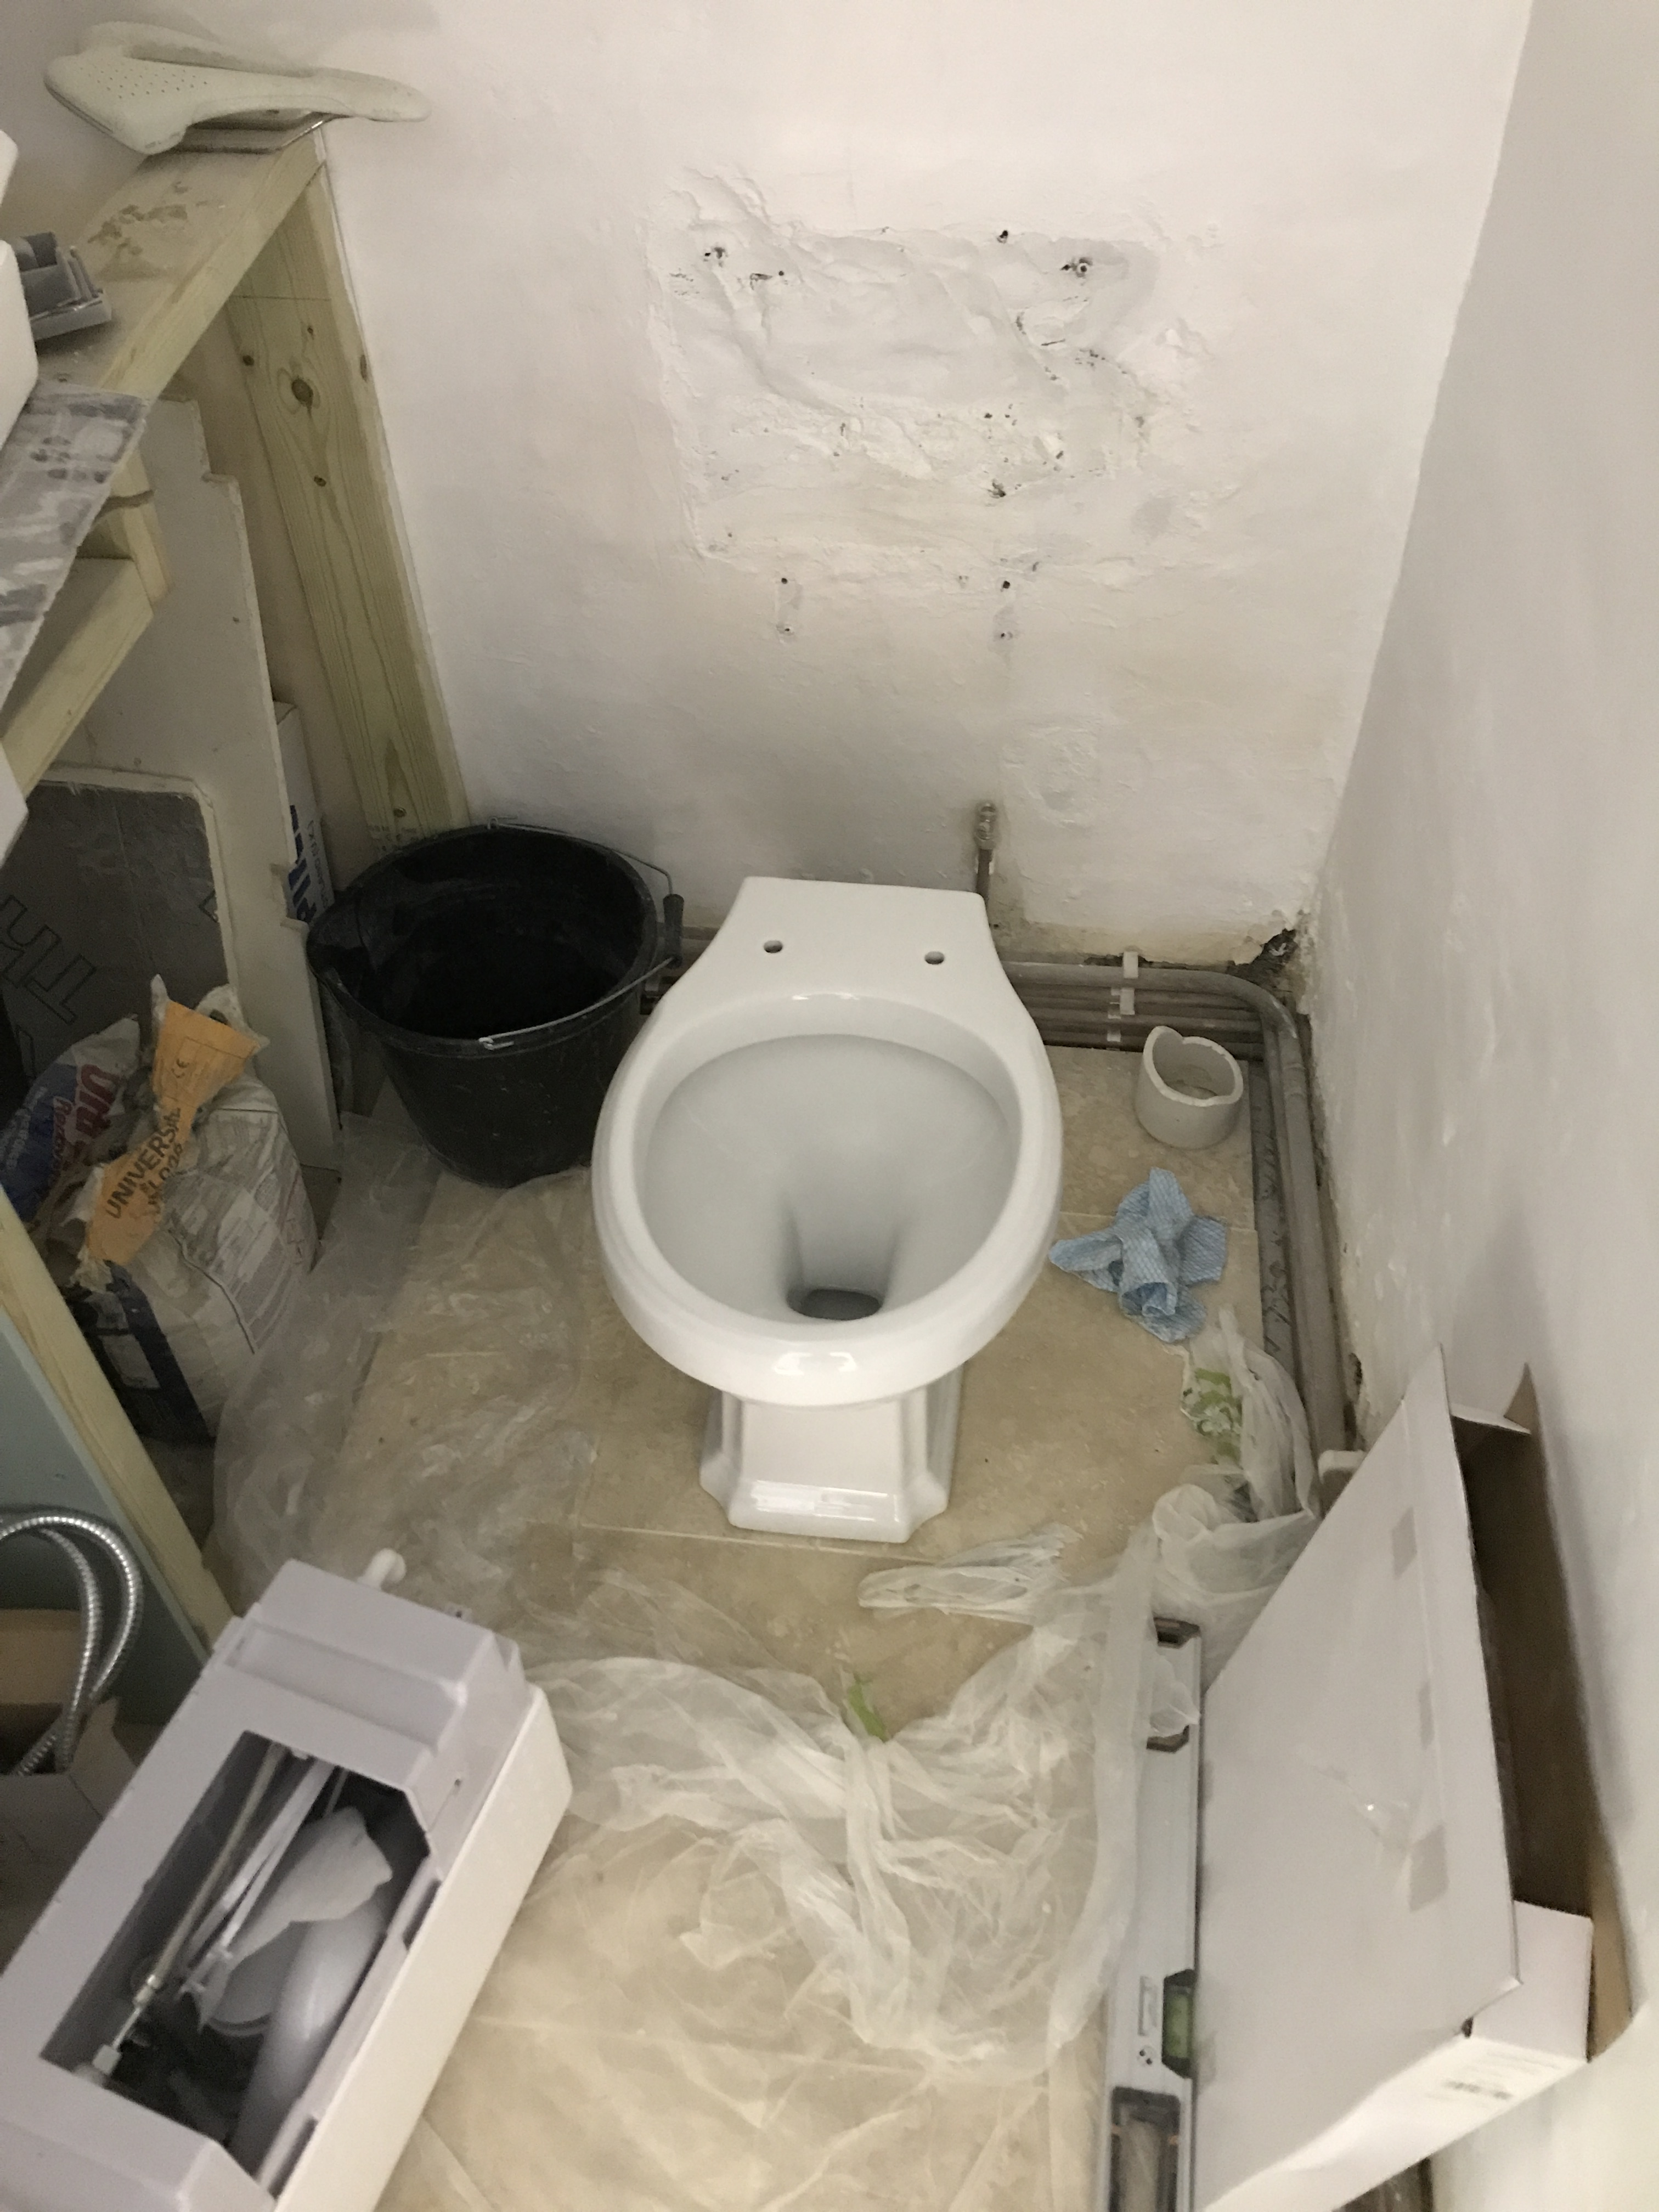
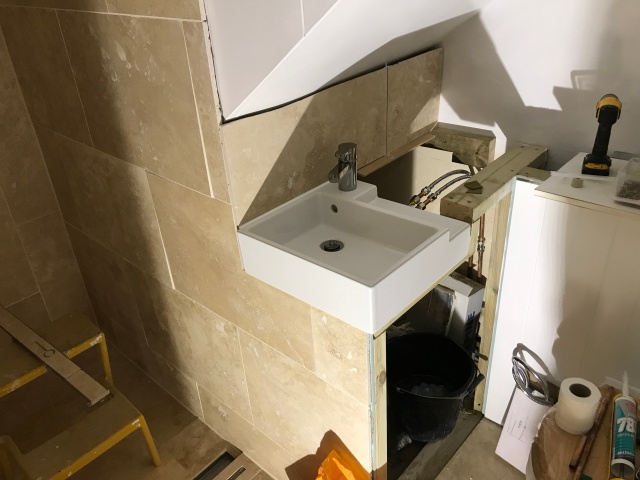
Cladding behind the toilet and placing the sink.
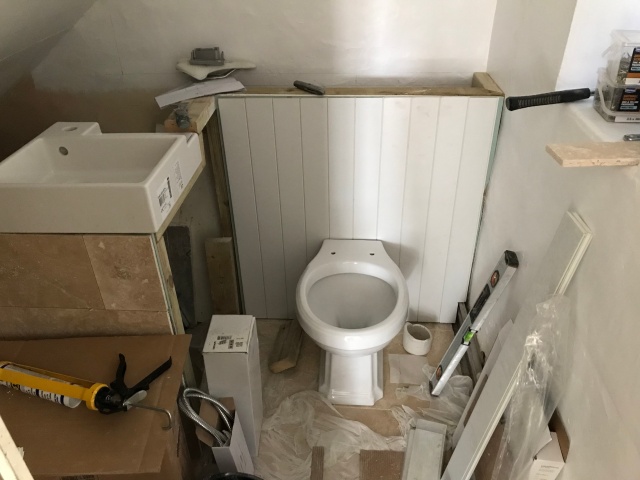
And cladding the sides. A second flushing toilet.

Sinking it up.
Pretty much done. Just the finishing touches to go, these will need to wait for the skirting.

The throne room more or less done. Still need to fit the towel radiator and a mirror, the skirting and a few bits of trimming. And the counter tops of course.
It shall be glorious!
