With all the boards glued overnight the first pieces of pipe could go in. Tuesday evening saw the start of the beginning of the end. It was remarkable easy too. Just pull it off the coil and walk it around the room stepping it into the grooves, following the arrows pencilled in on the floor. Half an hour or so later and all the pipes were in and cropped to length. Hopefully the spreader plates would be just as easy.
Queue secret weapon number two: Ross.
With as much floor tiling experience as the Pouget household combined, that put us all on a level playing field of none. Ross does bring a cheerful calmness to proceedings and as he works in the metrology [measuring] industry, surely the perfect person to achieve a perfectly flat floor.
A lot of pain had been spent the previous week working out how to get the pipes to fit. This is mainly because there are two different pipes in this system: 12mm and 16mm pipes. The thinner ones sit in the concrete boards and black plastic end returns to make an overall height of 18mm, the latter are already 18mm in diameter. They cannot therefore fit in any of the other pipes' clips. Needless to say, this had not been made clear, nor had how to deal with it. Eventually it was explained that everyone in four years of business knew about this and had a ready supply of self levelling screed and pipe staples on hand. Obviously. Because when you ask for 'everything needed to lay under floor heating', apparently this doesn't include everything needed. Queue frantic searching for a local supplier of under floor heating compatible screed and pipe staples. The former was fairly easy to find, if for a slight premium, the latter a bit trickier. Eventually we found some which were slightly too long and had to settle for those and 'some bits of carboard to space them out'. Loughborough students, ever resourceful and happy-go-lucky.
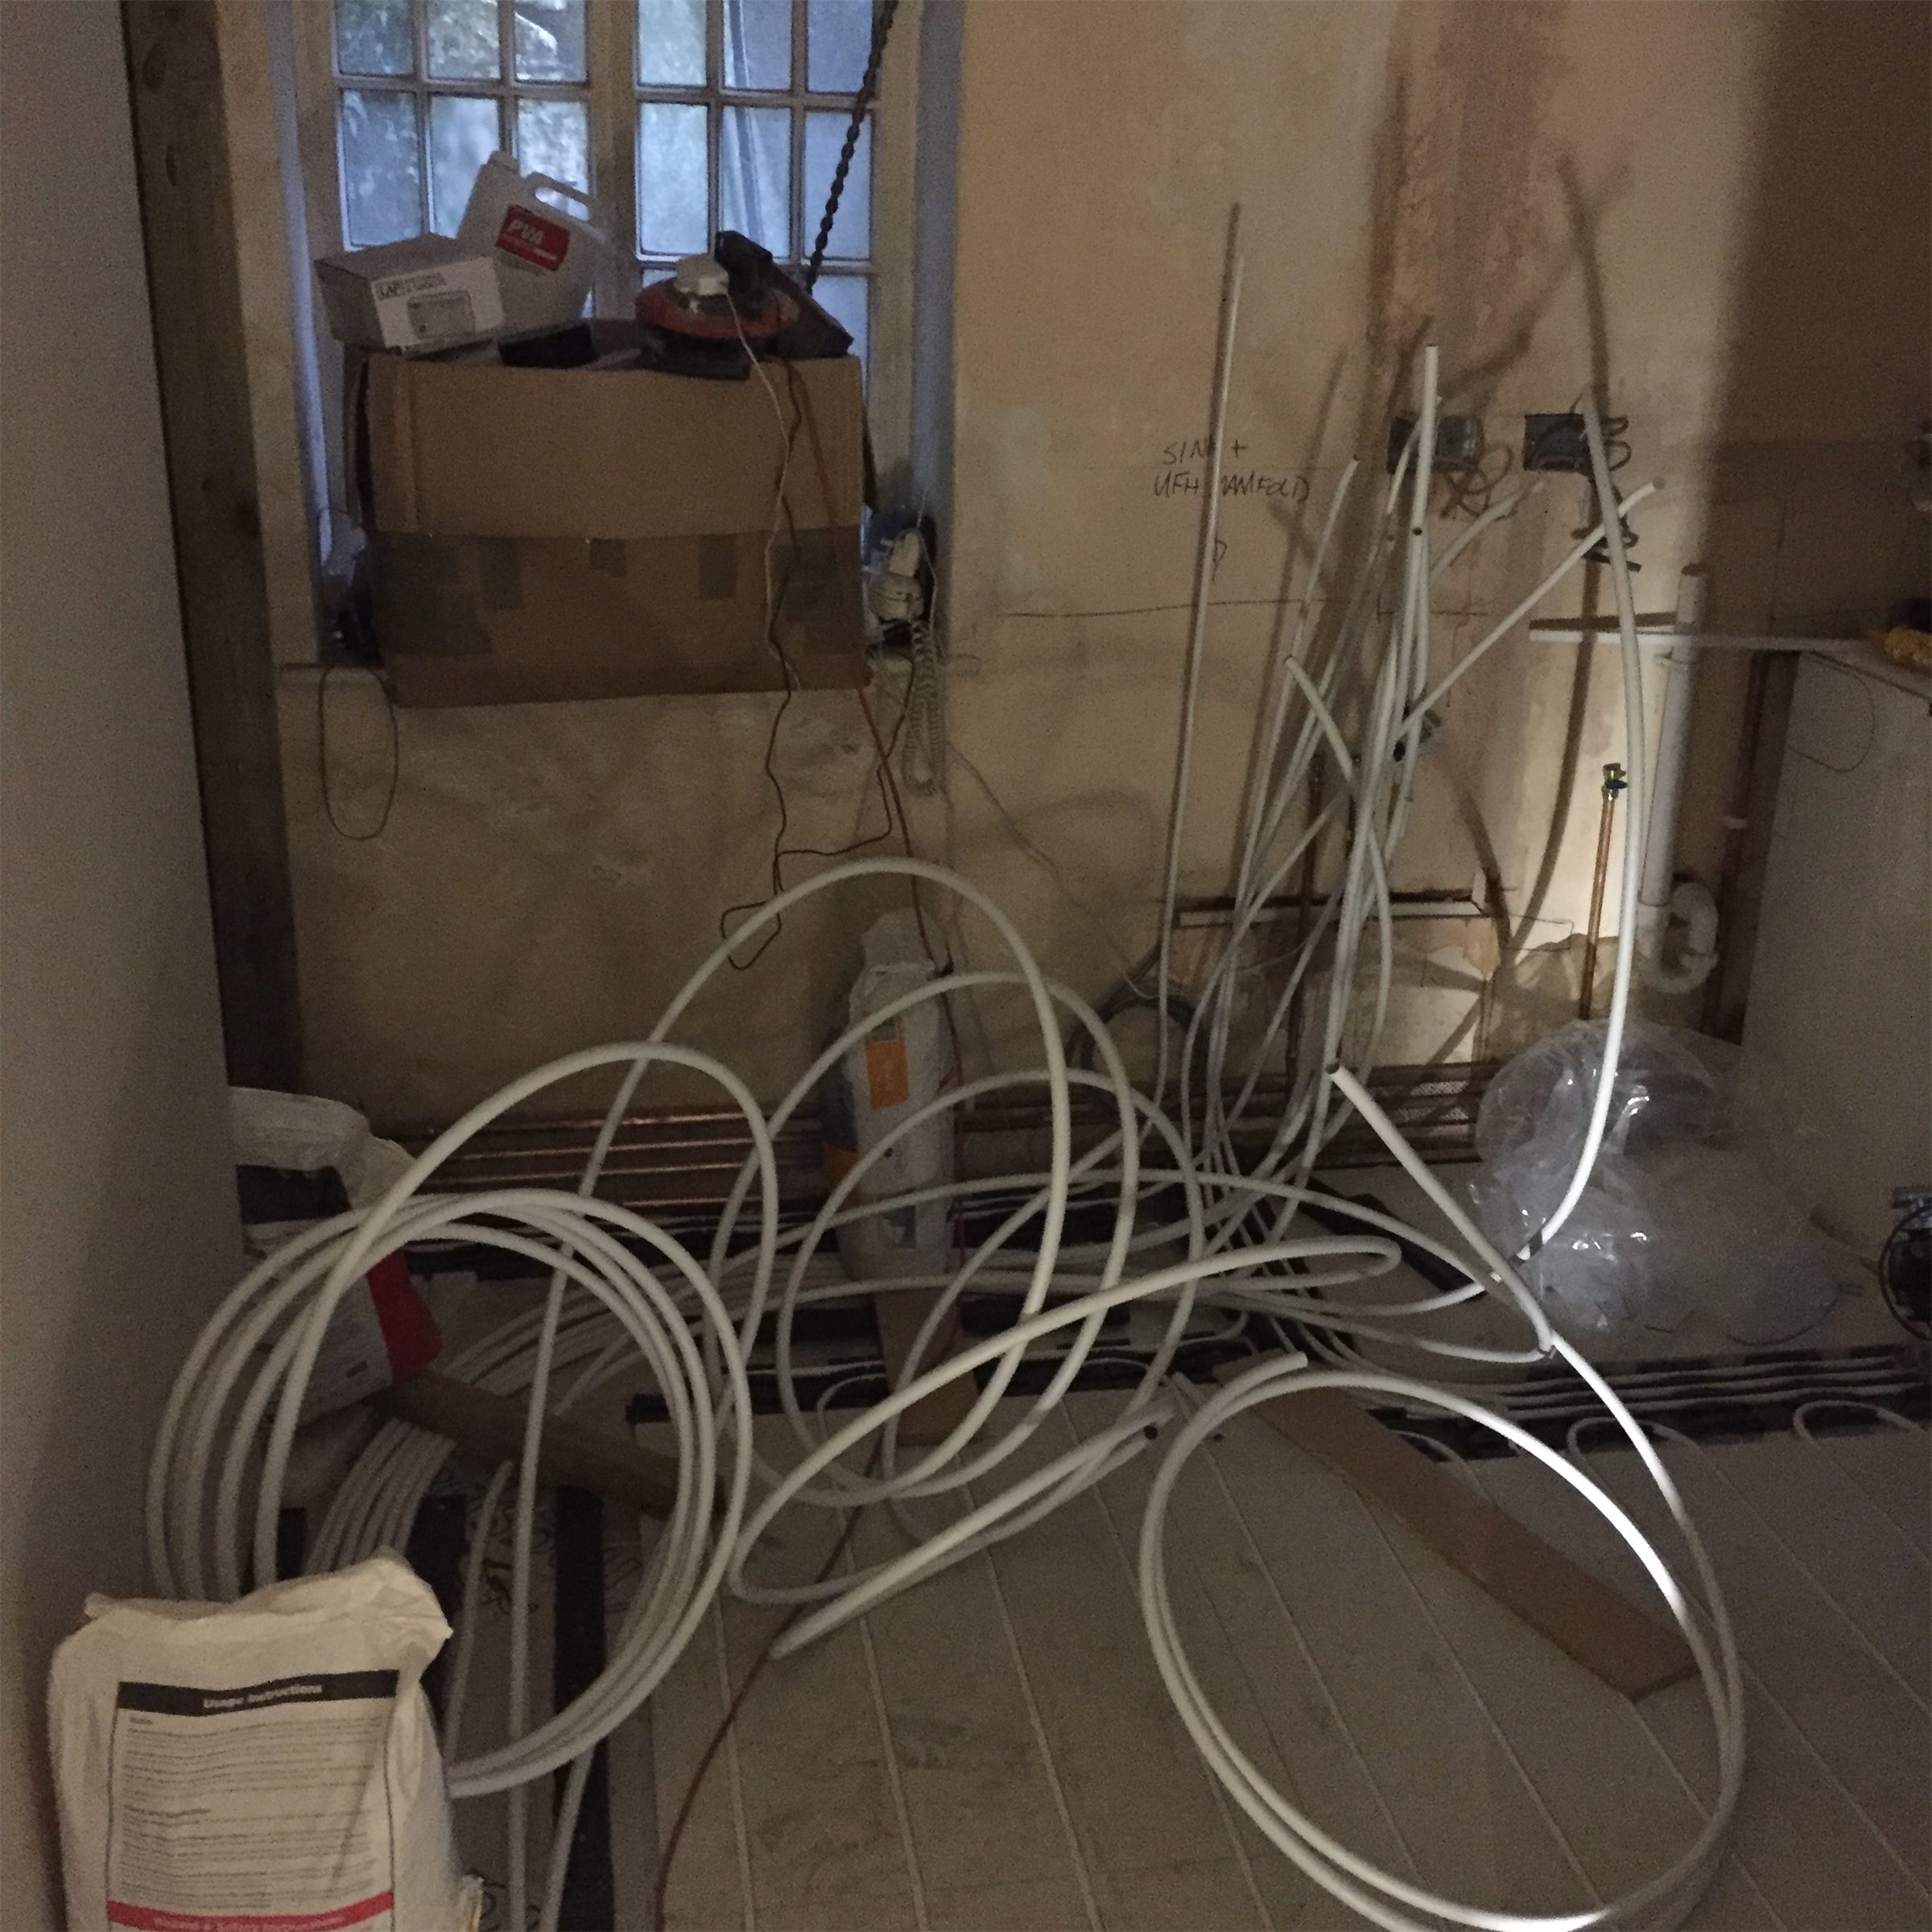
This wide pipe then had been allowed a space through the 12mm pipe such that it could meander from the manifold into the other rooms. Before all that could be done though we had a little bit of spreader finishing to see to.
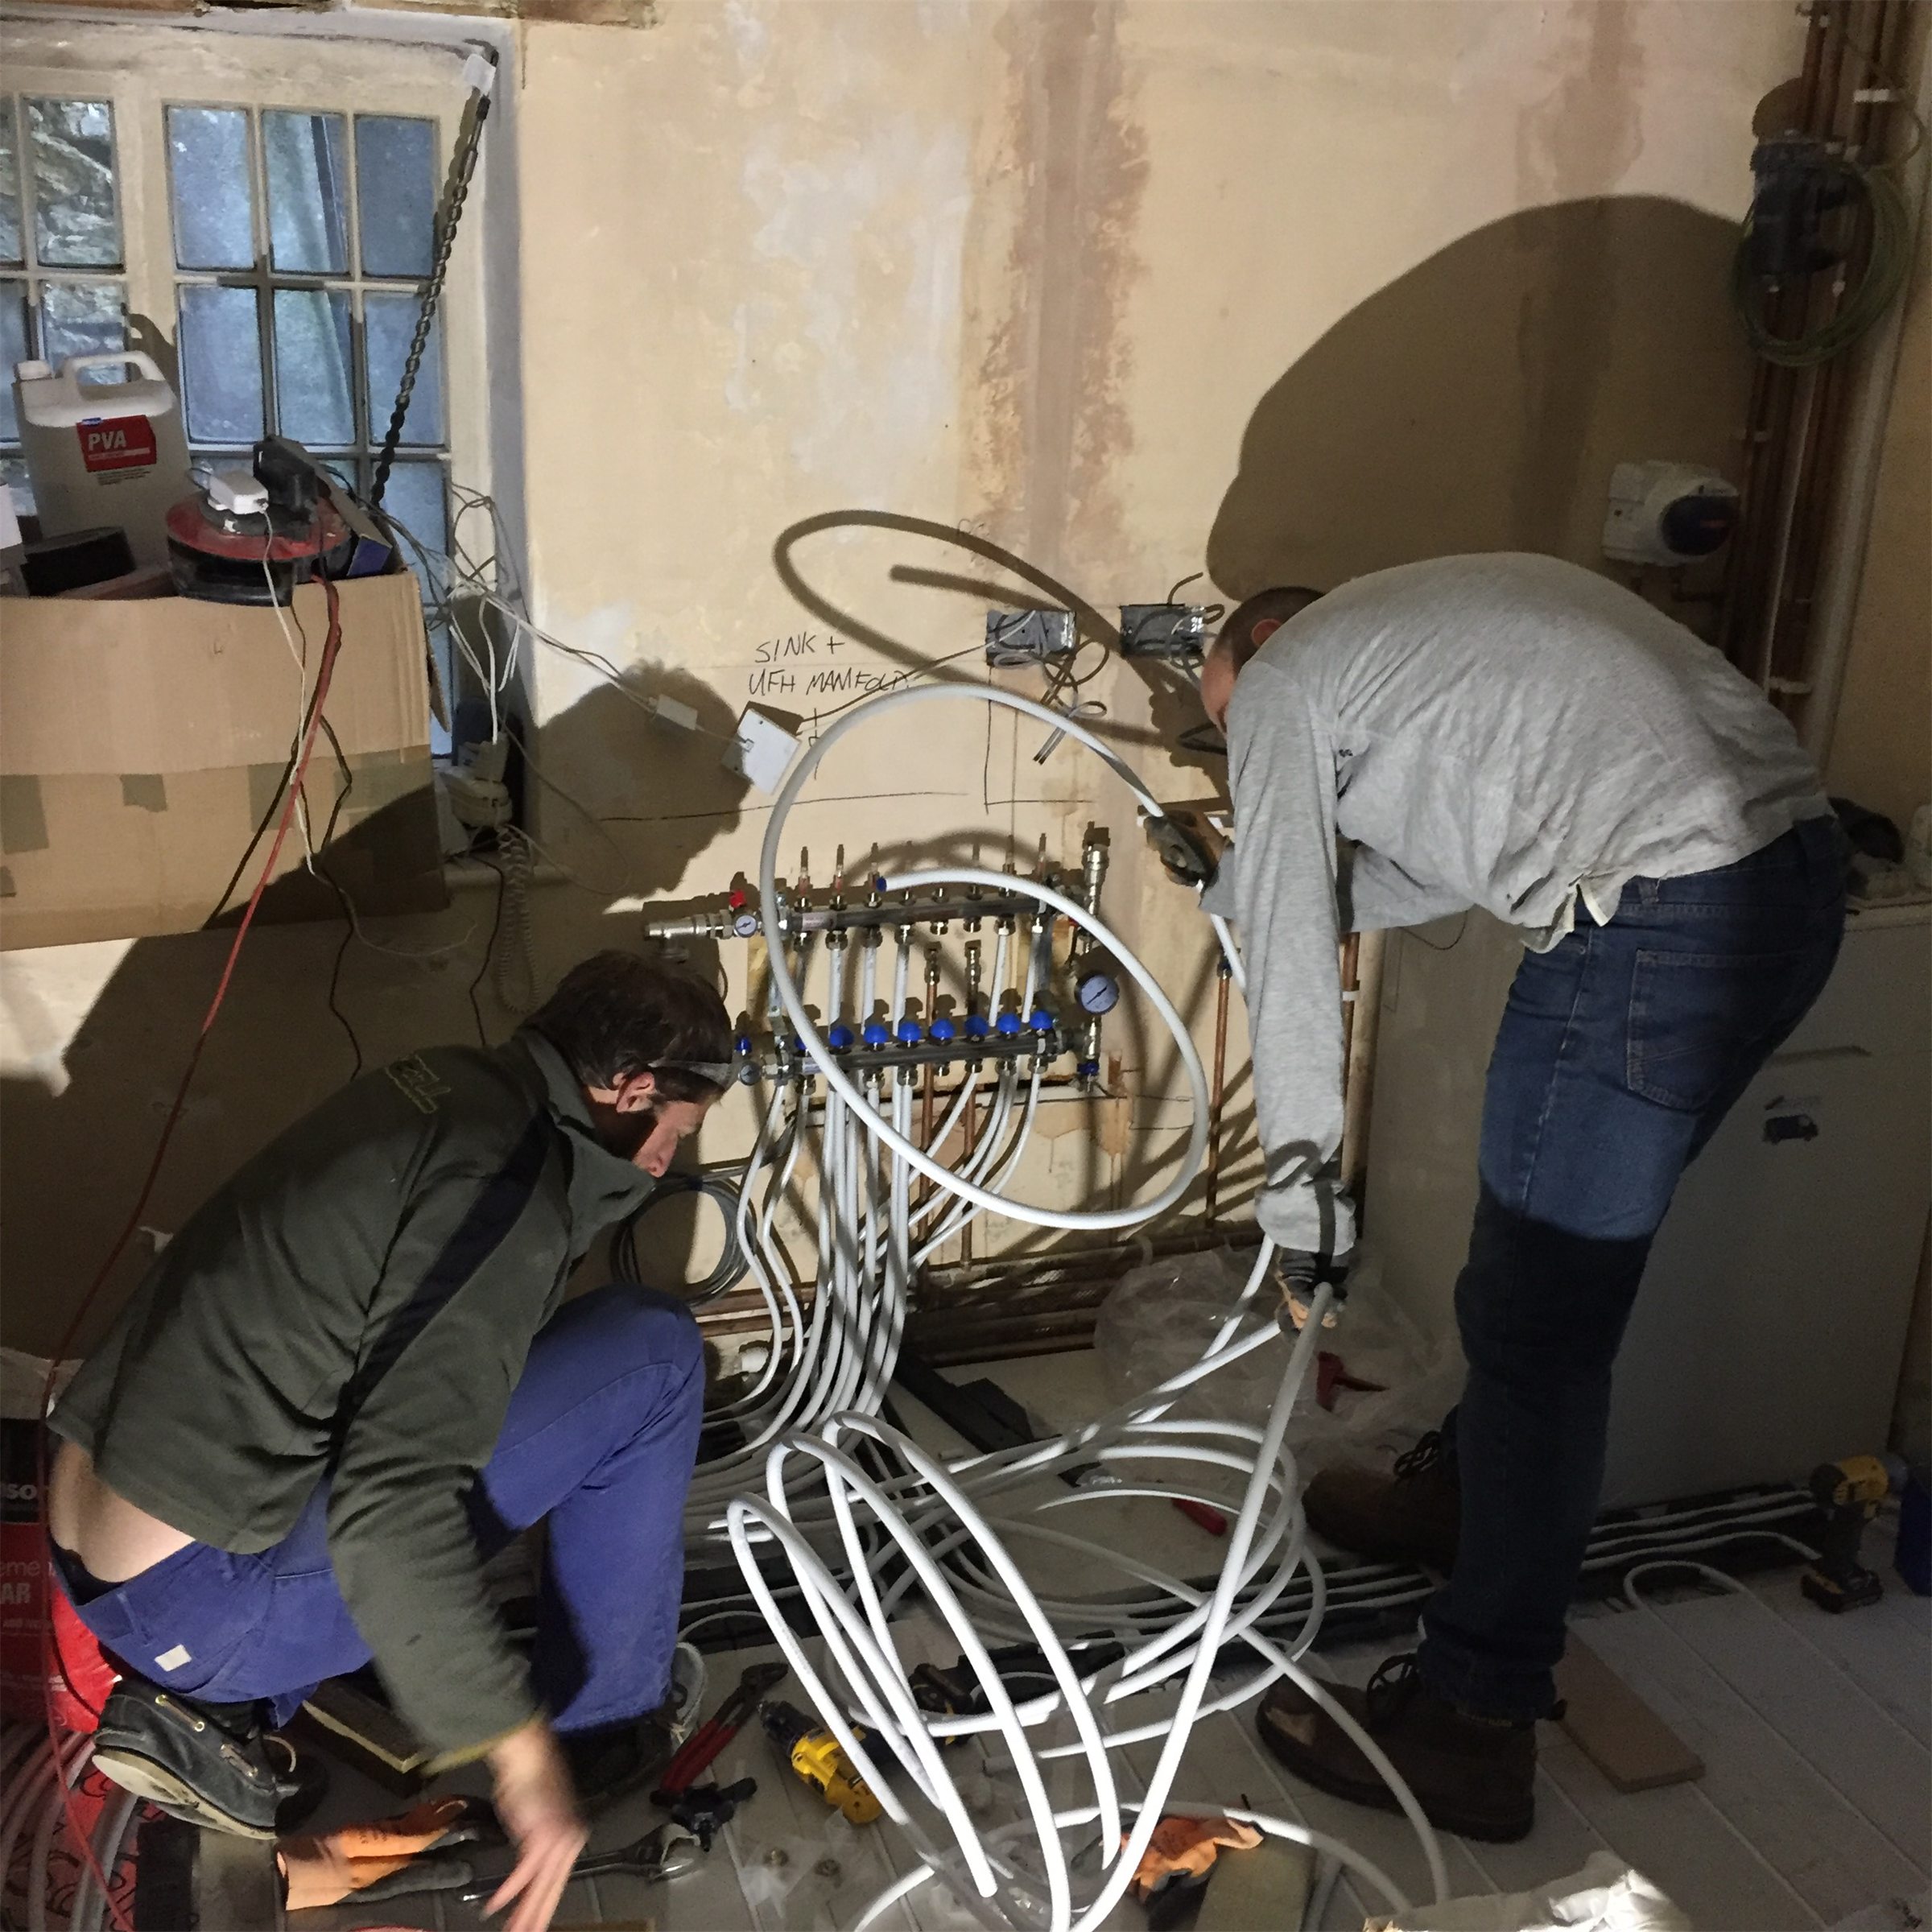
Ross had kindly offered some of his free holiday time to dash across Friday afternoon - just enough time to get to grips with wrangling the large, semi-rigid pipe into the spreader plates. Or not as it turned out. 'Snaking' would be too kind a description of what the pipe does. Bending too os inappropriate as it was not so simple. It combines the worst of several mechanical properties in one messy coil - spring back, kinking, twisting and semi-rigidity. Thus the first run, having been lured through the bike cupboard and behind some plasterboard, was only just nearing completion when he arrived.
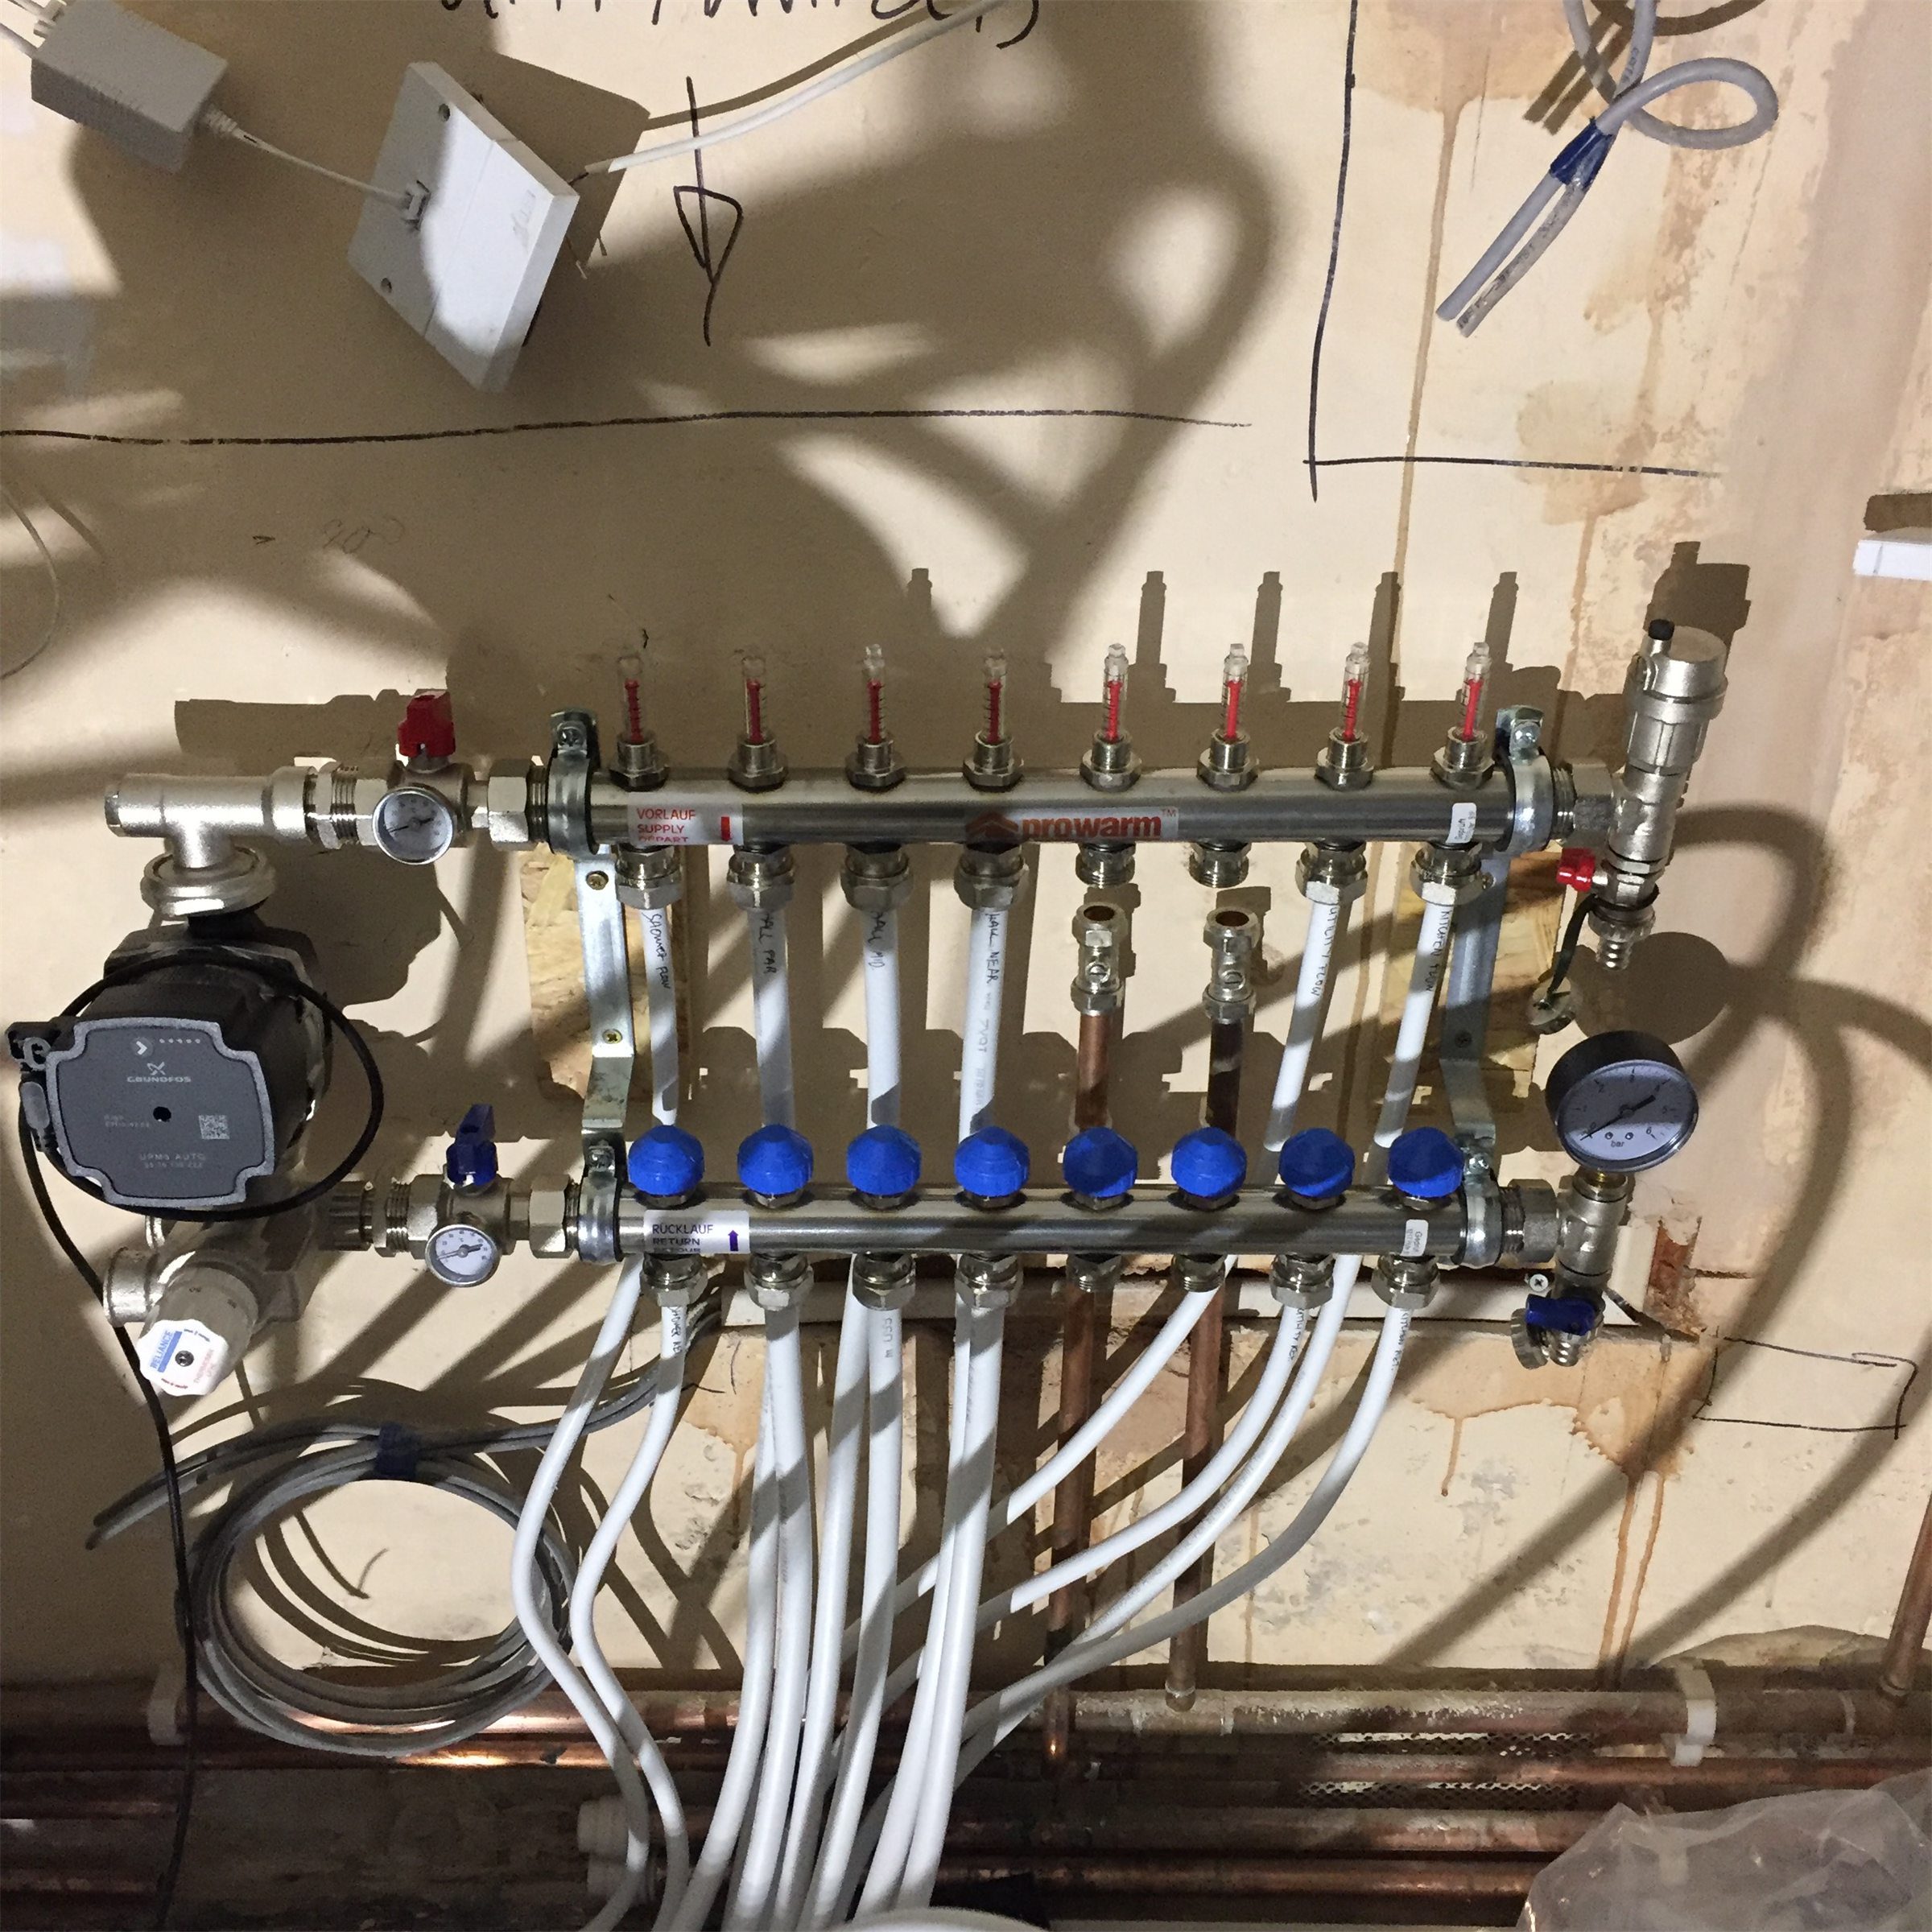
The main issue was getting the ends of the pipe to stay put. As soon as they went round to return in the next groove, they'd develop a twist which could not be cured but resulted in them popping out along near their whole length. Pressing them back in worked maybe briefly but nearly always at the expense of popping another end up. Infuriating! Meanwhile the grooves in the spreader plates were getting stretched and holding on to the pipes more loosely every time. No amount of coaxing or bending would do anything. Eventually we agreed that once there were floorboards nailed on top they'd have a jolly hard time flicking back up and just got on doing our best.
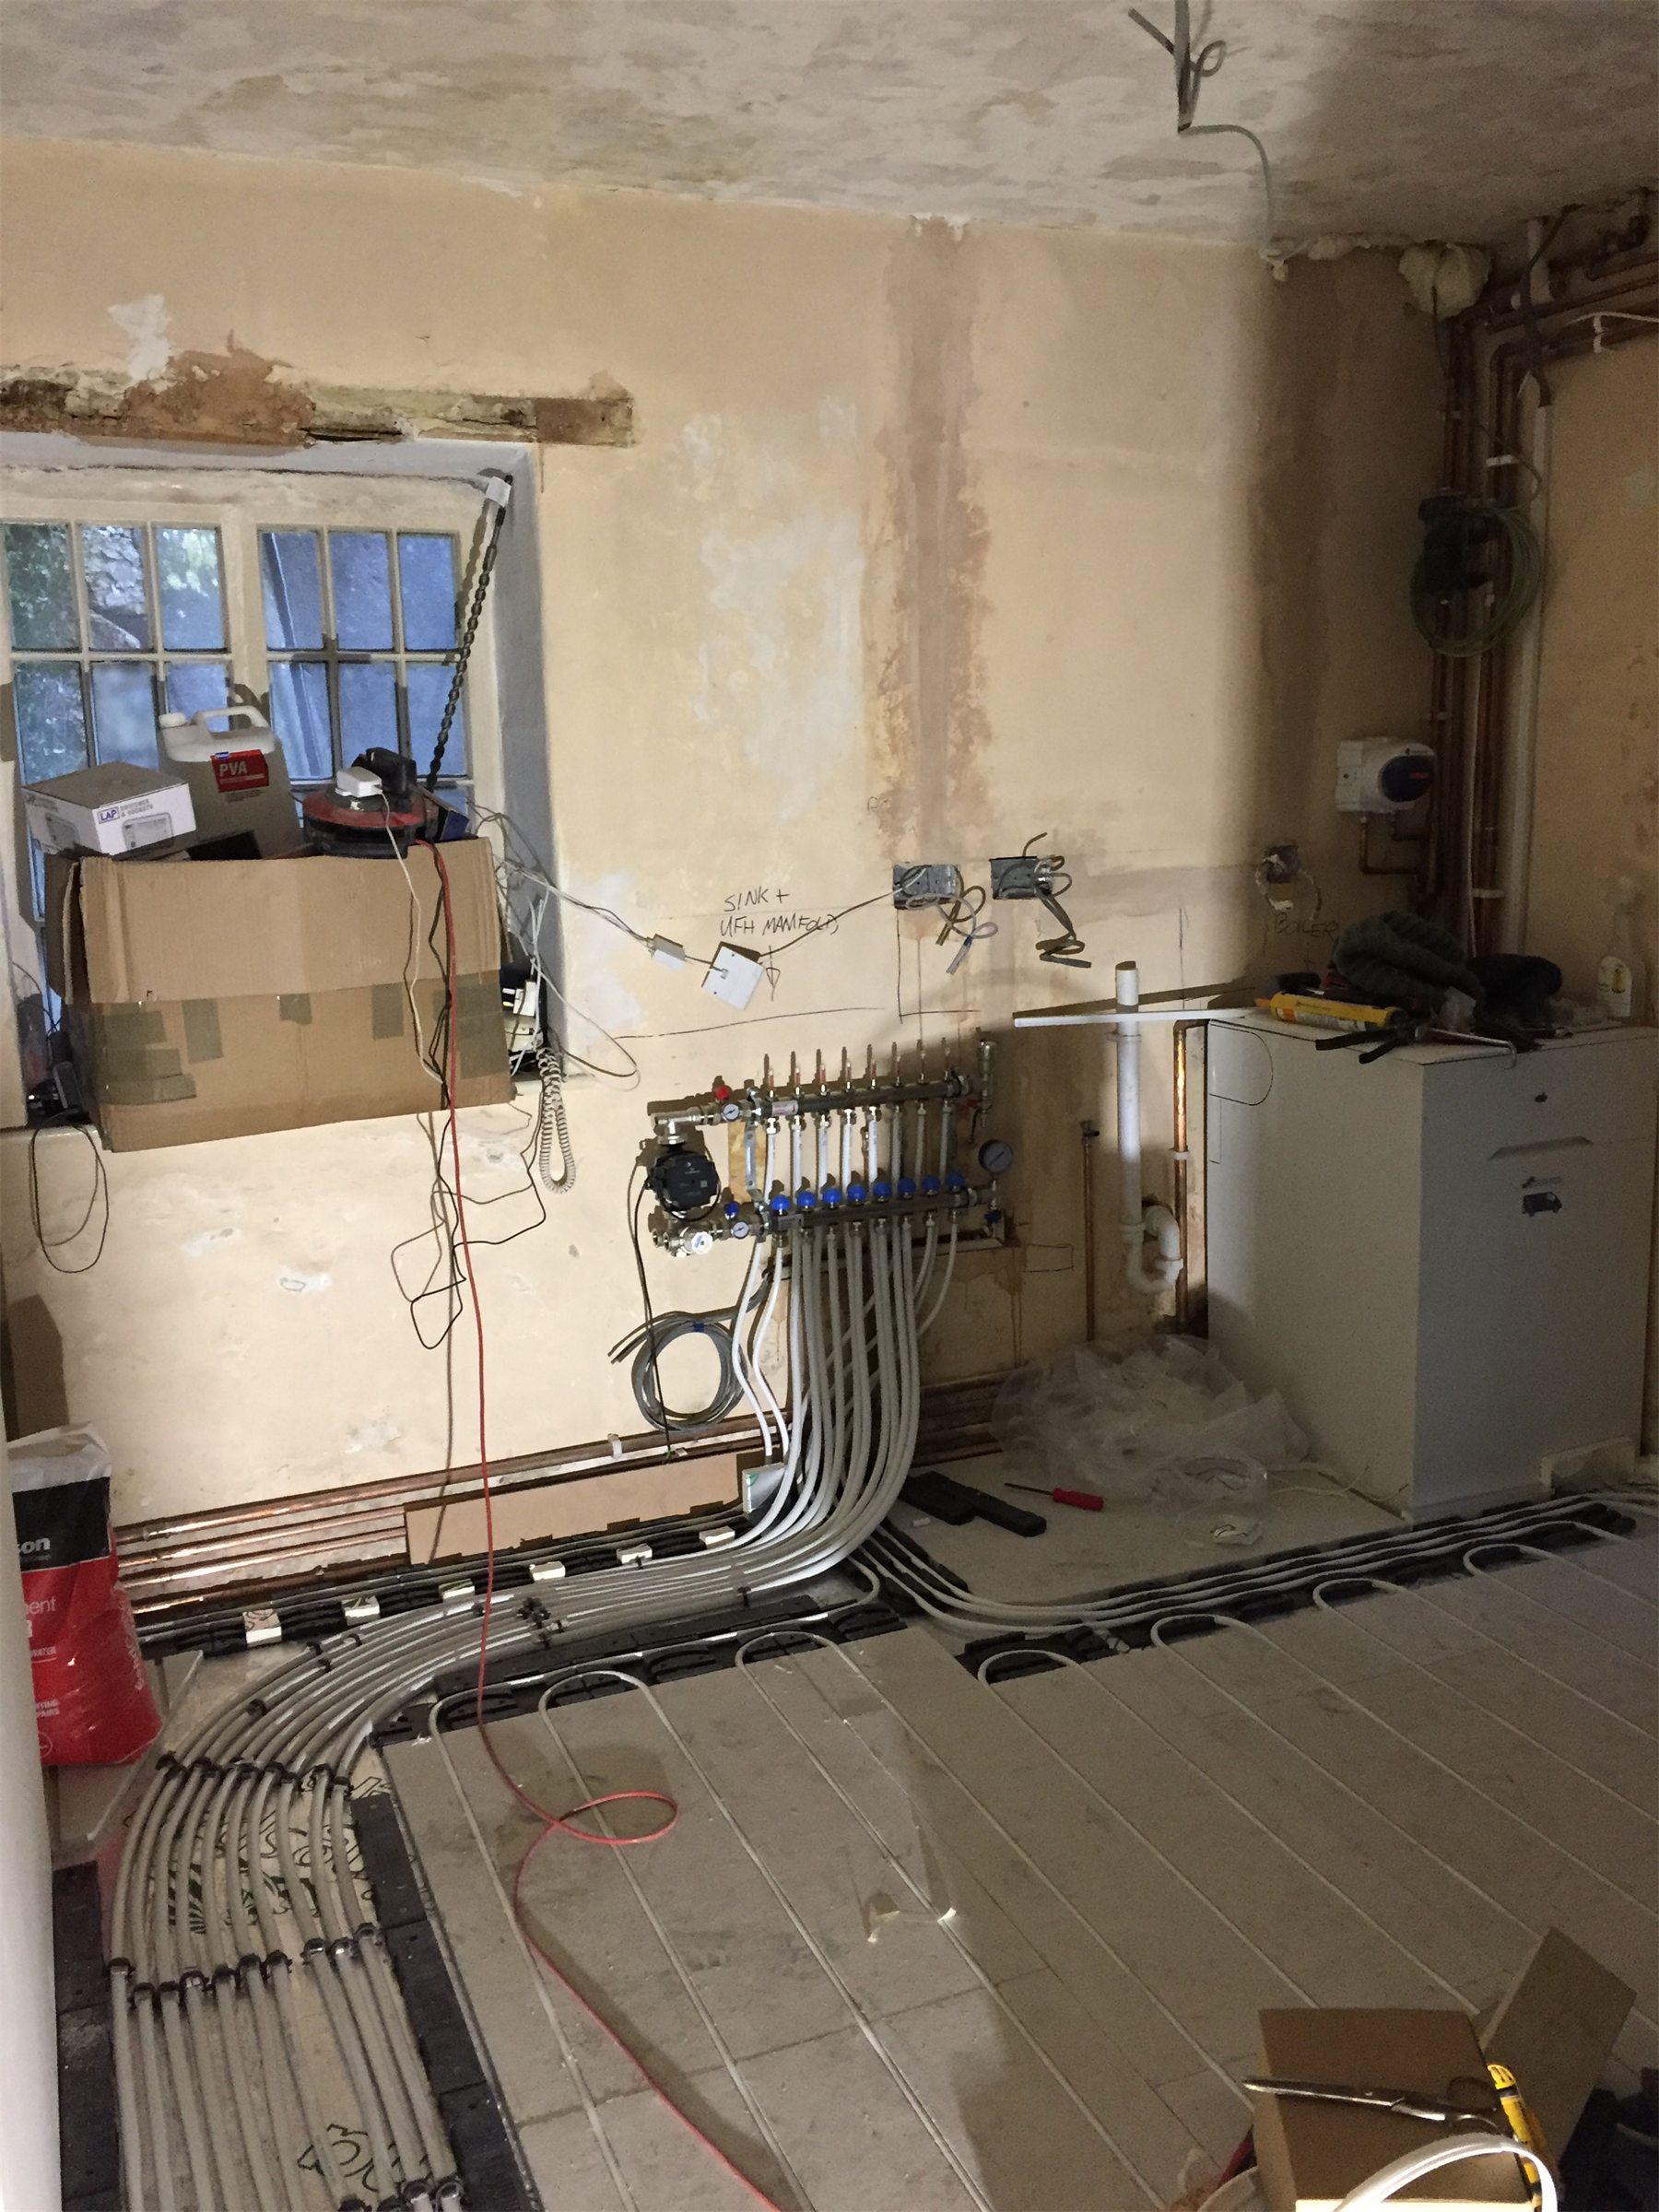
The Hall was completed after some problematic routing - six of these pipes side by side in a rough route from the utility, up under the first step, across the inside of the wall, jinking up through the bike cupboard (all neatness by now lost) and ploughing however we could manage into the hall. The Dining room promised to be somewhat easier - only two loops and therefore four pipe ends. Also all on the same level and relatively straight forward. Still lots of twisting and pinging-up issues. We plonked a goodly lot of OSB down everywhere to allow us to walk over the joists and pipes (the spreaders severely obscure the joists making it hard to know where to put your feet) without too much fear.
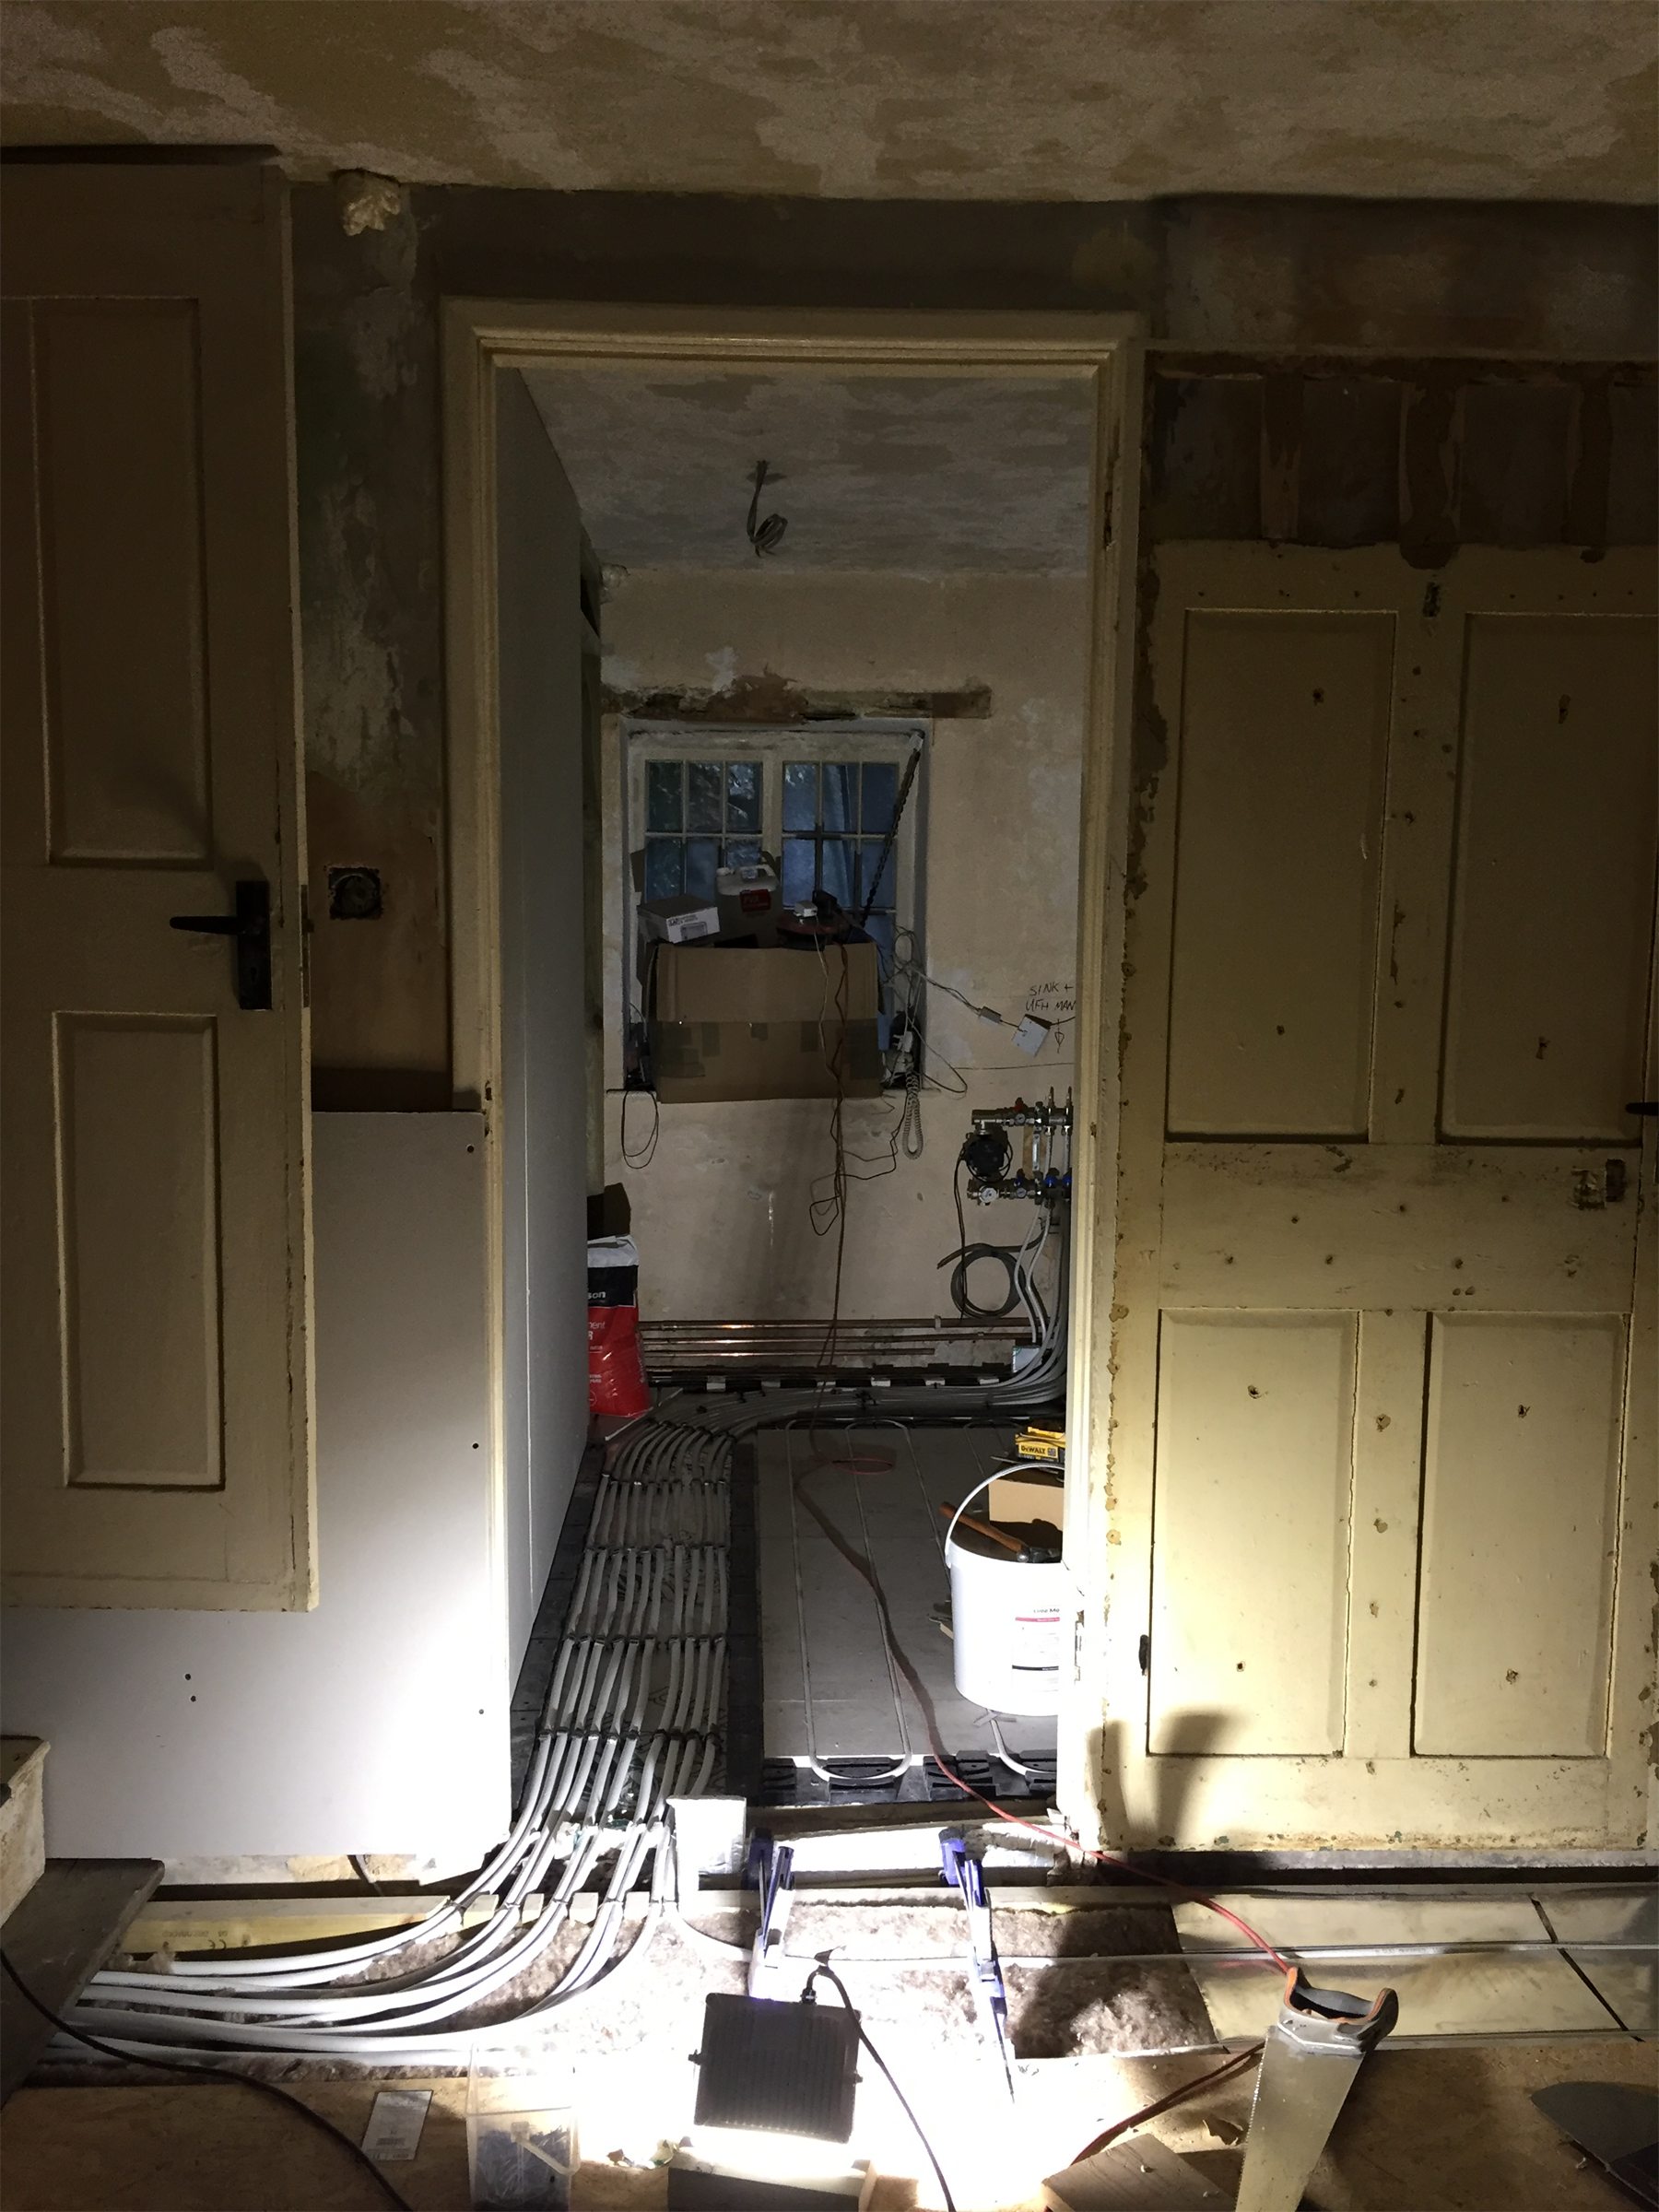
With now all the pipe in place we could think about getting it all together. This involved grouping the thick pipe in its designated channel and running it to the manifold, stapling it in and covering it with screed. By the time darkness fell, and a few more hours after that, we finally had pipes connected and a wet slurry hardening hopefully over the top.
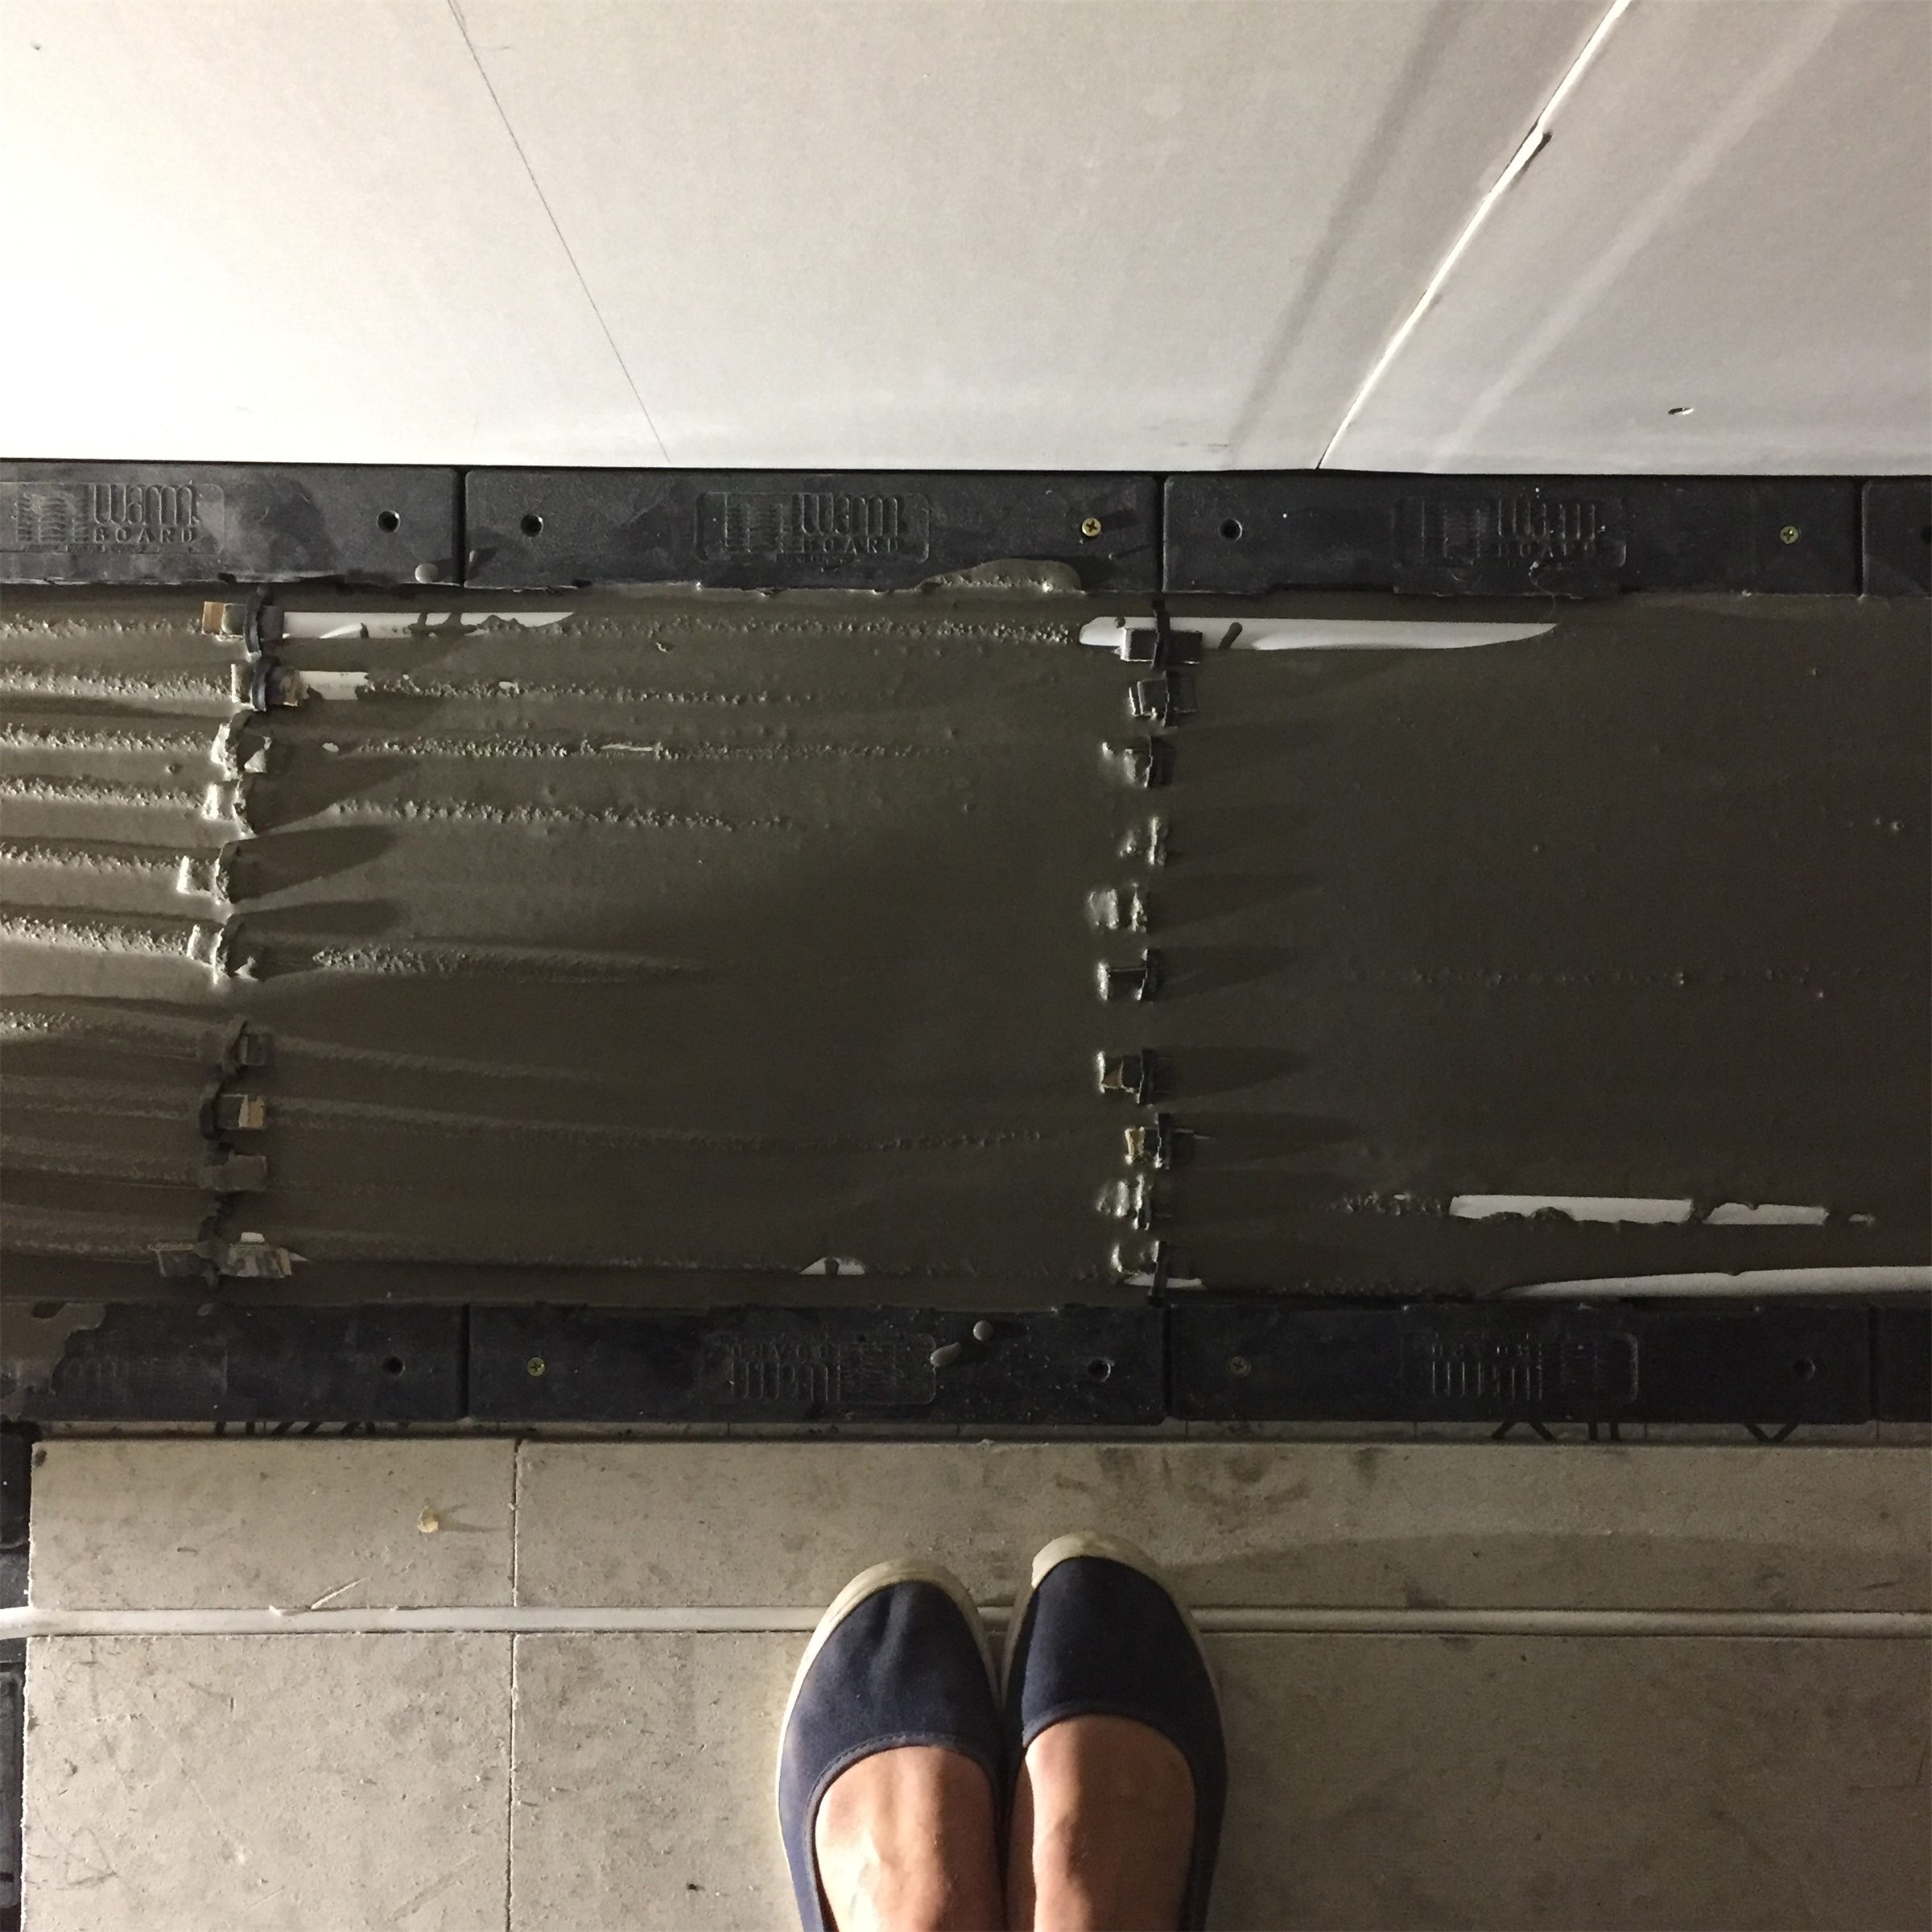
Time for a pie at the pub!
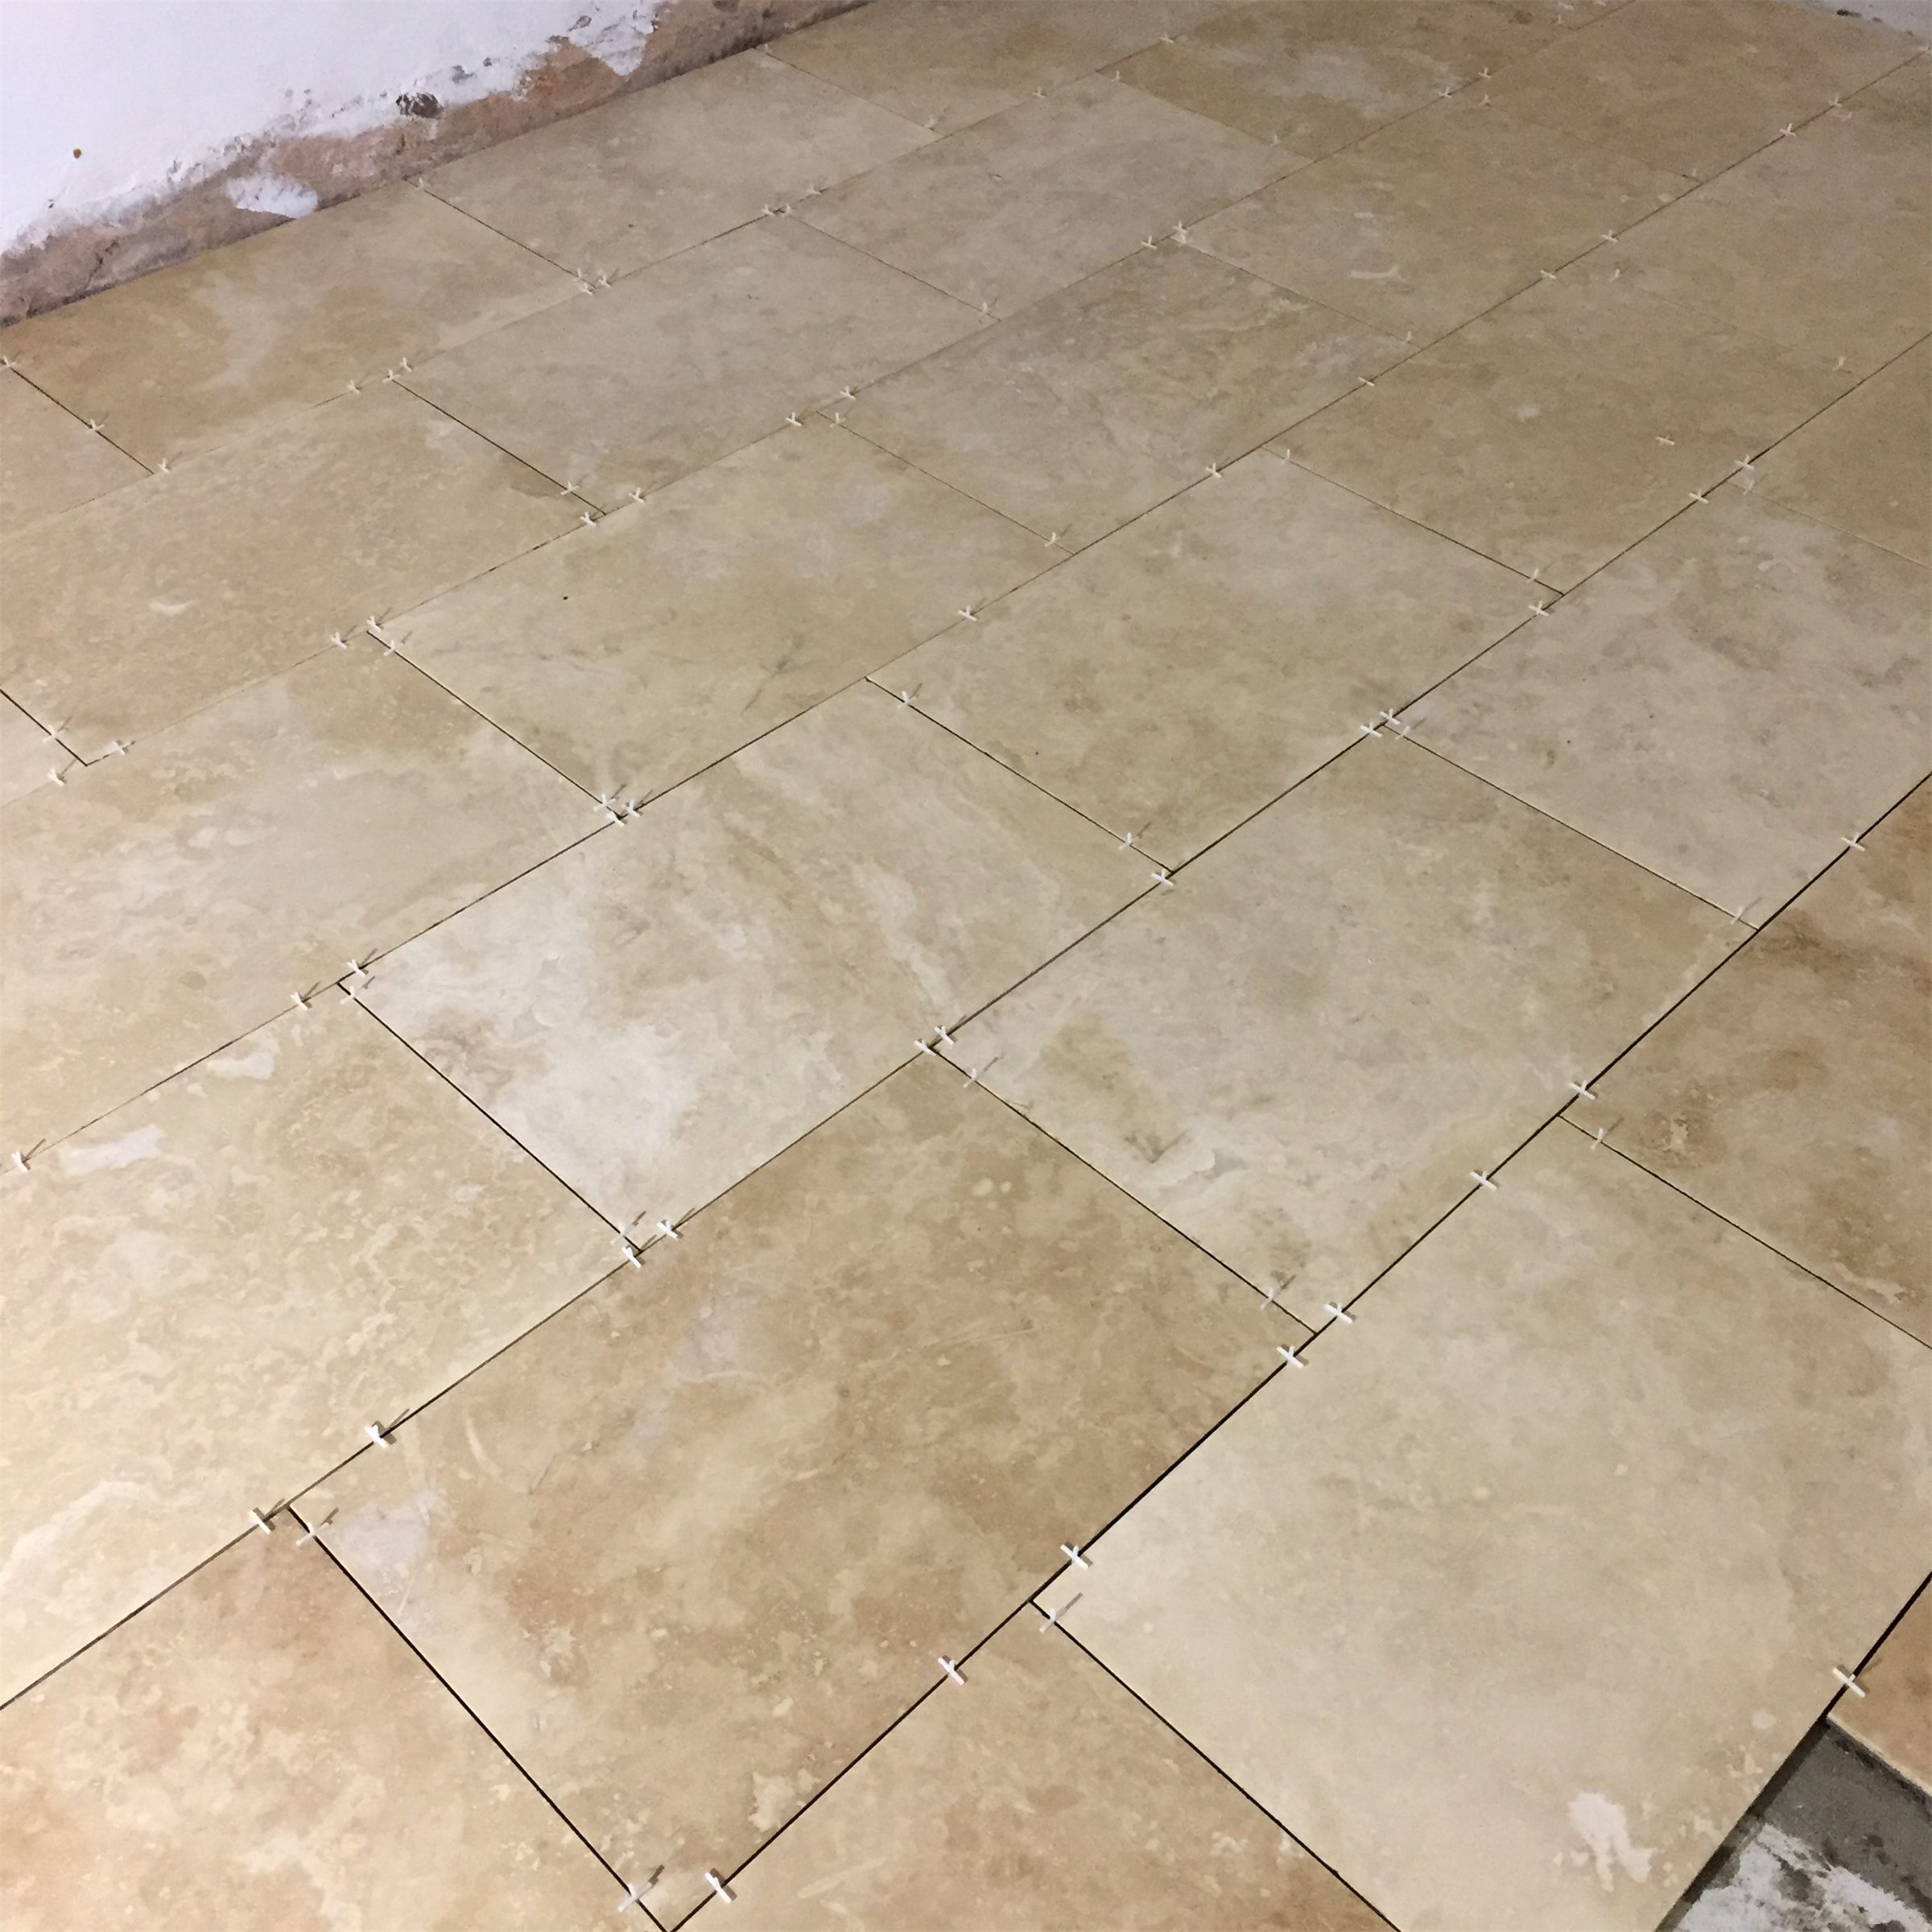
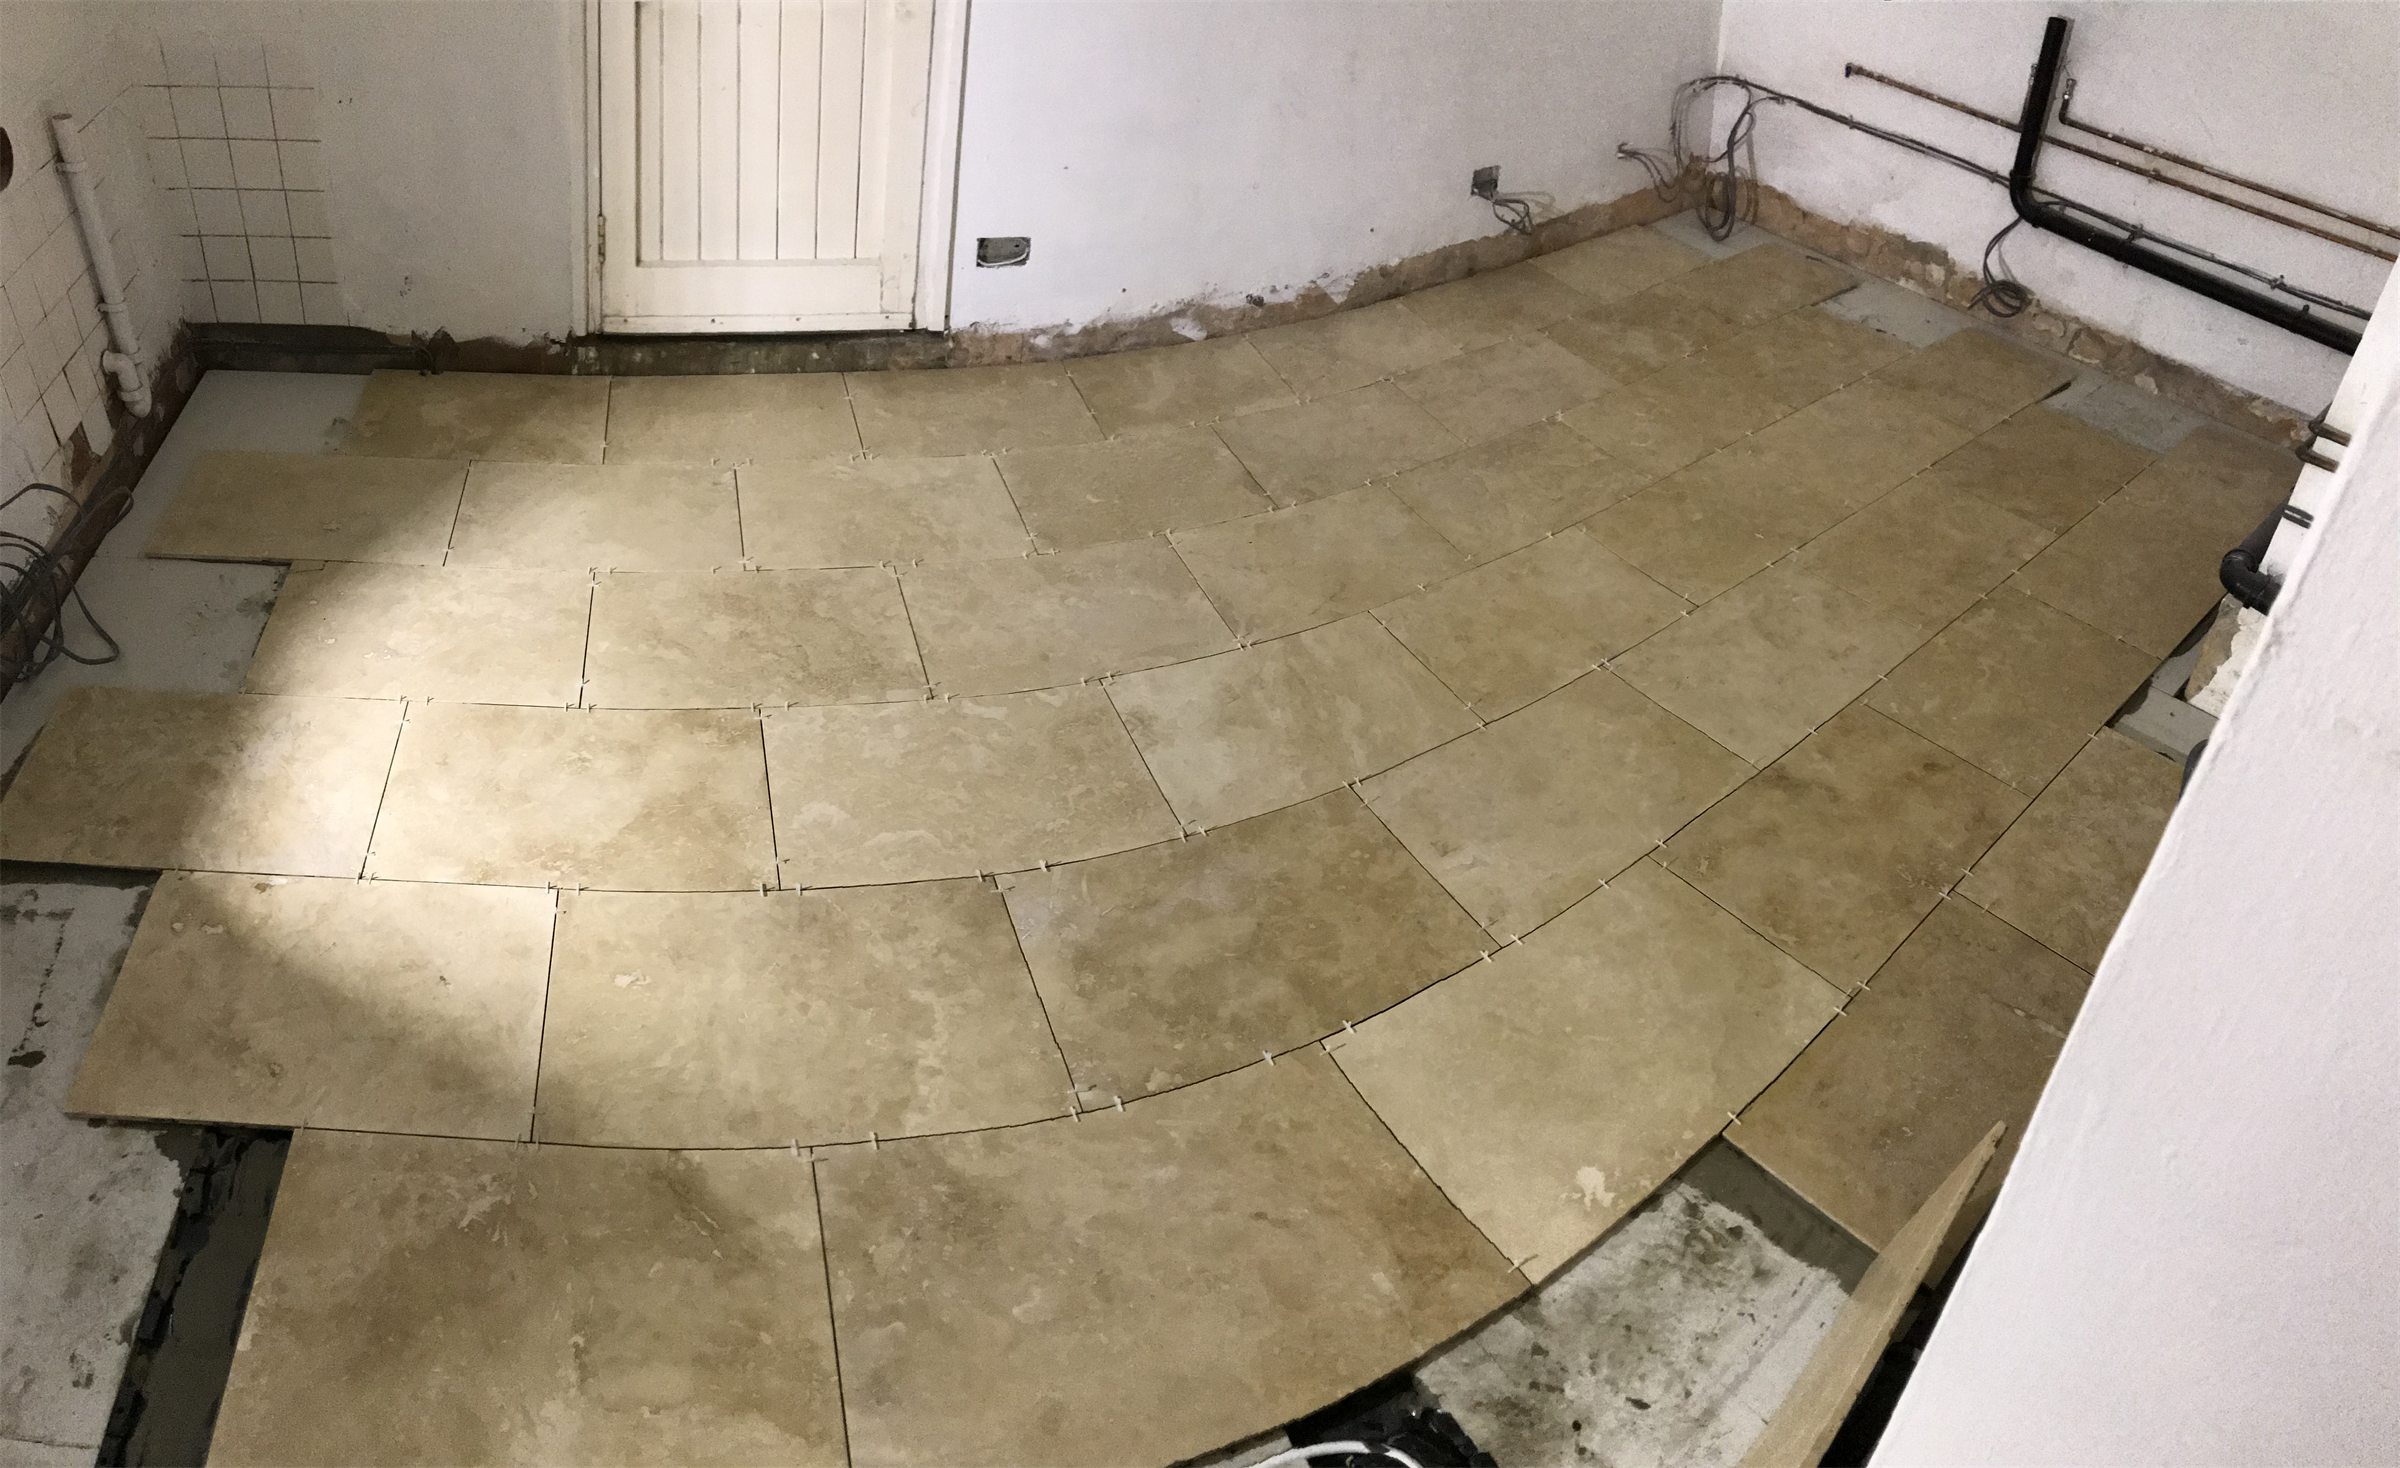
Day two brought us to the crux of Ross' visit: laying the tiles! We started by rescuing the floorboards from outside. They'd been covered in tarp to keep the rain off but the weather had been rotten it doesn't do to warp your floor. For tiles, we'd opted for travertine, something in the marble family but not quite. Wikipedia will tell you the colosseum is made of it. It's a lovely creamy coffee colour, warm to look at, swirly and cloudy, and not too far off the Cotswold stone palette. Needless to say obtaining it wasn't as straight forward as it might have been, there being a national shortage of it due to a quality control issue in Turkey. Eventually we had to up the budget for the slightly pricier 'Ivory Travertine'. Which actually turned out to be exactly the colour we wanted.
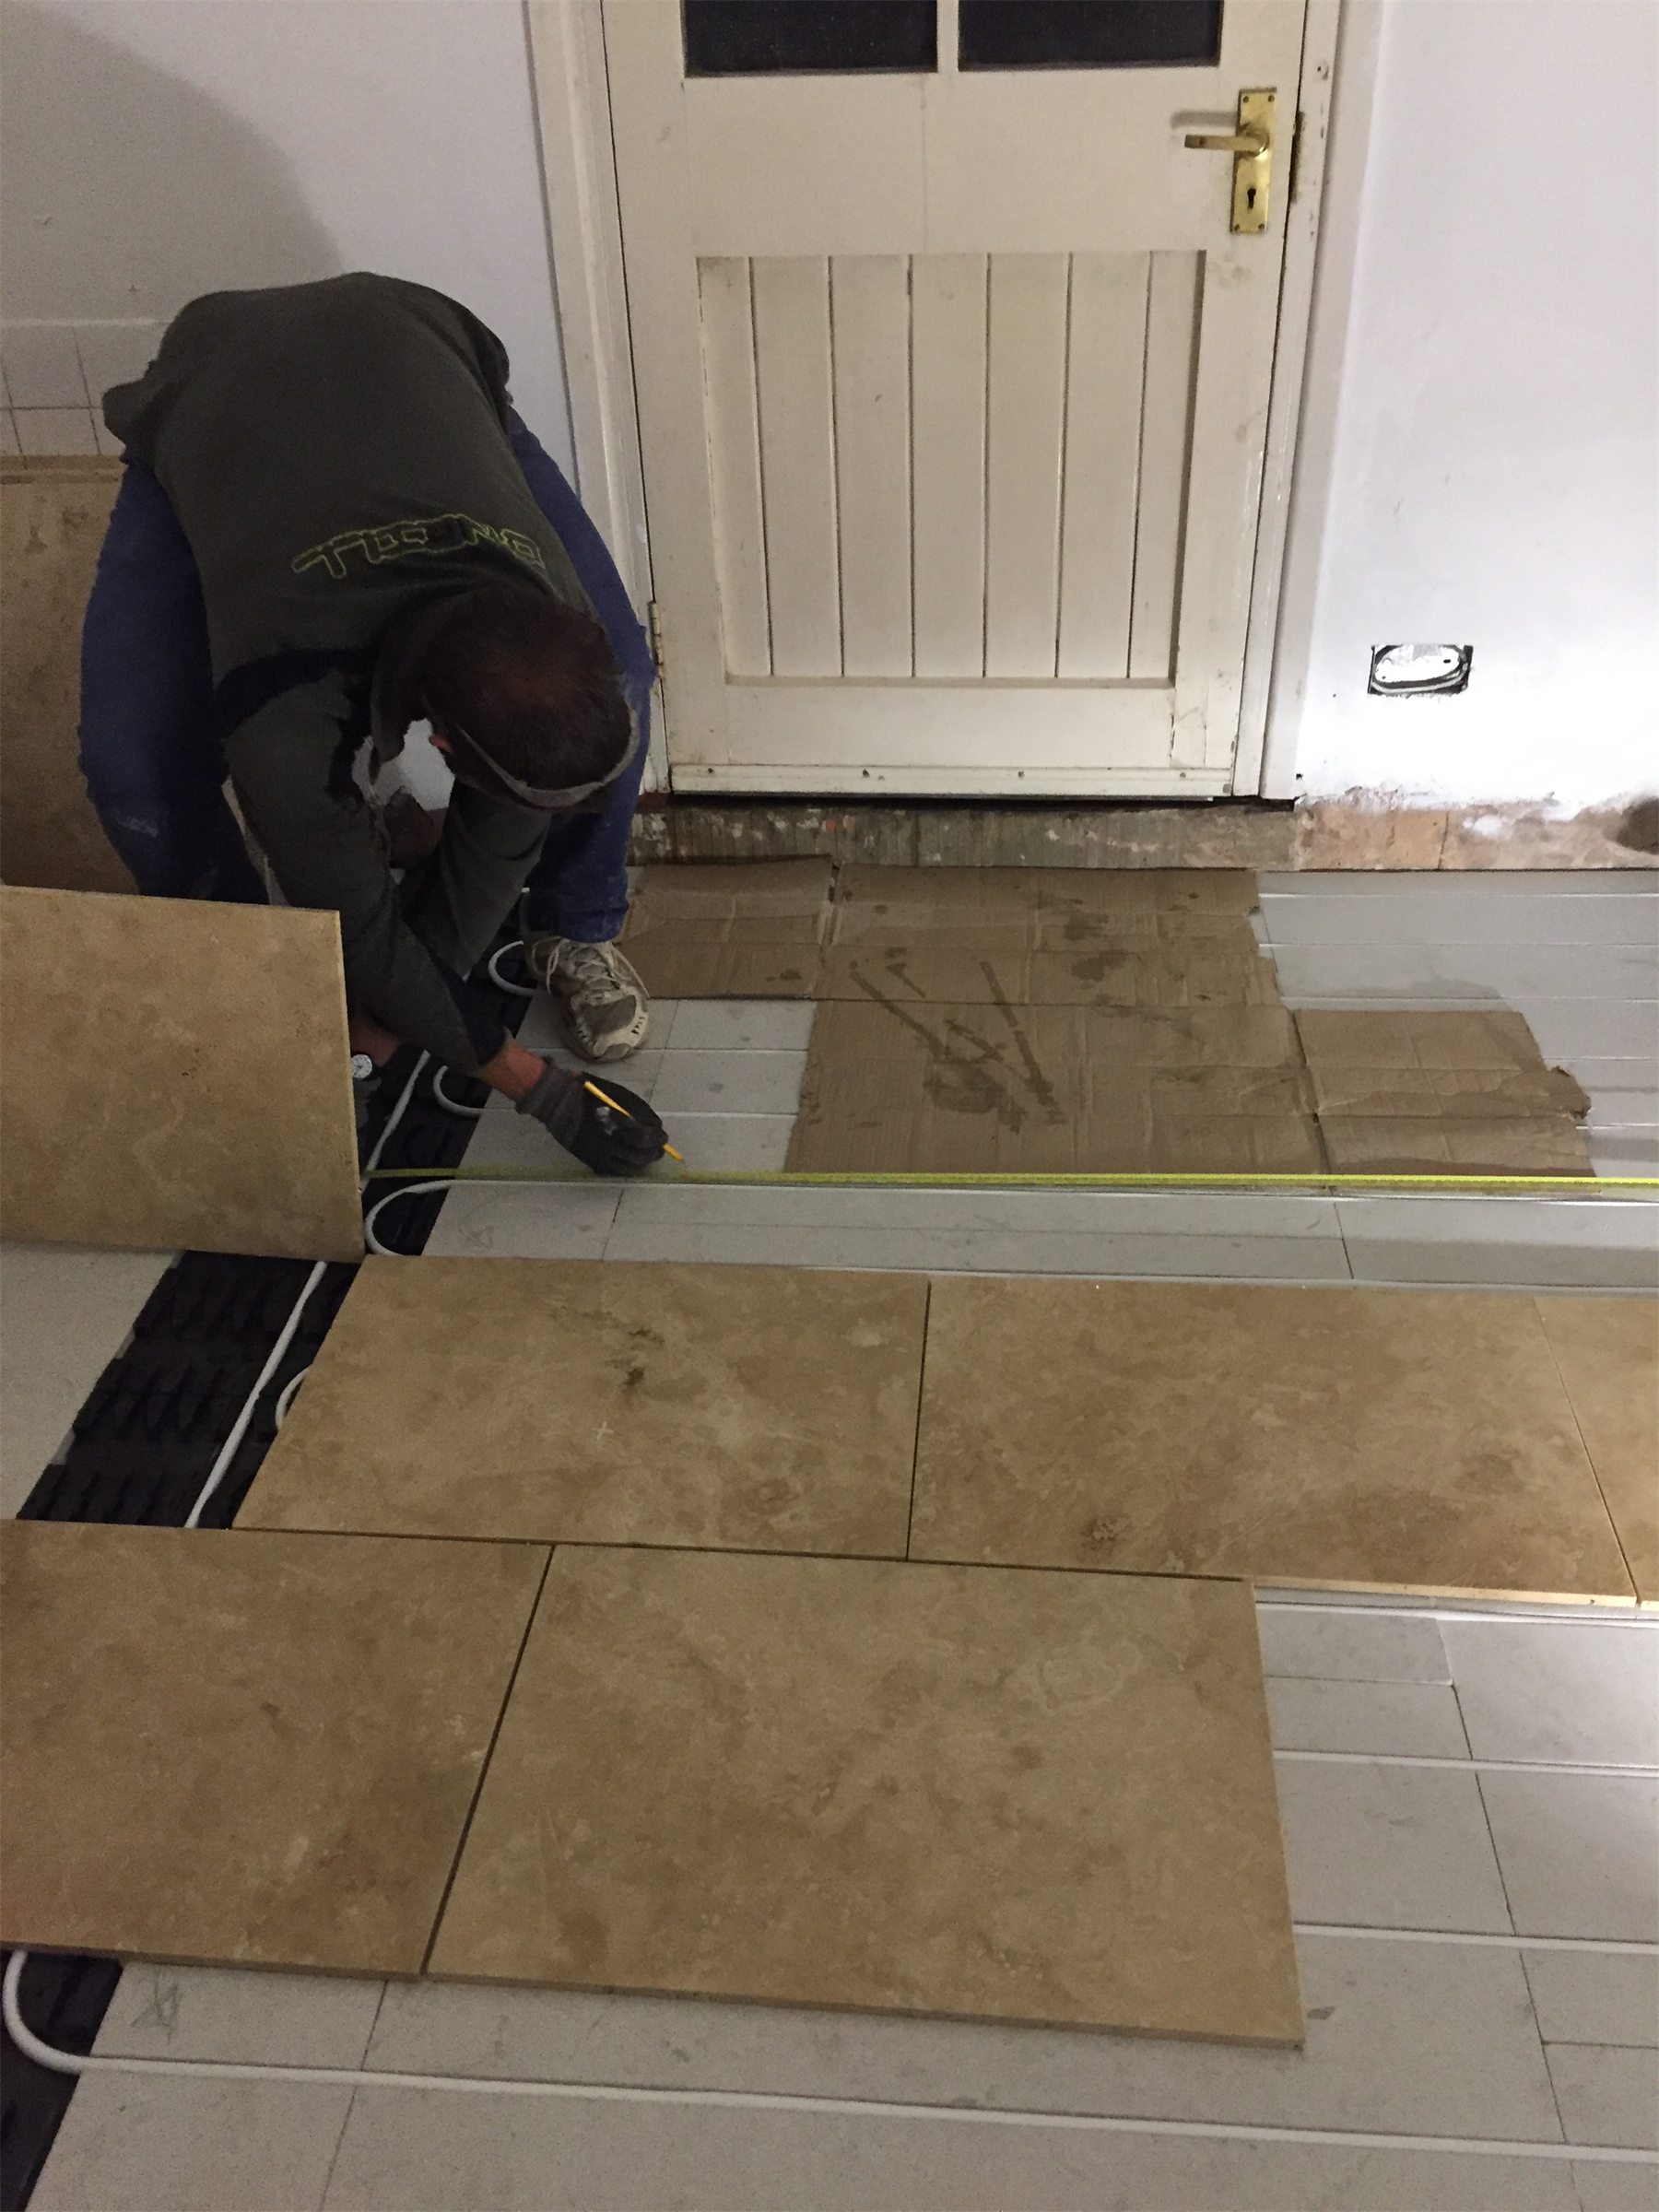
We started by doing a dry layout of the kitchen to see if we would have a whole tile or a join in the middle of the kitchen. It turned out to be pretty much bang on a whole number of tiles wide and long. What good fortune. And so from one corner we set off, bucket of adhesive and combed trowel in hand, spirit levels and tile spacers at the ready. We had opted for 2mm spacers, pretty much the smallest you can get away with, for a more seamless look. That and we've learnt that grout gets dirty and the less of it you have the better.
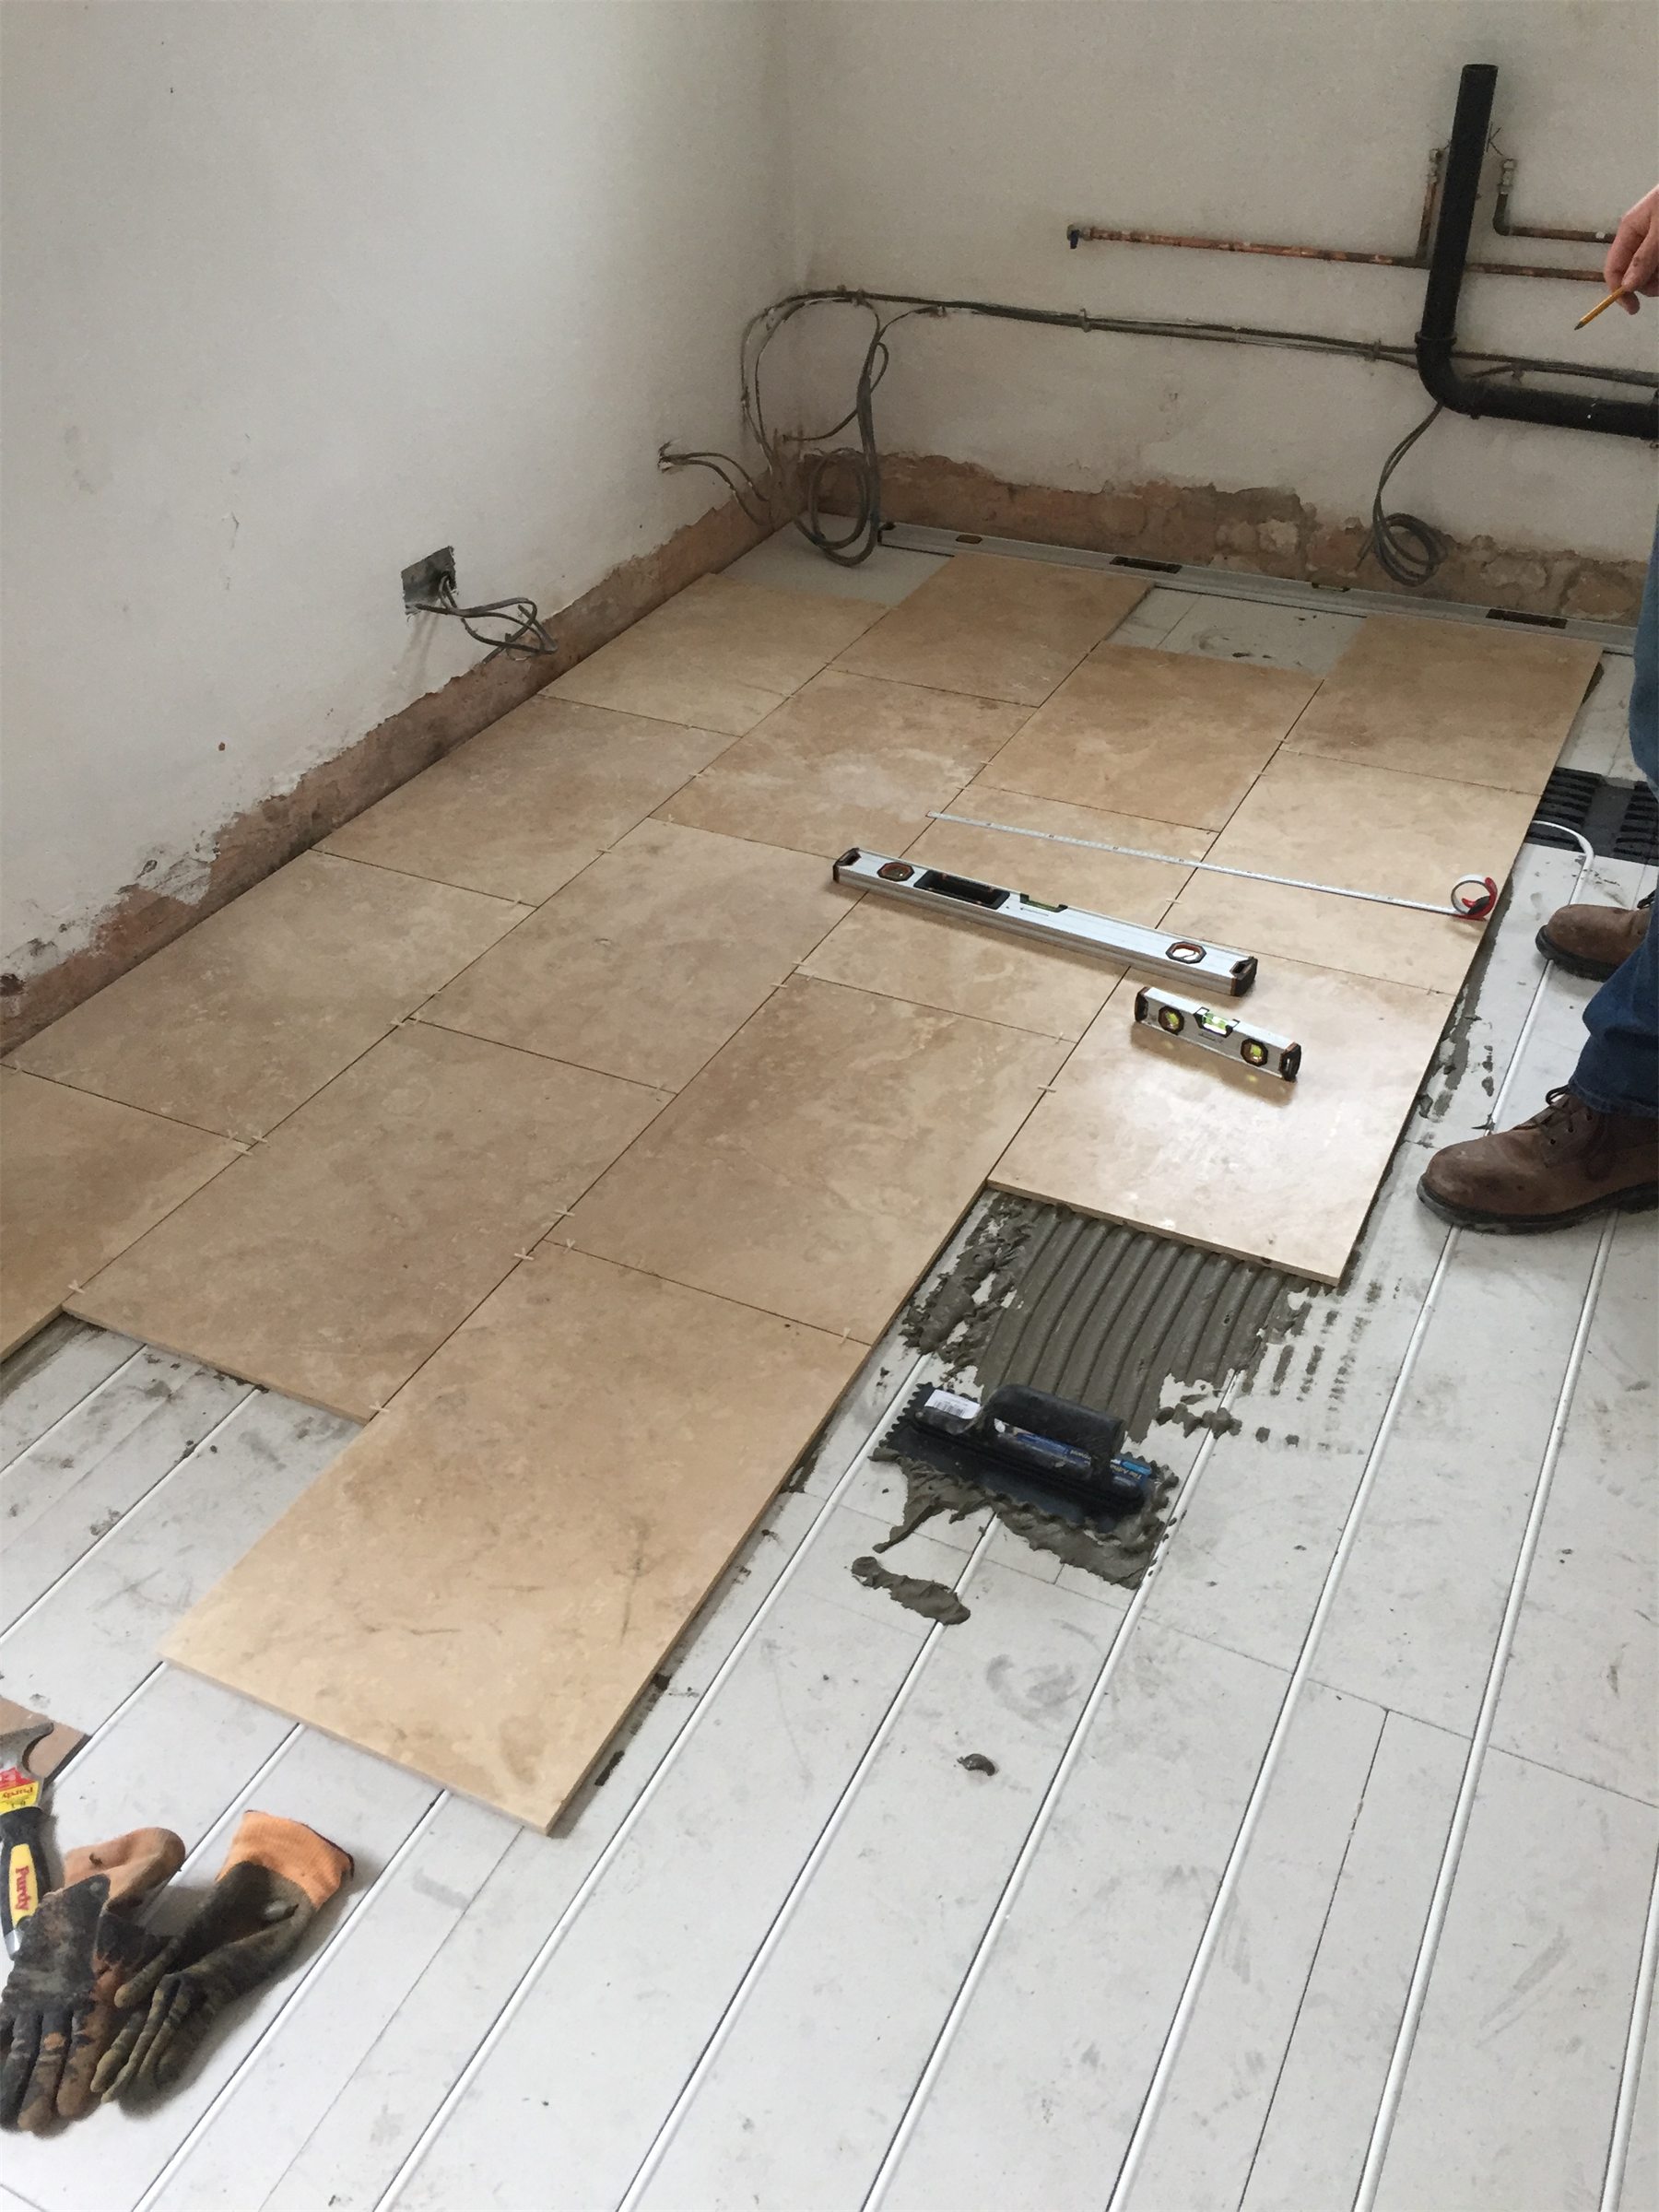
It was a fairly pain staking process, splodging adhesive down, putting a tile on top, trying to level it only to find there's wasn't enough adhesive underneath, taking it up and effectively starting again...
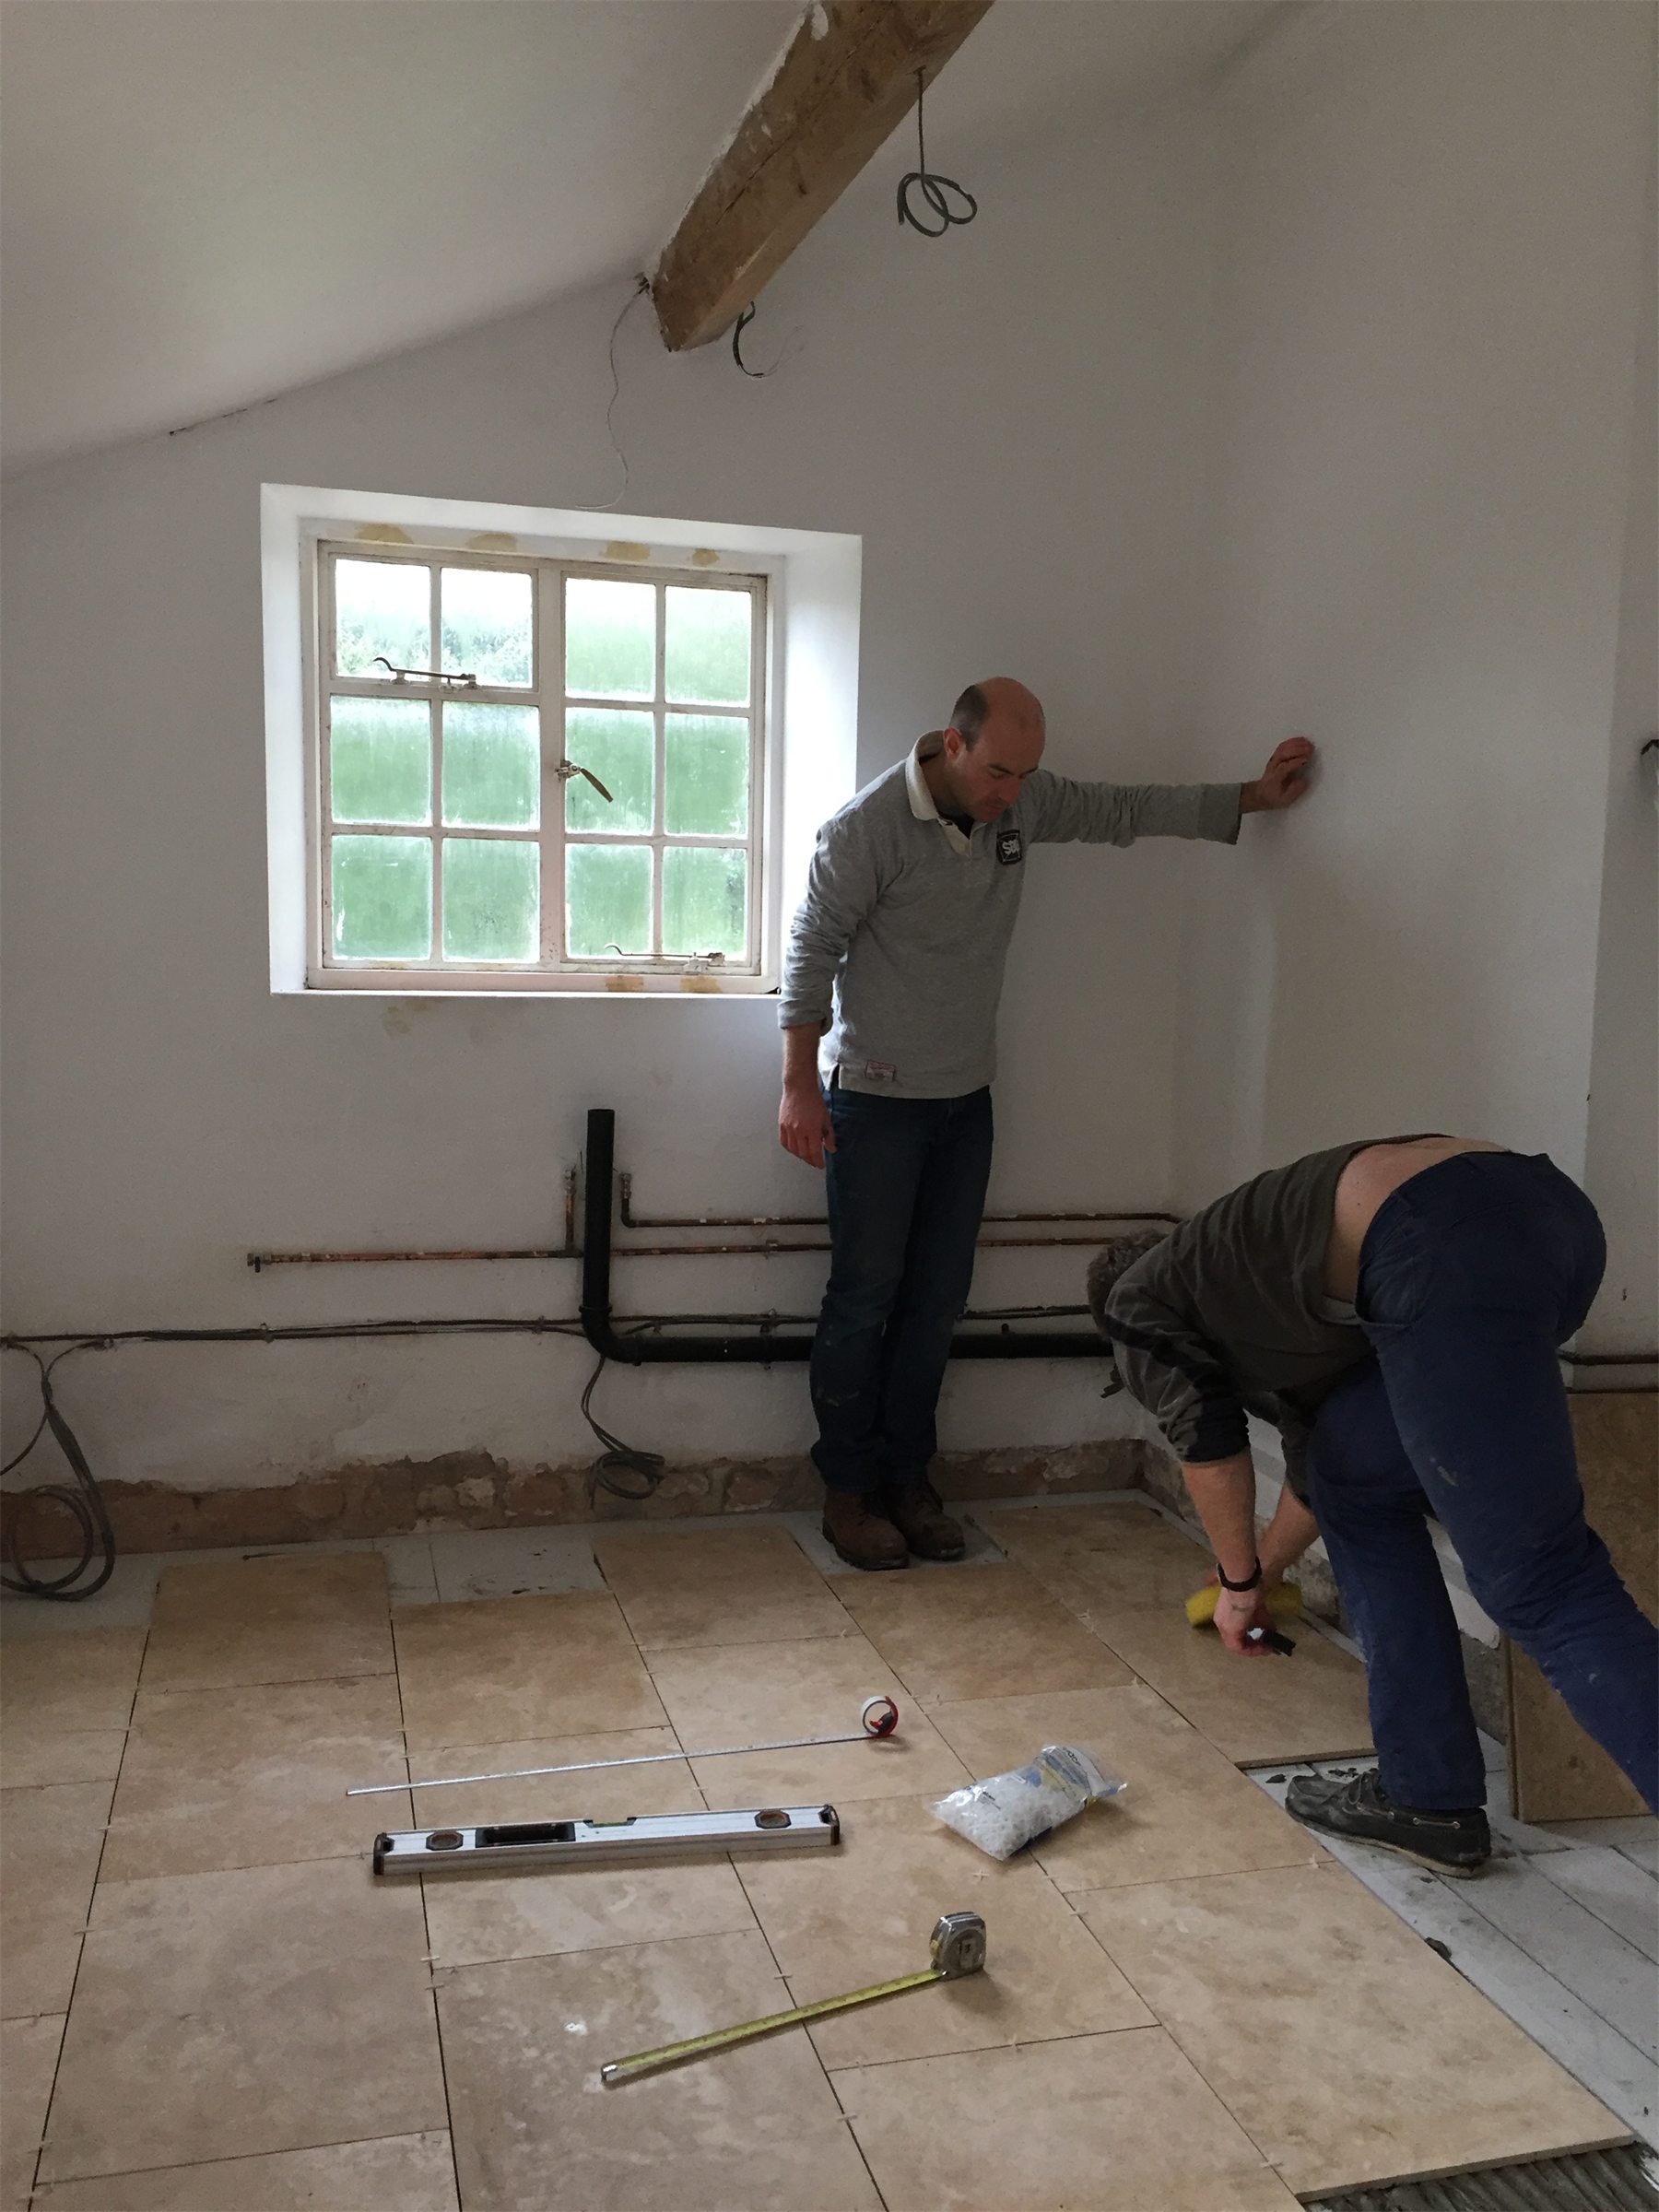
Eventually though we got all the whole tiles down in the kitchen. Just the utility and shower to go.